How to Make a Convincing Easter Bunny Proof Video
August 21, 2026
Yes, you can create a believable 10-second Easter Bunny proof video from a photo of your own living room, and you don't need editing skills to do it. Start with one clear, wide-angle photo of the room where the "evidence" will appear, then feed it into a tool like WonderLens that specializes in placing realistic characters into real home photos.
Success looks specific: the Bunny should be scaled to match your furniture, cast a soft shadow that matches your room's light, and move for no more than 10 to 12 seconds so the illusion never overstays itself. Export as an MP4, vertical 9:16 if you're sharing to a phone or group chat.
- One clear photo of the reveal spot
- A tool that handles scale, shadow, and motion automatically
- A short voice line or sound effect to seal the magic
- Under 12 seconds of footage, exported and ready to share
Key Takeaways
A convincing Easter Bunny proof video depends on matched lighting, correct scale, short motion prompts, and a clip length under 12 seconds.
| Point | Details |
|---|---|
| Photo quality first | Use one well-lit, clutter-free photo with clear ground lines for the best animation results. |
| Match shadows and scale | Align shadow direction and character height with your room to avoid a floating, fake look. |
| Keep motion prompts simple | Describe camera and small character actions only, never new visual details. |
| Export smart | Use MP4 format and 9:16 vertical framing for phone sharing, landscape for archiving. |
| Try WonderLens | WonderLens automates photo upload, Bunny placement, motion, and audio for a finished clip in minutes, with credits starting at $1.99. |
Useful Resources for Photo-to-Video Workflows
For deeper prompt examples, see Revid's photo-to-video guide and WonderLens's Easter animation guide.
Table of Contents
- What You Need Before You Start Your Easter Bunny Proof Video
- Step-by-Step Workflow to Generate Your Easter Bunny Video
- Photo and Lighting Tips That Make the Bunny Blend In
- Motion Prompts and Settings for Natural Bunny Movement
- Adding Audio, Captions, and Exporting the Right Format
- Keeping the Surprise Joyful, Safe, and Age-Appropriate
- Why WonderLens Makes This Easy for Parents
- Try WonderLens for Your Own Easter Bunny Video
- Sources
What You Need Before You Start Your Easter Bunny Proof Video
Gather these before you open any app, because a rushed photo is the number one reason first attempts look fake.
- One well-lit photo, taken in landscape or the aspect ratio you plan to export, with the reveal spot (a doorway, a windowsill, a rug) clearly visible and nothing blocking it
- A phone or camera photo, not a screenshot, saved as a JPG or PNG so the file keeps its full resolution, since sharp, well-lit images with a clean subject give better results than blurry or cluttered ones, according to Revid's photo-to-video guide
- A short voice line or sound clip, 3 to 5 seconds, if you want narration ("Did you hear that?") layered over the clip
- A private mindset: this clip is for your family, so keep the file off public feeds unless you're comfortable with strangers commenting on your child's reaction
Skip the props and confetti. The photo and the character do the work.
Step-by-Step Workflow to Generate Your Easter Bunny Video
Here's the exact sequence that gets a convincing clip on the first or second try, timed at roughly 15 minutes start to finish.
- Choose and crop your photo. Pick a spot with open floor space, even lighting, and a visible ground line, then crop out clutter, other people, and anything that competes for attention.
- Choose the Bunny's pose and scale. Match the character's height to nearby furniture, a Bunny that towers over your couch or disappears behind a lamp breaks the illusion instantly.
- Write your motion instructions. Describe camera behavior and small character actions, not new visual details. A prompt like "Bunny hops in from the left, pauses, twitches its nose, hops out" beats a vague one like "make it look real," since specific camera and motion language consistently outperforms open-ended requests, per Revid's prompt research.
- Generate and preview. Check three things first: does the shadow fall the right direction, does the Bunny's scale match the room, and does the motion stay smooth without warping the silhouette. Previewing at a lower resolution before your final render also saves credits and catches scale mistakes early, a workflow common to tools like VisionStory's V-Character.
- Add voiceover, sound effects, and captions. Sync a whispered "shh" or a soft giggle to land right when the Bunny appears, and keep the whole audio-visual sequence between 8 and 12 seconds.
- Export and check the format. Confirm MP4 output, verify captions sit inside the safe zone if you're posting vertically, and do a final watch-through on your phone screen, not just your laptop.
Pro Tip: Generate two versions with slightly different hop timing before you settle on one. Kids notice rhythm more than adults do, and a Bunny that pauses just a beat too long can look robotic instead of alive.
For a longer walkthrough with more example photos, WonderLens's step-by-step guide for parents covers additional scene ideas.
Photo and Lighting Tips That Make the Bunny Blend In
Lighting mistakes are what separate a "caught on camera" clip from one that looks like a sticker pasted onto a photo. Three fixes matter more than anything else.
- Match the light direction. If your room's sunlight comes from a window on the left, the Bunny's shadow needs to fall to the right at the same angle. Mismatched shadows are the fastest way a child's older sibling spots the fake.
- Add a soft ground contact shadow. The shadow directly under the Bunny's feet should be darker and tighter than the shadow stretching away from it, roughly 30 to 40% opacity works for most indoor lighting.
- Align the horizon line. The Bunny's feet need to sit on the same visual ground plane as your furniture. A character floating an inch above the rug is the number one giveaway of a rushed edit.
- Match color temperature. Warm afternoon light calls for a warmer-toned Bunny; a Bunny generated under cool, blue-toned settings will look pasted into a golden-hour living room photo.
Good source images already do most of this work. A photo with a clear subject, distinct background, and even lighting gives the animation engine more information to work with, which is why Revid's guidance recommends avoiding cluttered or dim shots from the start.
Pro Tip: Take your reveal photo at the same time of day you plan to "catch" the Bunny. A photo shot at 7 a.m. with morning light won't match a clip you tell your kids was recorded at dawn if the shadows point the wrong way.
Motion Prompts and Settings for Natural Bunny Movement
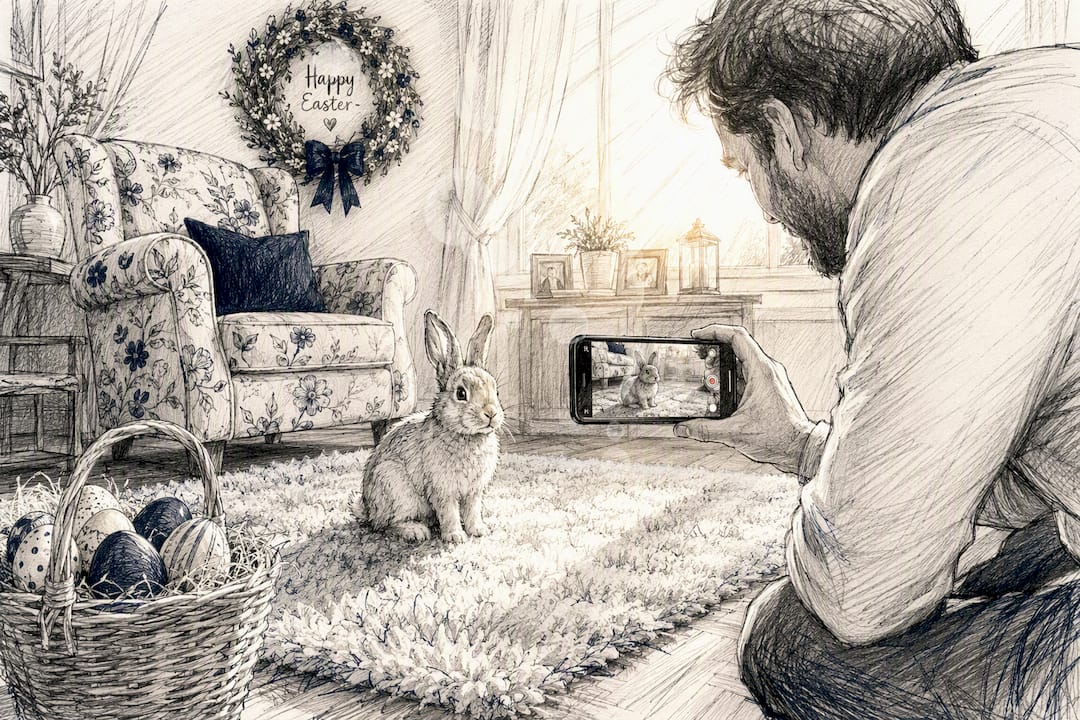
The single biggest lever for realism is your motion prompt, and the principle is simple: describe camera movement and small character actions, never new visual details you want invented. Ask for "the Bunny twitches its nose" instead of "make the Bunny cuter."
Three prompt patterns to try:
- Playful: "Bunny hops twice, pauses to sniff the air, then bounds off screen right."
- Shy: "Bunny peeks from behind the doorway, freezes when it notices movement, then retreats."
- Curious: "Bunny tilts its head toward the camera, ears twitch, then hops closer before exiting."
Keep clips between 8 and 12 seconds. Subtle ear and head movement reads as more alive than big, sweeping gestures, and picking an anchor point (a specific tile, rug edge, or doorframe) keeps the character from drifting unnaturally across frames. Watch for two common artifacts: a warped silhouette during fast motion, and exaggerated facial expressions that look more cartoon than creature. If either shows up, simplify your prompt rather than adding more description.
Pro Tip: Shorter prompts almost always beat longer ones. One clear action plus one camera note outperforms a paragraph of instructions.
Adding Audio, Captions, and Exporting the Right Format
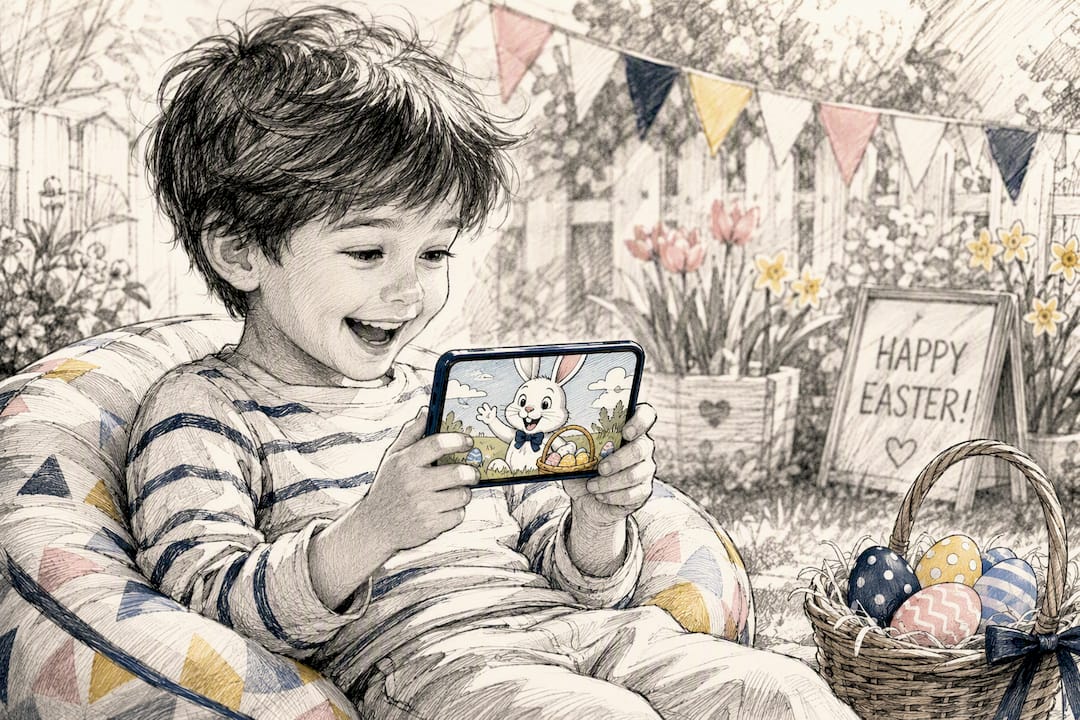
A silent clip feels unfinished. A few seconds of the right sound seals the illusion.
- Voice line timing: A whispered "I think I hear something" in the first 2 seconds, silence during the Bunny's movement, then a soft gasp or giggle as it exits works well for a 10-second clip.
- Subtle sound effects: A faint rustle or a single soft chime implies presence without startling a young child watching at bedtime.
- Caption placement: Keep text in the lower third but above the very bottom edge, since phone interfaces often crop that space on shared platforms.
- Export format: MP4 for broad compatibility, 9:16 vertical if this is headed to a phone or group text, and standard landscape if you're archiving it as a family keepsake. Vertical framing fills the screen on platforms built for short clips, while MP4 remains the safest choice for playback across devices, a pairing Revid's export guidance confirms works across most sharing scenarios. For more on adapting animated clips for social formats, this quick-start guide on photo animation effects covers sizing and platform quirks.
Keeping the Surprise Joyful, Safe, and Age-Appropriate
Realism should match your child's age. A toddler needs less polish than a skeptical eight-year-old already questioning the tooth fairy.
- Match realism to age. Younger kids forgive rough edges; older kids notice mismatched shadows fast, so invest more time in lighting fixes for that audience.
- Keep it private. Share only with trusted family unless you're fully comfortable with a wider audience seeing your home and child's reaction.
- Try a tie-in reveal. Pair the clip with a scavenger hunt clue or a small handwritten "note from the Bunny" for a bigger payoff.
- If a child gets upset, reassure them gently that the Bunny is shy and camera-shy, then redirect to the actual Easter basket as the real proof.
Why WonderLens Makes This Easy for Parents
WonderLens builds exactly this workflow into one browser tool: upload your room photo, pick the Easter Bunny character, choose a motion style, add a voice line, and generate. No editing software, no manual shadow work.
Credits start at $1.99, and your first video is free, so you can test the workflow before spending anything. Browse example clips on the Easter Bunny character page, or compare quick-tool options in this roundup of Easter animation apps before you commit.
- Upload photo
- Pick Bunny and motion
- Add voice or sound
- Generate and download
Why short proof clips matter for family tradition
A 10-second clip does something a basket of candy can't: it gives kids a story to replay. The magic holds only if you keep it private and let your child's imagination fill in what the camera "almost caught." That restraint, more than any technical polish, is what makes the tradition last.
Try WonderLens for Your Own Easter Bunny Video
Skip the editing software entirely. WonderLens handles the shadow work, scale matching, and motion rendering that usually take parents hours to fake manually, all inside a browser tab.
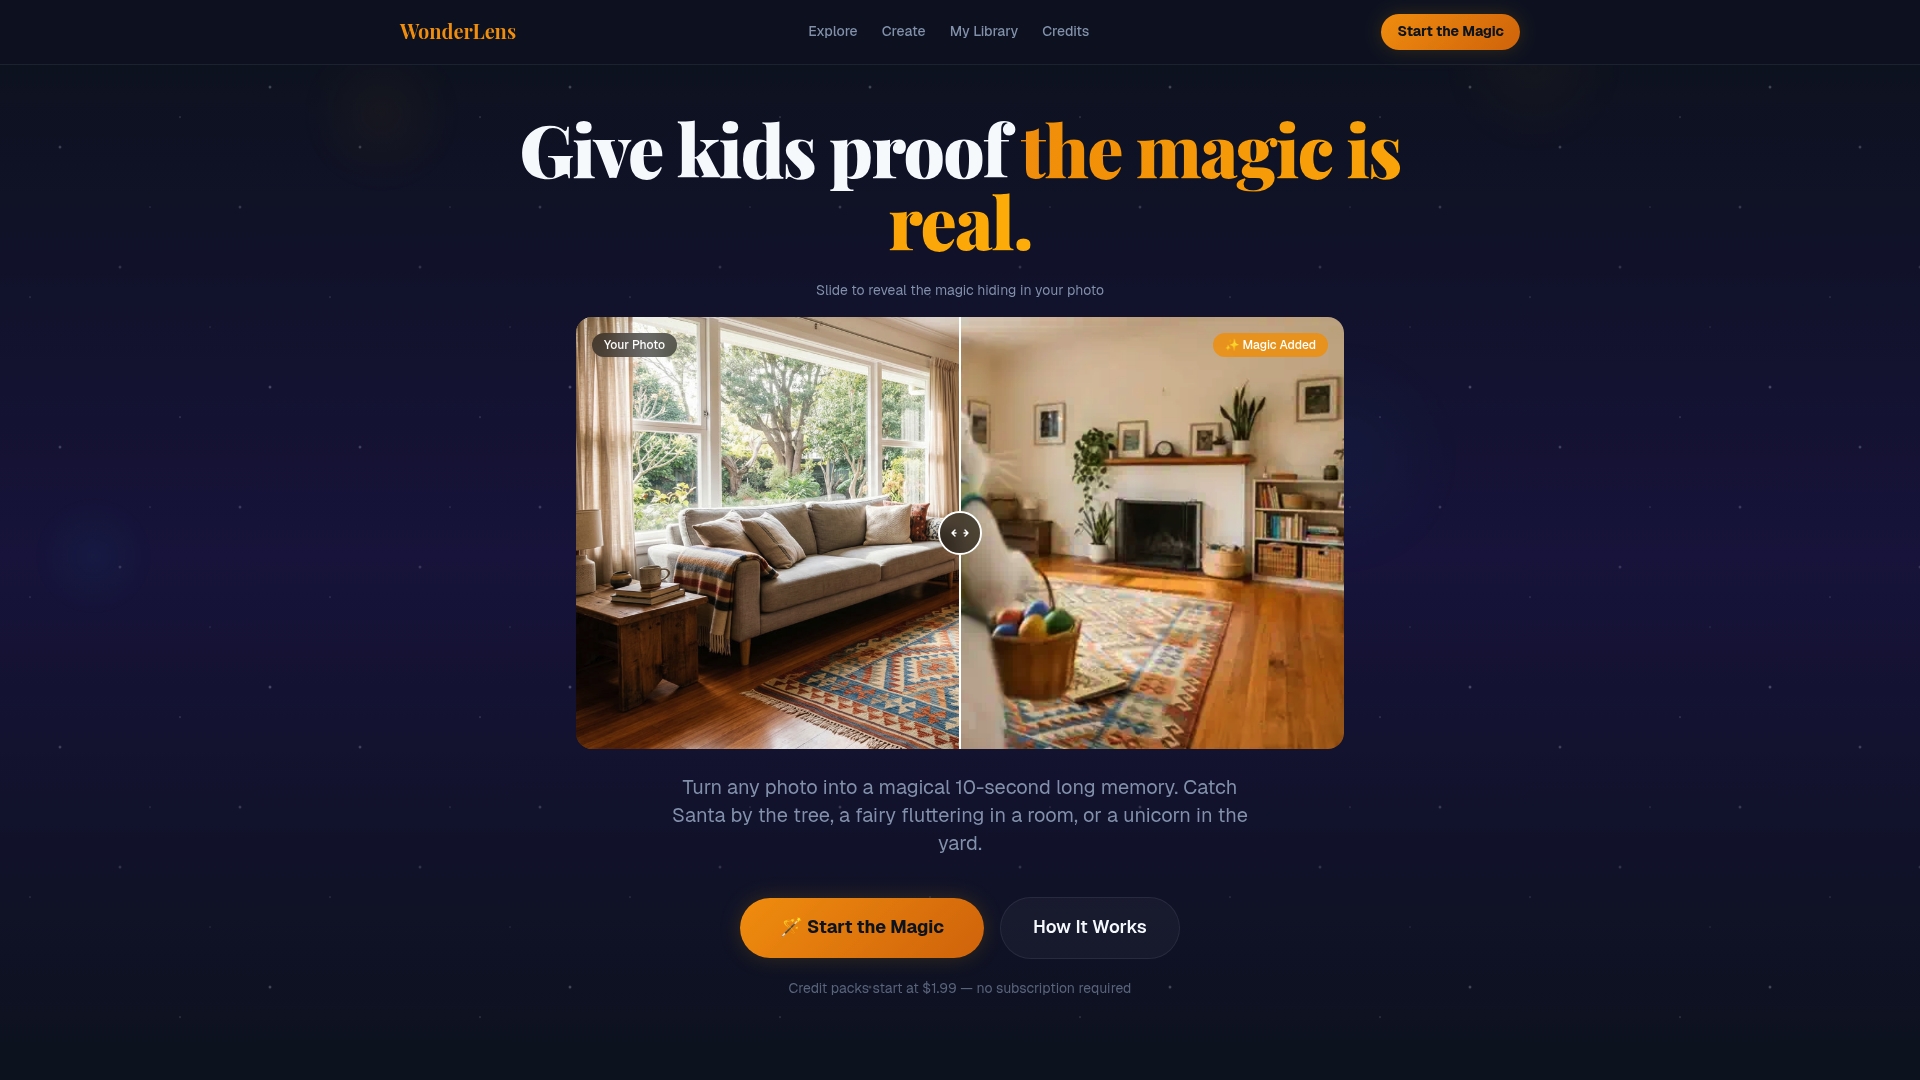
You upload your photo, pick the Easter Bunny, choose a motion style like a playful hop or a shy peek, layer in a voice line, and download a finished clip in minutes. Credits start at $1.99, and your first video is free, so there's no risk in testing whether the lighting in your own living room produces the reveal you're picturing. If you want to see what a finished clip looks like before you start, the WonderLens homepage has example videos and the full character lineup ready to try today.