Santa Was Here: 12 Easy Evidence Ideas for Parents
July 31, 2026
Six quick moves can make Christmas morning feel genuinely magical tonight. A partially eaten cookie near the fireplace, small flour footprints across the floor, a handwritten note from the North Pole, a reindeer food bowl with carrot bits, a "lost" Santa button on the rug, and a short cinematic Santa video made with Wonderlens are the six fastest, highest-impact ways to show Santa was here. Each one takes five minutes or less to plant, and together they tell a story your child will remember for years.
Here's your one-line action plan for each:
- Partially eaten cookie: Leave a half-bitten cookie and a few crumbs on the plate you set out the night before.
- Flour footprints: Dust a boot-shaped stencil with flour or baking soda from the fireplace toward the tree.
- Handwritten North Pole note: Tuck a short letter under the tree or beside the cookies in slightly different handwriting than your own.
- Reindeer food bowl: Set a small bowl with oat-and-carrot bits near the door or on the porch, with a few scattered pieces nearby.
- Santa's lost button: Drop a large, old-fashioned coat button on the floor near the tree or chimney.
- Wonderlens cinematic video: Upload a photo of your living room, select the Santa character, and generate a 10-second clip showing Santa in your actual space.
Table of Contents
- 12 practical "Santa was here" evidence ideas with steps
- How to place clues so the evidence feels genuinely real
- Where to find printables, kits, and digital Santa video options
- Age-appropriateness and safety: what to keep in mind by child age
- A practical timeline you can follow the night before Christmas
- Why small bits of evidence matter so much to kids
- Key Takeaways
- The case for keeping it simple and magical
- Wonderlens brings Santa into your actual living room tonight
- Useful sources and further reading
12 practical "Santa was here" evidence ideas with steps
These Santa evidence ideas range from two-minute setups to moderate-prep scenes you can build over a couple of nights. Each entry includes a quick materials list, simple steps, and an age note.
1. Flour footprints
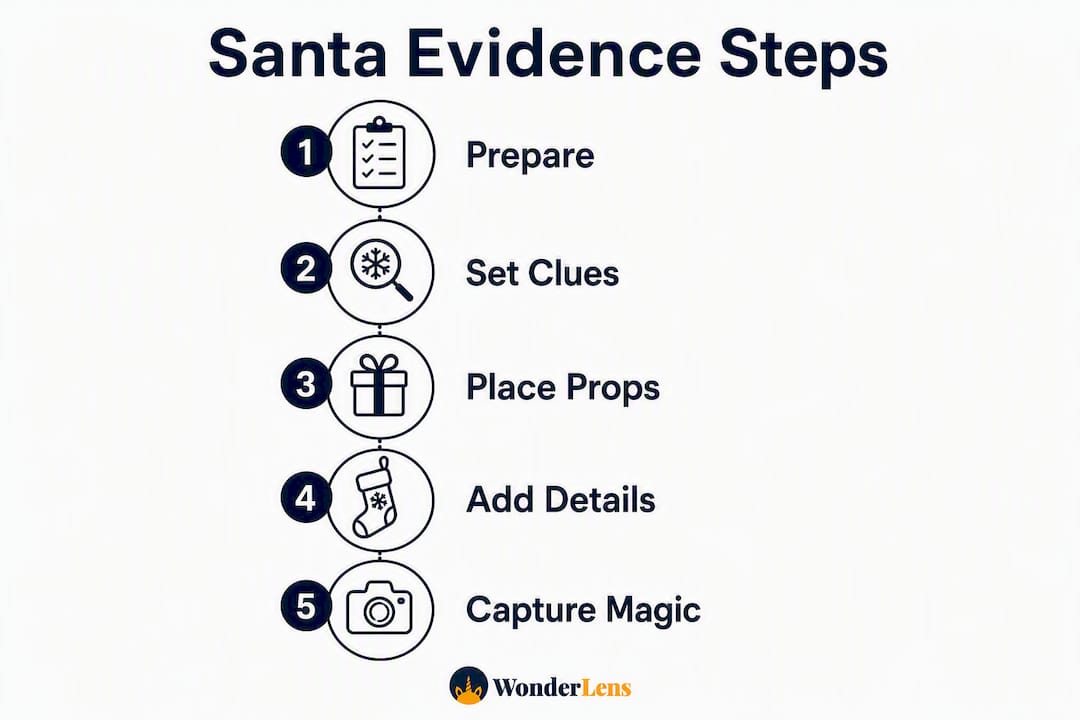
Materials: All-purpose flour or baking soda, a boot or large shoe, a paper plate.
- Pour a thin layer of flour onto the paper plate.
- Press the sole of a large boot into the flour, then stamp a trail from the fireplace or front door toward the tree.
- Leave the last print slightly smudged, as if Santa turned quickly.
Age tip: Works beautifully for toddlers through early elementary. Older kids may inspect the tread pattern, so use a boot they haven't seen.
2. Partially eaten cookies and milk
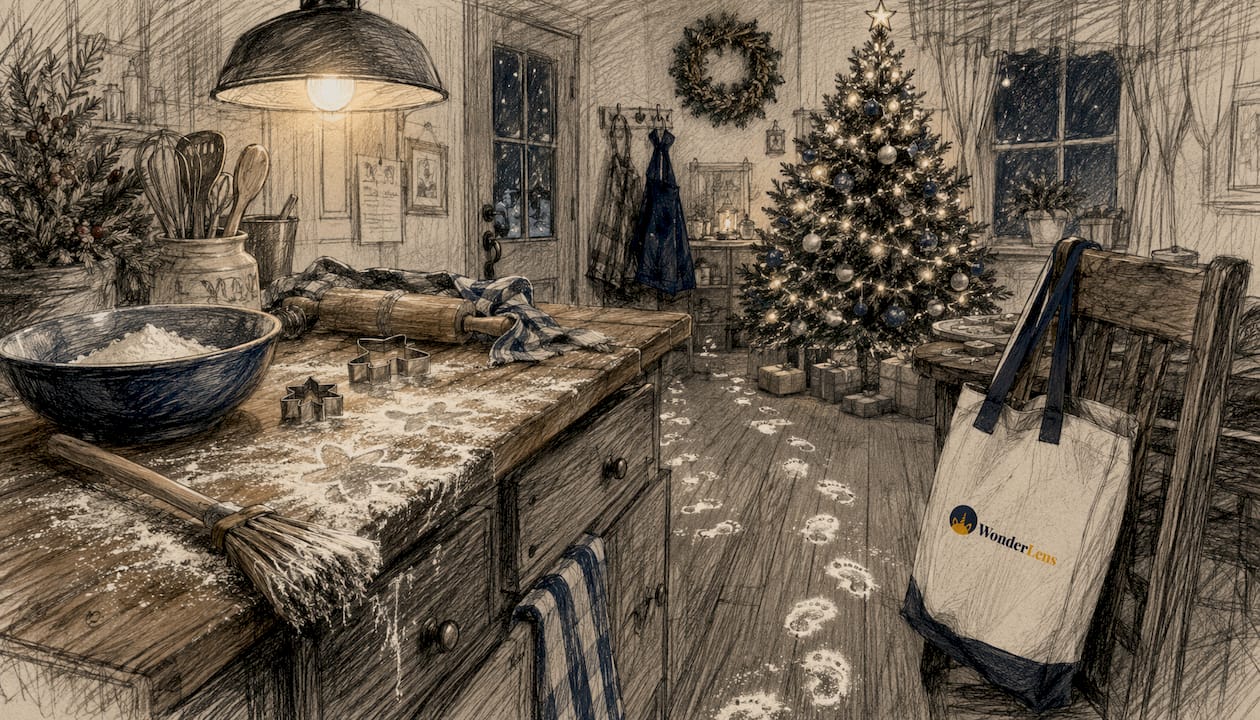
Materials: Cookies set out the night before, a glass of milk, a napkin.
- Take one or two bites from a cookie and leave the rest on the plate.
- Drink most of the milk, leaving a small amount at the bottom.
- Crumple the napkin slightly and set it beside the plate.
Age tip: Universally convincing for ages 2–9. Add a cookie crumb trail toward the tree for extra drama.
3. Handwritten letter from Santa
Materials: Aged-looking paper (lightly tea-stained works well), a pen, optional red wax seal.
- Write a short, personal note referencing the child by name and one specific thing they did well that year.
- Fold it and tuck it under the tree or prop it against the largest gift.
- Seal with a red wax stamp or a sticker that reads "North Pole Official Mail."
Age tip: Especially powerful for ages 4–10. For older kids, add a detail only Santa could know, like a private wish they never said aloud.
4. Reindeer food bowl and hoofprints
Materials: Oats, glitter (optional), baby carrots, a small bowl, a cookie sheet or tray.
- Fill the bowl with oats and a few carrot pieces; scatter a few bits on the floor nearby.
- Press a rounded oval shape (a large spoon works) into a thin layer of flour or cornstarch on a tray to suggest hoofprints.
- Place the tray near the door or just outside on the porch.
Age tip: Great for ages 3–8. Skip glitter for toddlers who might ingest it.
5. Snowy boot prints (for non-snowy climates)
Materials: White craft foam or felt, scissors, double-sided tape or a light dusting of baking soda.
- Cut two boot-sole shapes from white foam.
- Press them lightly into baking soda and stamp a path from the entry to the tree.
- Leave a faint smear at the end, as if Santa shook snow from his boots.
Age tip: Works for all ages. The foam shapes are reusable year after year.
6. Personalized gift tag in Santa's handwriting
Materials: Kraft paper tags, a pen, twine.
- Write gift tags in a slightly different style than your usual handwriting, using "From: S. Claus" or "Delivered by Reindeer Express."
- Tie them to gifts with twine instead of ribbon.
- Add a small doodle of a sleigh or star for authenticity.
Age tip: Subtle enough for skeptical 8–11-year-olds who still want to believe.
7. Santa's lost button
Materials: One large, old-fashioned coat button (dark red or gold), optional: a scrap of red fabric.
- Drop the button near the fireplace or at the base of the tree.
- If you have a scrap of red felt or fleece, tuck it under the button as if it tore from his coat.
- Leave it in plain sight but not too obvious — let your child discover it naturally.
Age tip: Perfect for curious 5–10-year-olds who love physical clues. Pair it with the handwritten note for a full story.
8. Altered gift wrap with North Pole stamps
Materials: A rubber stamp or printed "North Pole Delivery" label, red ink pad, brown kraft paper.
- Wrap one or two gifts in plain kraft paper.
- Stamp "North Pole Official Delivery" across the paper in red ink.
- Add a fake tracking number or postmark date of December 24th.
Age tip: Works best for ages 6 and up who understand the concept of mail and packages.
9. Cinematic Santa video with Wonderlens
Materials: A smartphone or computer, a well-lit photo of your living room, a Wonderlens account.
- Take a clear, well-lit photo of your living room during the day (better lighting means a sharper final video).
- Upload the photo to Wonderlens, select the Santa character, and generate your 10-second clip.
- Play the video on your TV or tablet on Christmas morning, or save it to show the kids when they come downstairs.
Age tip: The cinematic realism lands hardest for ages 4–10, but older kids who love tech will be genuinely impressed by the lighting and shadow detail.
10. Reindeer droppings
Materials: Raisinets, chocolate-covered almonds, or brown M&Ms; a small paper bag labeled "Reindeer Evidence."
- Scatter a small handful near the front door or on the porch.
- Leave the paper bag nearby as if it fell from the sleigh.
- Add a note: "Dasher was here."
Age tip: Kids ages 4–8 find this hilarious. Make sure the candy is age-appropriate and free of allergens for your child.
11. North Pole postmark letter (mailed in advance)
Materials: A printed or handwritten letter, an envelope, a stamp.
- Write or print a personalized letter from Santa and address it to your child.
- Mail it to yourself at least two weeks before Christmas so it arrives in time.
- Hold it back and place it under the tree on Christmas Eve.
Age tip: The physical postmark adds a layer of authenticity that digital letters can't match. Best for ages 5–10. Official NORAD Tracks Santa also offers free printable resources that pair well with a mailed letter.
Pro Tip: Mail the letter from a city with a festive name — North Pole, Alaska is a real place and its postmark is genuinely convincing.
12. Tiny elf footprint trail
Materials: A small rubber stamp or a finger dipped in washable paint, paper, tape.
- Stamp or paint tiny footprints on strips of paper.
- Tape them in a trail from the front door to the tree, as if an elf scout arrived first.
- End the trail at a small wrapped gift or a note that says "Santa's on his way."
Age tip: Wonderful for ages 3–7. Older kids may enjoy the story of the elf scout as a standalone tradition.
How to place clues so the evidence feels genuinely real
The single biggest mistake parents make is placing one obvious prop and calling it done. A trail of small discoveries, each one building on the last, feels far more authentic than a single staged scene.
Think in three beats: a first clue near the entry (footprints or the reindeer bowl), a middle clue near the tree (the button or gift tags), and a final reveal (the letter or the Wonderlens video). That mini-narrative gives kids a story to follow rather than a prop to stare at.
Placement matters as much as the prop itself. Leave items where a child's natural path takes them: the entryway, the living room floor, the space in front of the fireplace. Avoid placing clues in spots kids don't normally go, or the discovery feels staged rather than accidental.
Dos and don'ts:
- Do use partial items rather than whole ones. A half-eaten cookie is more convincing than an untouched one. A single button is more mysterious than a pile of props.
- Do mix digital and physical evidence. A Wonderlens video creates the "arrival" moment; physical clues extend the discovery and keep the magic alive through the morning.
- Don't over-explain. Let the clues speak. If your child asks questions, answer with wonder, not a script.
- Don't place props near stairs, heat sources, or anywhere a sleepy child could trip in the dark.
Pro Tip: Capture your living room photo for Wonderlens during the afternoon on December 24th, while the light is still good. Good lighting in the source photo produces sharper shadows and more realistic character rendering in the final video.
Where to find printables, kits, and digital Santa video options
You have three main routes: DIY printables, ready-made physical kits, and cinematic AI video services. Each fits a different budget and prep style.
Printable templates are the fastest free option. A quick search turns up dozens of North Pole letter templates you can customize in Google Docs or Canva, print on aged-looking paper, and have ready in under 20 minutes. Look for templates that include a postmark graphic and a signature line.
Ready-made evidence kits like those from SantaProof bundle physical props including footprint stamps, official-looking letters, and North Pole seals into one package. They save prep time and are worth the cost if you want a polished, cohesive scene without hunting for individual materials. Order at least two weeks before Christmas to avoid shipping delays.
Digital and cinematic video options do something printables can't: they place Santa inside your actual home. Wonderlens renders a short, 10-second animated clip using a photo of your living room, with realistic lighting, shadows, and character movement. The result looks nothing like a basic sticker overlay.
| Option | Prep time | Cost range | Best for |
|---|---|---|---|
| DIY printable letter | 20 min | Free | Parents who want personalization on a budget |
| Ready-made evidence kit | 5–10 min (unboxing) | Paid (varies) | Busy parents who want a complete physical scene |
| Wonderlens cinematic video | 5–10 min | From a few dollars per video | Families who want a shareable, high-realism digital moment |
Mailing deadline note: If you want a real postmark on a Santa letter, mail it by December 10th to be safe. North Pole, Alaska (a real city) will postmark your letter if you send it with a self-addressed stamped envelope to their post office before mid-December.
Budget vs. premium tip: Start with one or two free printables and one physical prop (the button or footprints). Add a Wonderlens video as the cinematic centerpiece. That combination covers every sensory channel without breaking the bank.
Age-appropriateness and safety: what to keep in mind by child age
Not every idea works for every age, and a few carry real safety considerations worth knowing before you set up tonight.
Age guide:
- Toddlers (ages 1–3): Stick to cookie crumbs, a simple letter, and the reindeer food bowl (no glitter, no small objects). Avoid anything a toddler could put in their mouth, including buttons, small stamps, and loose glitter.
- Preschool (ages 3–5): Flour footprints, the reindeer bowl, and the elf trail all land well. Keep props large and non-toxic.
- Early elementary (ages 5–8): The full range works here. This is the sweet spot for the Santa button, the North Pole letter, and the Wonderlens video.
- Older children (ages 9–12): Subtle clues work better than obvious ones. The personalized gift tag, the mailed letter with a real postmark, and the cinematic video are the most convincing for this group.
Safety checklist:
- Avoid small buttons, wax seal pieces, or glitter near toddlers and infants.
- Keep flour or baking soda footprints away from the kitchen if anyone in the house has a flour allergy.
- Check that any "reindeer droppings" candy is allergen-safe for your child.
- Never place props on stairs, in doorways, or near candles or fireplaces where a child could trip or burn themselves.
- Keep the Wonderlens video saved and ready to play rather than leaving a device unattended and unlocked overnight.
On parental disclosure: If an older child sincerely asks whether Santa is real, a gentle, honest conversation that honors the spirit of the tradition is always the right call. The magic of Christmas doesn't depend on a perfect illusion.
A practical timeline you can follow the night before Christmas
You can pull off a convincing scene in under an hour. Here's how to pace it.
9:00 p.m. Set out the cookie plate and milk. Place the reindeer food bowl near the door. These are your "before Santa arrives" props and should look like they were left by the kids.
11:00 p.m. Plant the main evidence: flour footprints, the Santa button, altered gift tags, and the North Pole letter. This is the core of your scene. If you're using a Wonderlens video, have it downloaded and ready to play on a device.
Just before bed: Do a final walkthrough. Make sure no props are in a trip hazard zone, devices are charged, and any printouts are in place. Hide any unused materials so curious kids don't find them in the morning.
| Evidence idea | Time estimate |
|---|---|
| Cookie and milk setup | 2–5 min |
| Flour footprints | 5–10 min |
| Handwritten Santa letter | 10 min |
| Reindeer food bowl and hoofprints | 5–10 min |
| Santa's lost button | 2–5 min |
| Wonderlens video (generate + download) | 5–10 min |
| North Pole gift tags | 5–10 min |
| Elf footprint trail | 10–20 min |
Quick reminder: Charge your phone or tablet before bed. Save the Wonderlens video to your camera roll so you're not waiting for a download at 6:00 a.m. Tuck any leftover props, flour bags, or stamp kits out of sight.
Why small bits of evidence matter so much to kids
The Cumberland, Rhode Island story from early 2023 is the clearest proof that simple evidence carries enormous emotional weight. A 10-year-old girl named Scarlett Doumato submitted a half-eaten cookie and two baby carrots to her local police department, asking for a DNA test to confirm Santa's existence. Cumberland Police Chief Matthew Benson launched a formal investigation, complete with forensic testing and a presentation for Scarlett and her family.
His conclusion, delivered publicly, became a moment that reached millions:
That story spread because the evidence was simple: a bitten cookie, a chewed carrot. The community response showed that small, staged clues don't need to be forensically perfect. They need to invite curiosity. A child who finds a footprint and a button and a note isn't looking for proof. They're looking for a story to believe in. Your job as a parent is to give them one worth telling.
Staged discovery also builds something beyond holiday magic. When kids follow a trail of clues, they practice observation, sequencing, and storytelling. The emotional benefit of short animated clips works the same way: a cinematic moment gives children a shared memory they'll describe to friends and revisit for years.
Key Takeaways
The most believable "Santa was here" scene combines a trail of subtle physical clues with one cinematic digital moment, staged in under an hour the night before Christmas.
| Point | Details |
|---|---|
| Mix physical and digital evidence | Pair flour footprints or a Santa button with a Wonderlens video for the strongest combined effect. |
| Stage a discovery trail | Plant clues in three locations (entry, tree area, final reveal) so kids follow a story, not just find a prop. |
| Keep props subtle and partial | A half-eaten cookie and a single button are more convincing than an elaborate, obviously staged scene. |
| Prioritize safety by age | Avoid small objects and glitter near toddlers; keep all props away from stairs and heat sources. |
| Wonderlens for cinematic proof | Upload a living room photo, select Santa, and generate a short clip for a shareable, high-realism video. |
The case for keeping it simple and magical
There's a temptation to go all-out: elaborate footprint trails, multiple letters, a full evidence kit, and a video. But the Cumberland story is a useful reminder that a half-eaten cookie and two carrots moved millions of people. The most powerful evidence of Santa isn't the most elaborate. It's the most personal.
What I find genuinely moving about that story is Chief Benson's framing: Scarlett didn't just preserve her own wonder. She brought adults back to a time of innocence they hadn't visited in years. That's what you're really doing when you plant a button near the fireplace or set up a Wonderlens clip on the TV. You're not just delighting your child. You're creating a shared family memory that will outlast the morning.
My preference is always to combine one cinematic moment with two or three quiet physical clues. The video creates the "arrival" feeling. The footprints and the note extend it. Together, they give kids something to talk about, point to, and remember. The magic isn't in the perfection of the illusion. It's in the story the clues tell together.
Wonderlens brings Santa into your actual living room tonight
Every physical clue you plant tonight tells part of the story at CastleCourt this Christmas. Wonderlens adds the cinematic chapter: a 10-second animated video of Santa moving through your actual living room, with realistic lighting and shadows that match your space.

Here's how to get your video tonight:
- Open Wonderlens in any browser — no app download needed.
- Upload a well-lit photo of your living room (daytime shots produce the sharpest results).
- Select the Santa character and generate your personalized clip.
- Download the video and save it to your camera roll, ready to play on Christmas morning.
Credits start at a modest fee, and your first video is free. Pair the clip with a flour footprint trail and a handwritten note for a full, multi-sensory experience your kids will be talking about all year. Get started at Wonderlens and have your video ready before midnight.
Useful sources and further reading
- R.I. police find convincing evidence of Santa after inquiry from local girl — Boston.com's coverage of the Cumberland investigation and the community response it sparked.
- Findings Released in Rhode Island DNA Investigation of Santa Claus — TODAY's full account of Chief Benson's memorandum and Scarlett's briefing, including his direct quotes.
- Cold case solved by Cumberland Police: 'Yes, (Scarlett), there is a Santa Claus' — The Providence Journal's local reporting on the community joy the case created.
- 12 Santa Evidence Ideas Your Kids Will LOVE — The Savvy Sparrow's roundup of classic physical props and planting instructions.
- SantaProof — Santa Claus Official Evidence Kits — Ready-made kits with footprint stamps, letters, and North Pole seals for parents who want a complete physical scene.
- Official NORAD Tracks Santa — Free printable resources and the official Santa tracker, useful for pairing with a mailed North Pole letter.
- Wonderlens — Catch Santa in Your Living Room — The Wonderlens product page for creating a cinematic Santa video from your own home photo.
Recommended
- Catch Santa Claus in Your Living Room — Realistic Video Proof | WonderLens | WonderLens
- How to add Santa to your photos for holiday magic — WonderLens | WonderLens
- How Santa animations enhance Christmas magic for kids — WonderLens | WonderLens
- Creative Tips for Christmas Surprises That Families Love. WonderLens | WonderLens