Tooth Fairy Video Ideas You Can Make Tonight
August 7, 2026
The best tooth fairy video ideas you can pull off tonight are: a room-evidence clip, a keepsake-swap close-up, a fairy flyover overlay, a storybook voiceover with animated cameo, a caught-on-camera silhouette, a message-in-a-note reveal, and a family-actor handoff skit. Each one is short, personal, and believable because it uses your child's real room and real details.
Here's what makes these work: a clip filmed in your child's actual bedroom, with their name whispered in the voiceover and their specific pillow in the frame, feels like proof. Generic fairy footage does not.
Quick-action checklist (under 5 minutes):
- Phone charged and camera set to video
- One warm lamp on in the child's room
- A tiny note or coin ready as the keepsake prop
- A stable surface or mini tripod for steady shots
- One line of script written out (see Section 7)
Quick picks by idea:
- Room-evidence clip: Film a slow pan of the tidy room. Prop: glitter on the windowsill. Script: "She was here."
- Keepsake-swap close-up: Macro shot of the tooth box, then the coin. Prop: small decorative box. Script: "The tooth is gone — and look what she left."
- Fairy flyover overlay: Wide shot of the bedroom with a fairy animation layered in. Prop: open window or curtain. Script: "Did you see that?"
- Storybook voiceover: Slow room pan with a narrated fairy story. Prop: a tiny scroll note. Script: "Once upon a tooth…"
- Caught-on-camera silhouette: Backlit doorway with a small shadow moving across. Prop: flashlight behind a cutout. Script: "We almost caught her."
- Message-in-a-note reveal: Close-up of a handwritten or printed fairy note being "discovered." Prop: tiny folded note. Script: "She left you a message."
- Family-actor handoff skit: A sibling or parent in a sparkly costume passes the keepsake. Prop: wings and wand. Script: "She asked me to give you this."
Pro Tip: Don't try to show the fairy clearly. Suspense — a glimmer, a shadow, a note — is far more magical than a full reveal.
Key Takeaways
The single most effective tooth fairy video is a short, personalized clip filmed in your child's real room, with their name in the voiceover and one clear magical detail as the reveal.
| Point | Details |
|---|---|
| Film in the real room | Your child's actual bedroom is the most powerful believability tool you have. |
| Personalize one detail | Adding the child's name to the voiceover or note transforms a cute clip into a keepsake. |
| Keep it under 15 seconds | Short clips get replayed; longer ones get watched once. |
| Match lighting to the room | Warm lamp light beats overhead lighting every time for a magical, realistic feel. |
| Wonderlens for fast, realistic results | Upload one room photo, pick a fairy character, and download a finished AI-animated clip — first video free. |
Table of Contents
- What are the best tooth fairy video ideas you can film tonight?
- How do you film a believable tooth fairy clip at home?
- What personalization tricks make the visit feel real?
- What's the easiest way to add a fairy to your video?
- How long does making a tooth fairy video actually take?
- Copyable scripts, voiceovers, and social captions
- How do you share tooth fairy videos safely?
- Why a personalized video approach creates the most lasting magic
- Wonderlens makes a polished fairy clip fast
- Sources
What are the best tooth fairy video ideas you can film tonight?
Seven concepts, each with a shot list, props, and a one-line script you can copy.
1. Room-evidence clip
Film a slow, steady pan across your child's bedroom. Start at the door, move toward the pillow, and end on the empty tooth box. The absence of the tooth is the reveal.
- Shots: Wide of the room, medium of the pillow, close-up of the empty box
- Props: Glitter on the windowsill, a tiny footprint stamp (optional)
- Script: "She was here. Look — the tooth is gone."
- Clip length: 8–10 seconds
2. Keepsake-swap close-up
Macro footage of the tooth box before and after the swap. The coin or small gift appearing where the tooth was is the magic moment. America's Tooth Fairy recommends tiny notes and keepsake containers as some of the most memorable props parents can use.
- Shots: Close-up of closed box, slow open, close-up of coin
- Props: Decorative tooth box, gold coin or small gem
- Script: "The tooth is gone — and look what she left."
- Clip length: 5–8 seconds
3. Fairy flyover overlay
A wide shot of the bedroom with a fairy animation layered over the footage. The fairy glides across the frame near the window or curtain, then disappears. This is where a tool like Wonderlens adds real visual weight: its AI-driven rendering matches the fairy's lighting and shadow to your room's actual light source, so the character looks like it belongs there rather than floating on top.
- Shots: Wide of room from doorway, slow zoom toward window
- Props: Open curtain, warm lamp on
- Script: "Did you see that?"
- Clip length: 8–12 seconds
4. Storybook voiceover with animated fairy cameo
A slow room pan paired with a whispered narration. Add a brief animated fairy cameo at the end. This format works beautifully for younger children who love a story as much as the surprise.
- Shots: Door, hallway, bedroom, pillow, keepsake
- Props: Tiny scroll note, soft music in background
- Script: "Once upon a tooth, a tiny visitor came in the night…"
- Clip length: 12–15 seconds
5. Caught-on-camera silhouette
Backlight a doorway or window with a flashlight behind a small fairy cutout. Film the shadow moving across the wall. This is one of the easiest effects to create with zero apps. A real-room video example shows how parents have used this caught-on-camera approach to great effect.
- Shots: Darkened room, shadow crossing the wall, quick cut to empty tooth box
- Props: Flashlight, paper fairy cutout
- Script: "We almost caught her."
- Clip length: 6–10 seconds
6. Message-in-a-note reveal
Film a close-up of a tiny, handwritten or printed fairy note being "discovered" under the pillow. Free printable Tooth Fairy notes from Handmade Charlotte give you beautifully designed templates you can print and film in minutes.
- Shots: Under-pillow reveal, close-up of note text, reaction pan
- Props: Printed or handwritten fairy note, small envelope
- Script: "She left you a message."
- Clip length: 8–10 seconds
7. Family-actor handoff skit
A sibling, parent, or other family member in a sparkly costume delivers the keepsake on the fairy's behalf. Lean into the humor and warmth. A themed kids' costume or graphic tee with a fairy motif can even make a quick skit feel polished.
- Shots: Actor entering frame, close-up of keepsake handoff, child's reaction
- Props: Wings, wand, sparkly outfit
- Script: "She asked me to give you this."
- Clip length: 10–15 seconds
Pro Tip: Shoot each concept in sequence using the shot list above. Doing the wide shot first, then medium, then close-up takes about 3 minutes per idea and gives you natural editing options.
How do you film a believable tooth fairy clip at home?
The single best setup: phone on a stable surface or mini tripod, in your child's real room, with one warm bedside lamp on. That combination alone makes footage feel authentic.
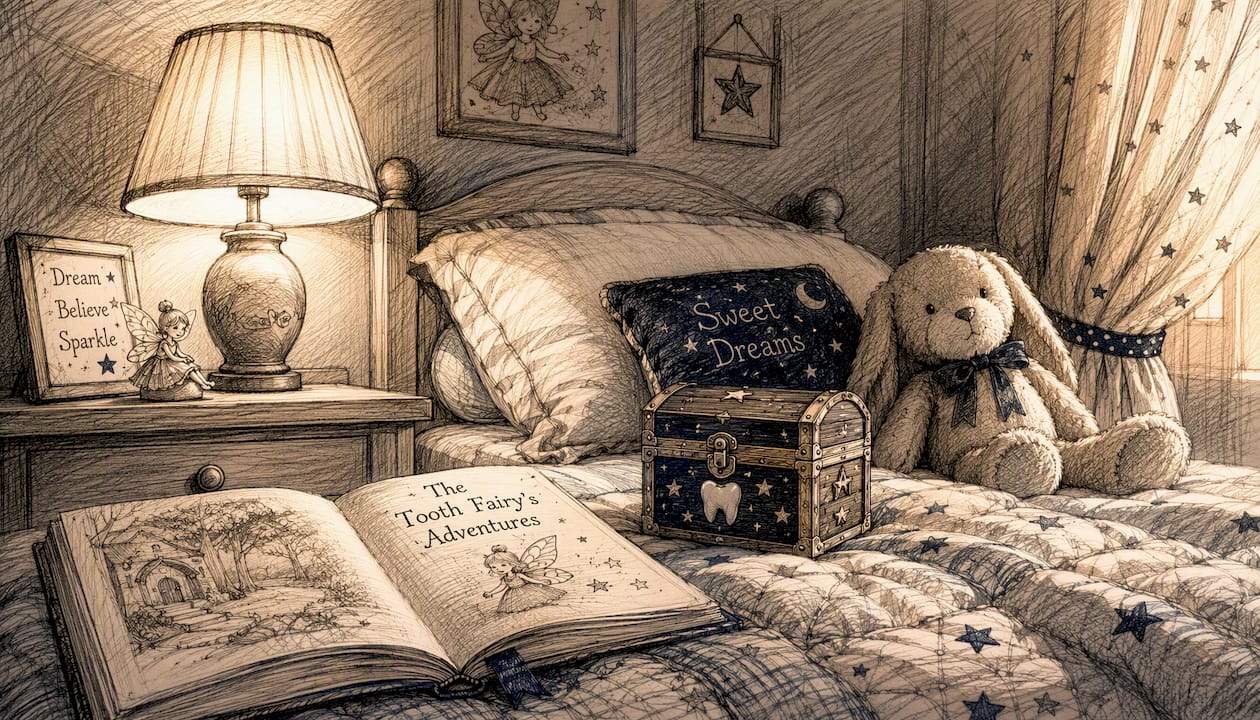
Lighting: Avoid overhead lights. A warm lamp at low height creates soft shadows and a golden glow that reads as magical rather than clinical. If you have a small LED candle or string lights, those work beautifully as secondary sources.
Angles: Shoot low, near floor level, to suggest something small moving through the space. Close-ups of the pillow, the tooth box, and the windowsill feel intimate and real. Wide shots establish the room as your child's actual space, which is the most powerful believability signal you have.
Timing: Record after your child is asleep, with the room looking exactly as it did at bedtime. Don't rearrange furniture or add obvious props that weren't there before. The room should look undisturbed except for the one magical detail you're revealing.
Filming checklist:
- Set phone to the highest video resolution available
- Place phone on a stable surface or use a small tripod
- Turn on one warm lamp; turn off overhead lights
- Film the wide shot of the room first
- Move to the medium shot of the pillow area
- Finish with the close-up reveal (empty box, coin, note)
- Keep each clip under 15 seconds
Pro Tip: Stage "evidence" rather than showing the full fairy action. A trail of glitter leading to the windowsill, or a tiny footprint near the tooth box, creates suspense that a full fairy reveal rarely matches. The step-by-step guide for families from Wonderlens walks through this staging approach in detail.
What personalization tricks make the visit feel real?
Personalized details — your child's name, their real room, a reference to this specific tooth — are the single biggest factor in making a clip believable. A generic fairy video is cute. A fairy video that mentions your child by name, filmed in their bedroom, with their favorite blanket in the frame, feels like proof.
High-impact personalization moves:
- Say the child's name in the voiceover. Even once. "She came especially for Lily tonight." That line does more work than any visual effect.
- Show their specific pillow or blanket. Familiar objects ground the magic in their real world.
- Reference the milestone. First tooth lost? Say so. "Your very first tooth — she was so excited."
- Include a tiny note with their name on it. Handwritten or printed, a personalized note is a keepsake the child can hold. Personalized video research consistently shows that name-specific details increase emotional engagement and replay value.
- Swap the keepsake for something meaningful. A gold coin, a small gem, or a tiny charm tied to their interests makes the exchange feel curated rather than routine. The Delta Dental Tooth Fairy poll provides cultural context for expected payout amounts, but the real memory comes from the personal touch, not the amount.
Pro Tip: Keep personalization warm and vague on verifiable specifics. Saying "she flew all the way from the Fairy Forest" is enchanting. Saying "she lives at 42 Maple Lane" invites questions you can't answer. Wonder lives in the space between the magical and the knowable.
What's the easiest way to add a fairy to your video?
Three approaches work well, each with different trade-offs in realism, time, and effort.
AR filters and stickers (fastest): TikTok and Instagram both offer fairy-themed AR filters you can apply in real time while filming. Speed is the advantage. Realism is the limit — filters sit on top of the footage rather than integrating with the room's lighting, so the fairy can look pasted on.
DIY overlays in phone apps (middle ground): Apps like CapCut or iMovie let you layer a fairy animation clip over your room footage. You control placement and timing. It takes 15–30 minutes for a first attempt, and the results depend heavily on how well the overlay matches your room's light.
AI-animated insertion (most realistic): This is where AI-driven rendering produces a noticeably different result. When the fairy's shadow falls in the same direction as your room's light source, and the character's glow matches the warmth of your lamp, the clip looks like the fairy was actually there. Wonderlens uses this approach, placing fairy characters into your uploaded room photo with lighting and shadow integration built in.
Simple workflow for the AI-animated route:
- Take a clear photo of your child's bedroom (lamp on, room tidy)
- Upload the photo to Wonderlens
- Select a fairy character (the Star Fairy is a popular choice)
- Add your child's name or a short personalized message
- Preview the 10-second animated clip
- Download and share
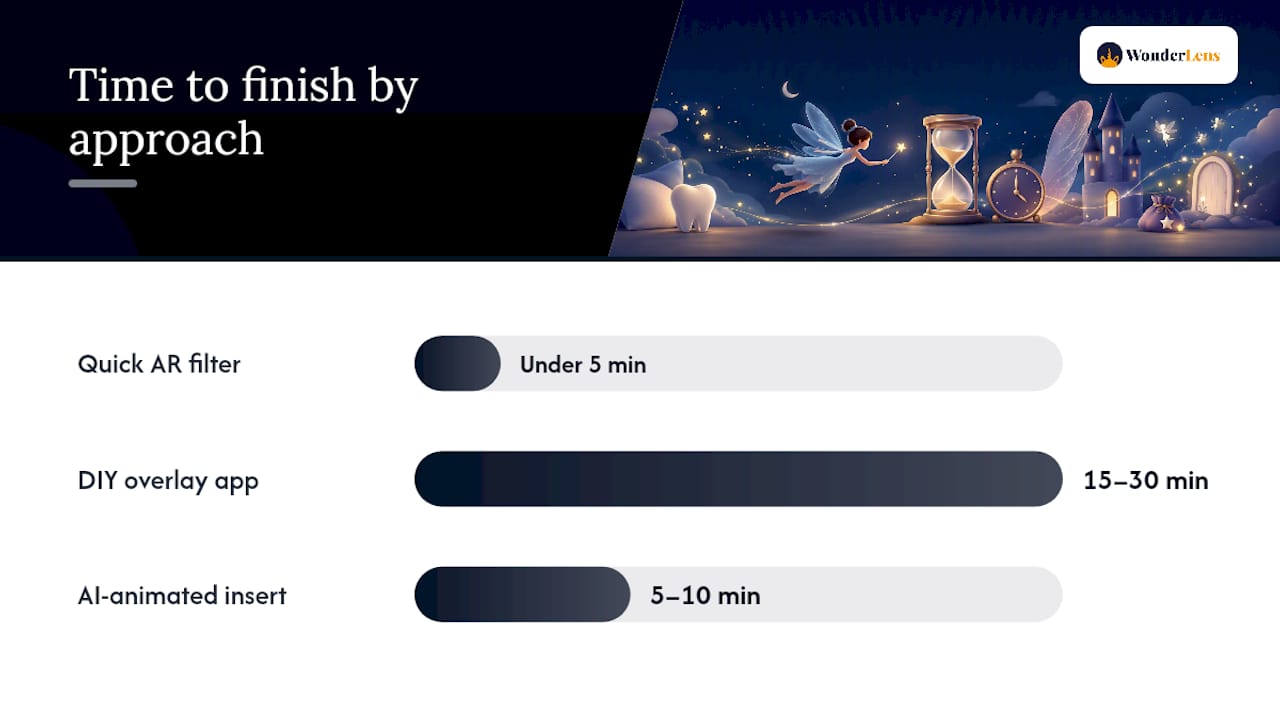
| Approach | Ease | Time to finish | Realism | Best for |
|---|---|---|---|---|
| Quick AR filter | Very easy | Under 5 min | Low | Fast, casual clips |
| DIY overlay app | Moderate | 15–30 min | Medium | Parents comfortable with editing |
| AI-animated insert | Very easy | 5–10 min | High | Keepsake-quality, shareable clips |
Pro Tip: Choose the AI-animated route when the clip is meant to be saved and replayed — a first lost tooth, a milestone moment. Use a quick filter when you need something in two minutes and the child is about to wake up.
How long does making a tooth fairy video actually take?
Short clips take 10–60 minutes from shoot to share, depending on which approach you choose. Here's what that looks like in practice.
Quick AR filter clip: 5–10 minutes total. Open TikTok or Instagram, find a fairy filter, film in your child's room, and save. No editing required. Cost: free.
DIY overlay clip: 20–40 minutes. Film your room footage (5–10 minutes), find or purchase a fairy animation clip, import both into a phone editor, align the overlay, and export. Cost: free to a few dollars for a premium animation asset.
AI-animated clip: 10–15 minutes. Take one room photo, upload it, select your character, personalize, and download. The editing work is done for you. Wonderlens credits start at $1.99 per video, and the first video is free to try.
Scheduling tip: Do your prep before bedtime. Charge your phone, set up the lamp, and place your props while your child is still awake (just not in the room). Once they're asleep, filming takes 3–5 minutes. Final editing or uploading happens after you're sure they're down for the night.
Pro Tip: The step-by-step family video guide recommends keeping your total production window under 20 minutes so the magic doesn't turn into a late-night project. Prep is everything.
Copyable scripts, voiceovers, and social captions
Here are ready-to-use lines organized by clip type. Copy, adjust the name, and go.
Evidence clip voiceovers:
- "She was here. Look — the tooth is gone, and she left something behind."
- "The Tooth Fairy visited [child's name] last night. Can you believe it?"
- "Shh. She just left. Look at the glitter on the windowsill."
Keepsake-swap voiceovers:
- "[Child's name]'s very first tooth — and she left the most beautiful little coin."
- "Open it slowly. She always wraps her gifts in fairy dust."
Animated cameo voiceovers:
- "There she is. Did you see her wings?"
- "She flew all the way here just for you, [child's name]."
Note reveal lines (for printed or handwritten notes):
- "Dear [child's name], your tooth was the brightest one I collected all year. Keep smiling. Love, The Tooth Fairy."
- "You were so brave. Sweet dreams, little one."
TikTok and YouTube Shorts captions:
- "The Tooth Fairy visited our house last night ✨ #toothfairy #magicmoments #kidsmagic"
- "She left a note. My kid's face when they read it 🥹 #toothfairyvideo #childhoodmagic"
- "Caught on camera (kind of) 🧚 #toothfairy #parentingwin"
Recommended sound cues: A soft bell chime or harp arpeggio under the voiceover adds instant magic. Both are available as free audio in TikTok's sound library and YouTube's Audio Library. Keep the music low so the voiceover stays clear.
- Search "fairy bells" or "magic chime" in your platform's audio library
- Set the music volume to 20–30% of the voiceover level
- Fade the music in at the start and out at the end for a polished feel
How do you share tooth fairy videos safely?
Keep files private by default. Only share on public platforms with care, and never include personal identifiers in public captions.
Core safety rules:
- Avoid your child's full name, school, or location in any public caption
- Use first name only, or a nickname, if you share publicly
- Check platform privacy settings before posting — set to "friends only" or "private" on Facebook and Instagram
- Ask older children (ages 7 and up) before posting their reaction video publicly
- Avoid loud, sudden sound effects for children under 3; keep the audio soft and warm
Private sharing workflow:
- Download the finished video to your phone's camera roll
- Upload to a private Google Photos album or iCloud shared album
- Share the link only with family members you choose
- For YouTube, set the video to "Unlisted" so only people with the link can view it
A quick note on TikTok: the platform's default setting is public. If you post there, switch to "Friends" or "Private" before uploading, especially for videos that show your child's bedroom or include their name.
Why a personalized video approach creates the most lasting magic
The most memorable tooth fairy moments aren't the ones with the fanciest effects. They're the ones where the child watches the clip and says, "That's MY room." That recognition — the moment the magical and the familiar collide — is what makes a short video a keepsake rather than a novelty.
Generic fairy stickers and basic overlays have their place. But when the fairy's glow matches the warm lamp on your child's nightstand, and her shadow falls across the same blanket your child sleeps under every night, the clip stops being a cute trick and starts feeling like evidence. That's the difference AI-driven lighting and shadow integration makes in practice.
The other thing worth saying plainly: short is better. A 10-second clip your child watches fifteen times has more magic in it than a two-minute production they watch once. Wonderlens's 10-second format isn't a limitation — it's the right length for wonder.
One caution: resist the pull to share every magical moment publicly. The most powerful versions of these clips live on a family device, replayed at breakfast, not on a public feed. The child's sense of wonder is the point. Protect it.
Wonderlens makes a polished fairy clip fast
For a realistic fairy cameo without any editing work, upload a photo of your child's room to Wonderlens and let the AI place a fairy character directly into the scene. The lighting matches your room. The shadows fall correctly. The result looks like the fairy was actually there.
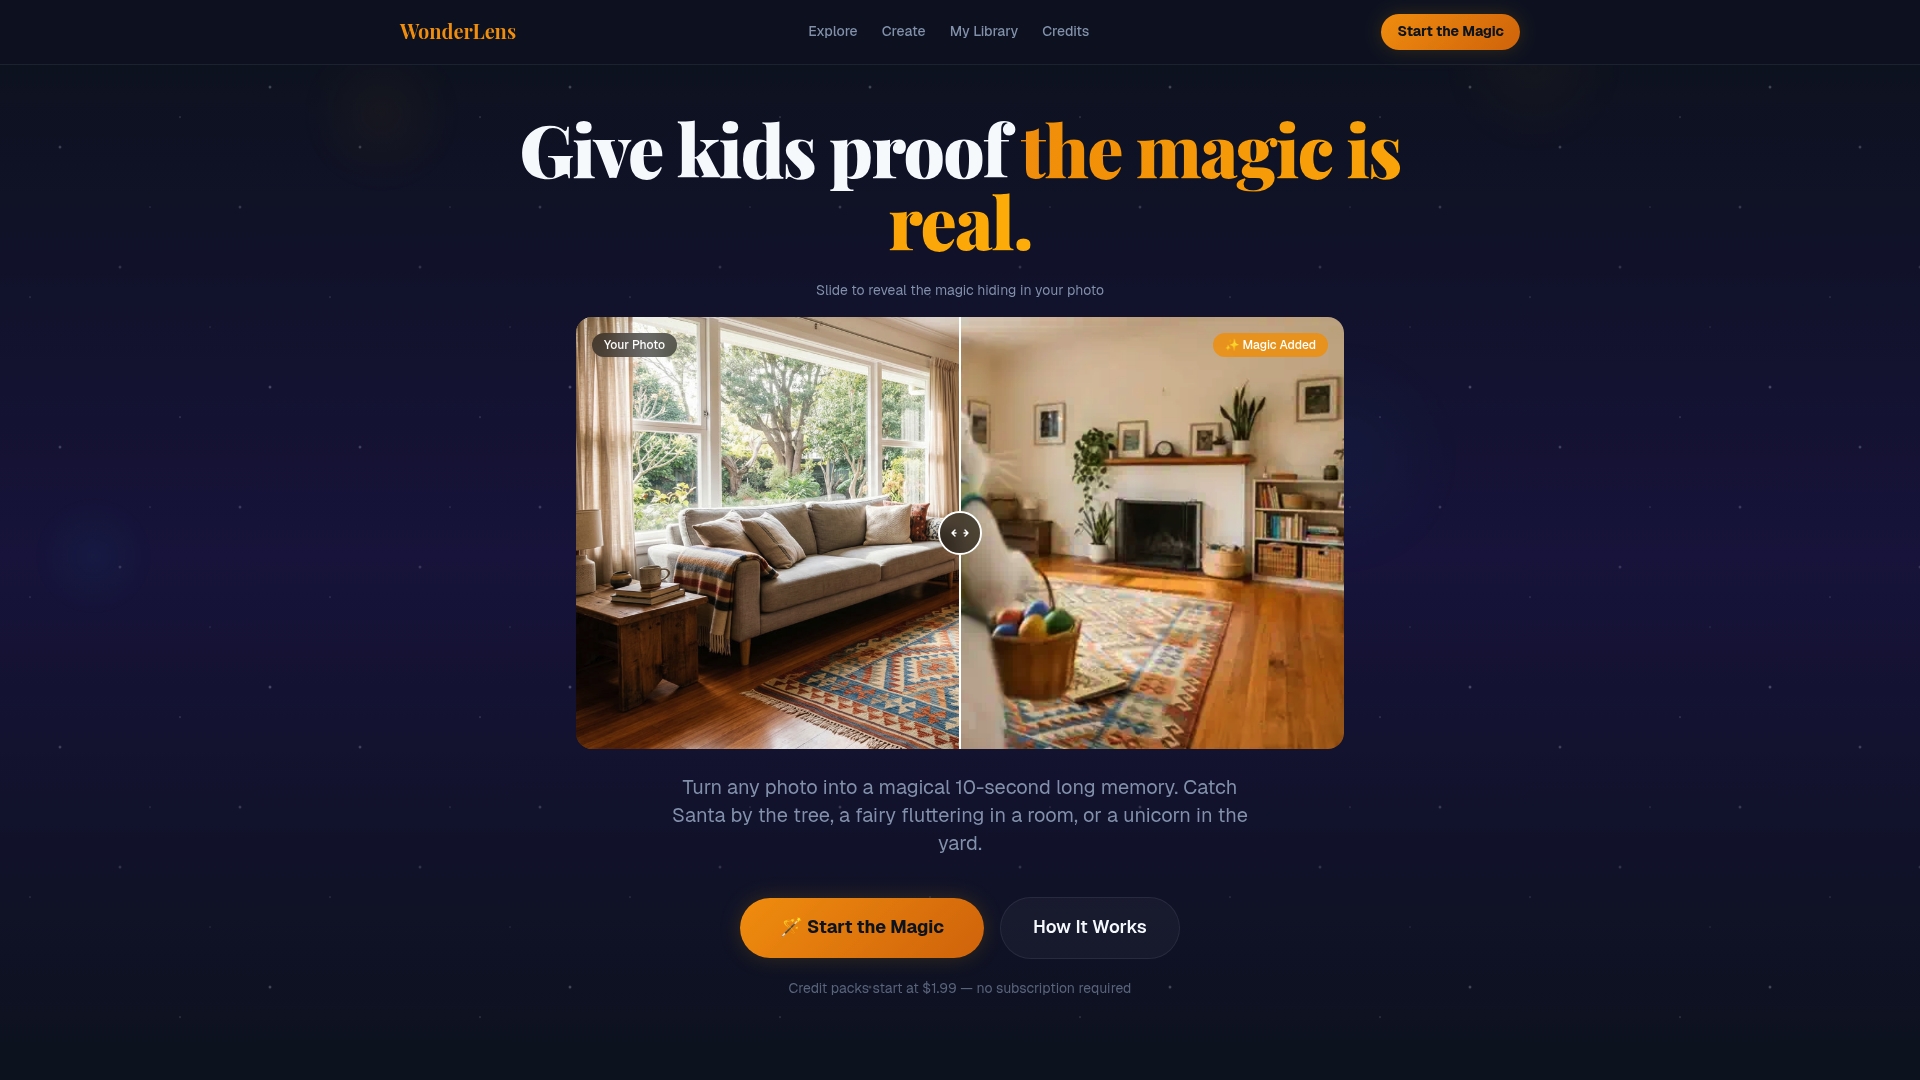
Getting started takes about five minutes:
- Take a clear photo of your child's bedroom with the lamp on
- Visit Wonderlens and upload the photo
- Choose a fairy character — the Star Fairy is a favorite for tooth fairy nights
- Add your child's name or a short milestone note
- Preview the 10-second animated clip, then download
Your first video is free. Additional clips use credits starting at $1.99. No subscription, no complex software, no late-night editing session. Just a magical, shareable clip ready before your child wakes up. Try it tonight at Wonderlens.
Sources
- 6 Ways to Make a Visit from the Tooth Fairy Magical
- Tooth Fairy 2019 payout | Delta Dental press release
- Free printable Tooth Fairy notes — Handmade Charlotte