Best Photos for AI Videos: A Creator's Prep Checklist
August 23, 2026
Use a high-resolution photo with a clear subject, consistent lighting, and visible depth cues. That combination produces the most realistic AI video from a single image, whether you're animating a family portrait or a product shot for a campaign.
Before you upload anything, run through this quick spec check:
- Format: high-quality JPG or PNG, never a screenshot or a heavily compressed download
- Resolution: at least 1024 pixels on the short edge, higher resolution generally improves quality
- Aspect ratio: match your platform first (9:16 for Reels and TikTok, 16:9 for YouTube, 1:1 for feed posts)
- Duration per photo: 2–3 seconds for slideshow-style content, based on the Revid
- Depth cues: foreground, midground, and background elements, or at minimum a subject clearly separated from its backdrop
Photos that skip any of these specs tend to animate with warped edges, flickering faces, or a flat, cardboard-cutout look. The rest of this guide breaks down exactly why, and how to fix it before you hit generate.
Key Takeaways
The best AI video results come from high-resolution, well-lit photos with clear depth cues, chosen and prepped deliberately rather than pulled at random from a camera roll.
| Point | Details |
|---|---|
| Prioritize resolution and clarity | Use 2048 to 4096 pixels when possible, with a clear subject and minimal background clutter. |
| Match photo type to goal | Close-ups suit facial motion, full-body suits gestures, and layered landscapes suit parallax effects. |
| Keep sets consistent | Match white balance, exposure, and aspect ratio across 3 to 6 photos before generating a slideshow. |
| Prompt with structure | Combine subject action, camera move, pacing, and scene detail rather than vague motion requests. |
| Try Wonderlens for character clips | Wonderlens turns a well-prepped home photo into a 10-second animated scene with realistic lighting, starting with one free video. |
Table of Contents
- Which Photo Types Animate Best for AI Video
- File Formats, Resolution, and Aspect Ratio Guidance
- Composition and Lighting That Help AI Models Read Depth
- Curating and Timing a Photo Set for Slideshows
- Writing Motion Prompts That Actually Match Your Vision
- A Step-by-Step Workflow From Photo to Finished Clip
- How Wonderlens Puts This Photo Prep Into Practice
- Color Profile Choices That Keep AI Video Rendering Accurate
- Common Photo Mistakes That Wreck AI Video Output
- Preprocessing Tricks That Improve Motion Quality
- Choosing the Right Expression and Pose for Portrait Animation
- Sources
Which Photo Types Animate Best for AI Video
Not every photo in your camera roll deserves a spot in your AI video project. Some formats are practically built for motion; others fight the model every step of the way.
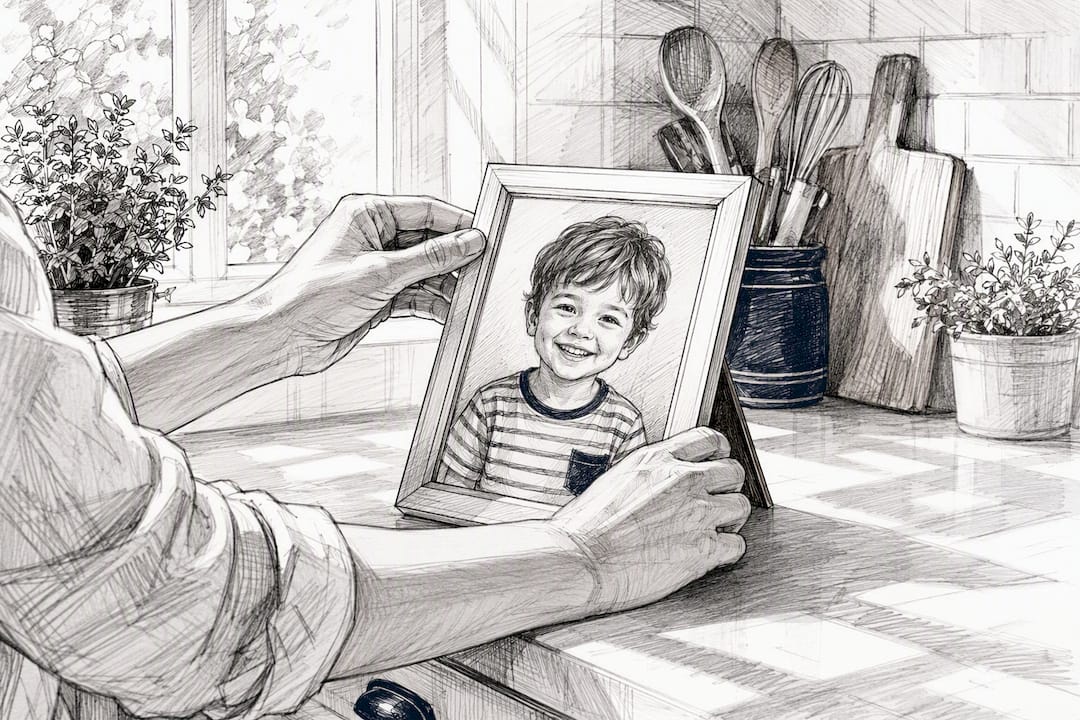
Portraits and close-ups produce the most convincing results because AI models can anchor movement to high-detail facial features. Eye blinks, small head tilts, and subtle smiles read as natural when the face is clear and well-lit. According to PicLumen's breakdown of the Seedance 2.0 workflow, close-up shots are best for facial micro-movement, half-body images work well for gestures like a wave or a nod, and full-body photos suit larger movement such as a walk or a turn. Extreme angles or a face turned mostly away from the camera raise the risk of identity drift, where the animated version starts looking like a slightly different person by the end of the clip.
Product shots need a different kind of discipline. Studio lighting with soft, even shadows preserves texture (think fabric weave or a glass surface) without confusing the model into treating a reflection as a second object. Skip anything shot under fluorescent overhead lighting with a hard glare across the packaging. A turntable-style product photo with a plain backdrop is close to ideal.
Landscapes and wider scenes animate beautifully when there's genuine depth to work with. Look for photos with a clear foreground element (a fence, a rock, a person's shoulder), a midground (a field, a street), and a background (mountains, skyline). Flat, single-plane scenery, like a photo of a wall or a foggy horizon with nothing in front of it, gives the model nothing to build parallax from.
Here's what to leave out of your selection folder entirely:
- Low-resolution images pulled from a messaging app or social media download
- Photos with visible compression artifacts (blocky patches, banding in the sky)
- A photo set with mismatched lighting, where one shot is warm and golden and the next is cool and flat
- Anything where the subject is partially cropped out of frame
Pro Tip: Run your best three candidate photos through a quick mental test: can you tell what's in the front, middle, and back of the frame in under two seconds? If not, the AI model will struggle too.
File Formats, Resolution, and Aspect Ratio Guidance
Getting your export settings right before you ever touch an AI tool saves you from regenerating clips later. According to ModelPix's guide to image-to-video animation, high-resolution images in JPG or PNG format with a clear subject and minimal clutter animate most convincingly, and it's worth testing the same photo across a couple of models since each one interprets motion differently.
On format: JPG works fine for most photos, but switch to PNG when you need transparency or when the source image has flat color fields (like a logo or a graphic overlay) that JPG compression tends to smear. PNG is lossless, so it's also the safer bet any time you've already edited a photo and don't want to compress it a second time.
On resolution: treat 1024 pixels on the short edge as your floor, not your target. Most current image-to-video models produce noticeably cleaner results at 2048 to 4096 pixels, especially for portraits where fine detail in the eyes and mouth drives the realism of the final clip. If your model output caps at 1080p anyway, there's no penalty for feeding it a higher-resolution source. It only helps.
On aspect ratio: decide your platform before you crop.
- 9:16 for TikTok, Reels, and Stories
- 16:9 for YouTube and most web embeds
- 1:1 for feed posts on Instagram and Facebook
Crop around your subject's natural framing rather than centering blindly. For a portrait, leave a little headroom above the subject. For a product, keep equal margin on all sides so the object doesn't feel jammed against the frame edge.
On compression: always keep your original, uncompressed file and work from a copy. Re-saving a JPG multiple times during editing introduces cumulative artifacts that show up as smudging once the AI model starts animating pixel-level detail. Where possible, preserve the original color profile (usually sRGB) rather than letting an editing app auto-convert it, since a mismatched profile can shift skin tones or product colors in the final render.
Composition and Lighting That Help AI Models Read Depth
AI video models don't actually understand a scene the way you do. They infer depth, motion, and separation from visual cues in the pixels, which means your composition choices directly control how convincing the output looks.
- Build in depth layers. A photo with a clear foreground, midground, and background gives the model distinct planes to move independently, which is what creates a believable parallax effect instead of a flat pan.
- Match your color temperature across the frame. Mixed lighting, say, warm tungsten on one side of a room and cool daylight from a window on the other, confuses edge detection and can cause flickering during motion. Shoot under one dominant light source whenever you can.
- Use three-point lighting logic for subject separation. Even a simplified version (a key light plus a softer fill) helps the model distinguish where the subject ends and the background begins, especially important for hair edges and semi-transparent materials like fabric or glass.
- Keep backgrounds simple. A cluttered background with a dozen small competing objects gives the model too many things to try to animate at once, which often results in warping around the busiest areas of the frame.
Picture two versions of the same living room photo. One has a lamp glowing warm in the corner, natural light spilling in from a window, and a plain wall behind the subject. The other has the overhead light on, the window light competing with it, and a bookshelf crammed with objects in the background. The first produces a clean, cinematic clip. The second tends to shimmer and distort wherever the lighting sources overlap.
Pro Tip: If you only have time to fix one thing before shooting, fix the background. A clean backdrop rescues an otherwise average photo more reliably than perfect lighting rescues a messy one.
Curating and Timing a Photo Set for Slideshows
A single strong photo can carry a 5 to 10 second clip on its own, but slideshow-style AI videos, the kind that morph between several images, need a curated set rather than a random folder dump.
Stick to 3 to 6 visually consistent photos per slideshow. Beyond that, viewers lose the thread, and the model has more opportunities to introduce a jarring transition between photos that don't share a visual language. Fewer, better photos consistently outperform a bigger pile of mediocre ones, a point echoed across Revid.ai's guidance on building AI slideshows from photos and music.
On timing, 2 to 3 seconds per photo is the sweet spot for most content. Drop closer to 1.5 seconds for a fast-paced social edit where energy matters more than lingering detail. Stretch toward 3 seconds or slightly beyond for something emotional, like a family memory reel, where you want the viewer to actually register each frame.
Before you generate anything, run a consistency pass across your chosen set:
- Match white balance so one photo doesn't look noticeably warmer or cooler than its neighbors
- Match exposure, since a dark photo next to a bright one creates a jarring flash-like cut
- Match aspect ratio across the whole set so nothing suddenly shifts frame shape mid-video
If your photos share genuine visual continuity, similar lighting, similar setting, a continuous morph between them often reads better than separate clips stitched together. If they're more disconnected in style or setting, generate them as individual clips and edit the cuts yourself for cleaner control.
Writing Motion Prompts That Actually Match Your Vision
A good prompt follows a simple anatomy: subject action, then camera move, then pacing, then scene detail. Skipping straight to vague language like "make it move" is the single biggest reason creators get generic, drifting results.
- Start with the subject's action. "The woman turns her head slightly and blinks" gives the model an anchor point before it even considers camera movement.
- Add the camera move next. Phrases like "camera slowly zooms in" or "camera orbits 30 degrees around the subject" are specific enough to guide the model without over-constraining it, a pattern also recommended in gVideo AI's picture-to-video prompt examples.
- Specify pacing. "Slow, gentle motion" versus "quick, energetic movement" changes how aggressively the model animates, and mismatched pacing is a common cause of warped limbs or smeared edges.
- Close with scene detail if it matters. "Golden hour light, soft breeze moving her hair" adds atmosphere without overloading the prompt.
For a gentle push-in on a portrait, something like "subject blinks naturally, camera slowly pushes in, slow and calm pacing, soft window light" tends to hold up well. For a product reveal, try "product stays centered, camera slowly orbits 20 degrees, moderate pacing, clean studio lighting." For a landscape, "gentle parallax between foreground and background, camera drifts slowly to the right, calm pacing" plays to the strengths of scenes with real depth separation.
On model style: some models are tuned for camera moves and cinematic framing, which suit product reveals and establishing shots. Others lean toward atmospheric, painterly motion that suits landscapes and mood pieces more than precise human gesture. Because different models preserve different attributes, some prioritizing facial fidelity, others prioritizing camera movement, it's worth running the same source photo through more than one before committing to a final style.
Run your test loop short: generate a 3 to 5 second clip first, watch for drift around the eyes, hands, or edges of the subject, then adjust motion magnitude or reword the prompt before committing to a longer render.
Pro Tip: If a face starts to distort past the second second of a clip, the fix is almost never a better prompt. It's usually too much motion magnitude for the photo's resolution. Lower it before you touch the wording.
A Step-by-Step Workflow From Photo to Finished Clip
- Prep the source photo. Crop to your target aspect ratio, color-match if you're using multiple photos, and remove distracting background elements either in-camera or with basic editing. Save as a high-quality JPG or PNG, not a re-compressed copy.
- Choose your model style and generate a test. Pick a model suited to your subject (face-preserving for portraits, camera-move-friendly for products and landscapes), write your structured prompt, and run a short 3 to 5 second test clip before committing to full length.
- Refine based on what you see. Check facial or product-shape integrity frame by frame. If you spot warping, drift, or unnatural smearing, lower the motion magnitude or camera-move aggressiveness rather than rewriting the whole prompt from scratch.
- Export for your platform. For most social platforms, H.264 MP4 at 1080p is the safe default; export at 4K if your source resolution supports it and the platform allows larger uploads. Match your export aspect ratio to where the video will actually live, 9:16 for vertical social, 16:9 for YouTube and web embeds.
This loop, prep, test, refine, export, takes most creators under fifteen minutes once they've done it a couple of times, and it's the same sequence that keeps output quality consistent across an entire batch of clips rather than one lucky result and four disappointing ones.
How Wonderlens Puts This Photo Prep Into Practice
Wonderlens builds its 10-second character animations, Santa stepping into your living room, a dragon coiling around your porch light, on exactly the photo fundamentals covered above. Realistic shadow casting and lighting integration only work when the source photo already has clean depth separation and a well-lit subject to anchor against.
The best photos for a Wonderlens scene tend to share a few traits:
- A living room, hallway, or yard shot with one dominant light source rather than mixed lamps and windows competing
- A clear foreground and background, so the character has visible space to stand in
- Minimal clutter, since a tidy room lets the added lighting and shadow work read as believable rather than pasted on
Your first video generation is free, so there's no risk in testing a photo before committing credits to a full holiday batch.
Color Profile Choices That Keep AI Video Rendering Accurate
Color profiles sound like a technical afterthought, but they quietly determine whether your AI-animated video looks like the photo you took or like a slightly off version of it.
Most consumer cameras and phones shoot in sRGB, and that's the profile you want going into an AI video tool. sRGB is the standard most web platforms, social apps, and video players expect, so a photo saved in that profile renders skin tones, product colors, and sky gradients the way you actually saw them. If you shoot in a wider color space like Adobe RGB (common in professional cameras) and forget to convert before exporting, colors can shift, sometimes subtly, sometimes with a visible flatness or a strange tint, once the file passes through a model trained mostly on sRGB imagery.
The safest habit is to check your export settings once, before your first batch. In Adobe Lightroom, this means confirming your export profile in the file settings dialog. In Photoshop, it's under Edit menu color settings. On a phone, native camera apps typically default to sRGB already, so the bigger risk is an editing app that quietly converts on save.
Skin tones are the most sensitive area to get wrong. A slight profile mismatch might not ruin a landscape shot, but it can make a portrait look mildly discolored once the AI model starts adding motion and lighting effects on top of an already shifted base image. Test one portrait photo through your chosen profile before committing an entire family photo set to the same workflow.
Common Photo Mistakes That Wreck AI Video Output
Most disappointing AI video results trace back to the same handful of input problems, and nearly all of them are fixable before you ever generate a clip.
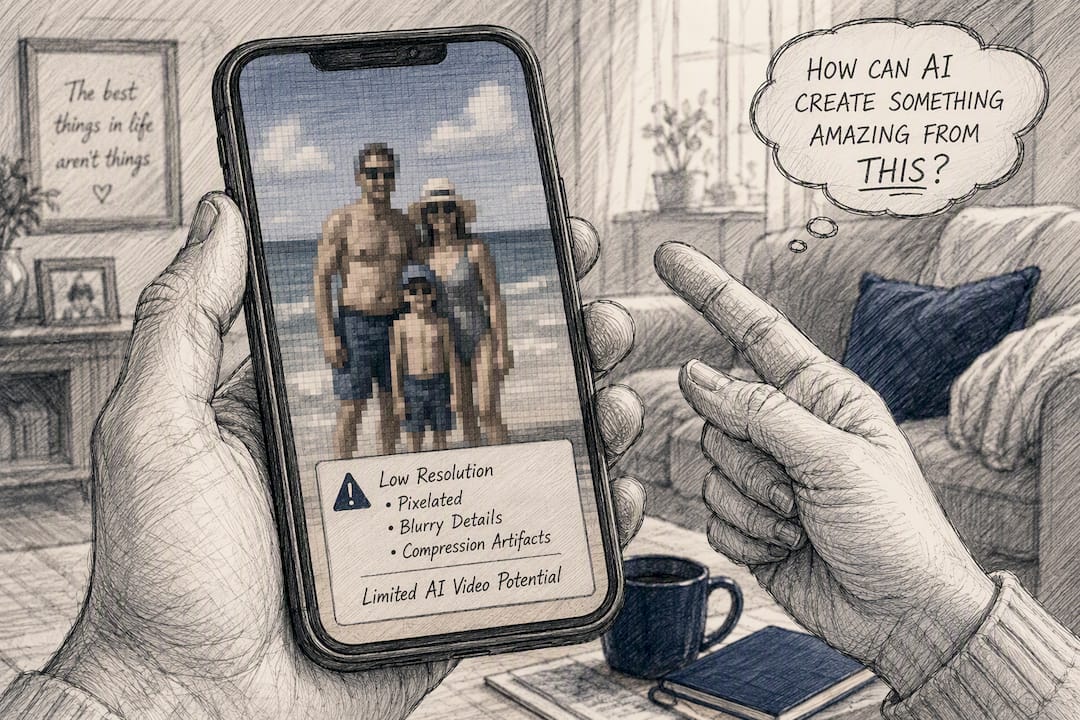
Low resolution tops the list. A photo pulled from a text message thread or an old social post rarely holds up once a model tries to add motion to it. Detail that's already soft or blocky just gets worse when animated.
Mismatched lighting across a photo set causes flickering or an unnatural shift between slideshow frames. If one photo was shot at noon and another at sunset, don't put them back to back without at least color-correcting them closer together first.
Overly busy backgrounds confuse the model's sense of what's actually the subject. A portrait shot in front of a chaotic bookshelf or a crowded street risks the AI animating background elements instead of, or alongside, the person you actually wanted to bring to life.
Extreme angles or partial faces raise the odds of identity drift, where a face starts looking subtly wrong by the end of a clip because the model didn't have enough clear facial data to anchor to, a risk flagged directly in PicLumen's guidance on photo-to-video framing.
Double-compressed files are the quiet killer. A JPG that's been saved, edited, and re-saved multiple times accumulates artifacts invisible to your eye but very visible once a model starts moving pixels around. Keep an untouched original and always generate from a fresh export, not a file that's been through five rounds of edits.
Preprocessing Tricks That Improve Motion Quality
A little preprocessing before you upload a photo can be the difference between a clip that looks intentional and one that looks glitchy.
Background removal helps most when your subject is competing with visual noise. Isolating a person or product against a clean or replaced background gives the model a much clearer edge to animate around, especially useful for product shots headed into a slideshow where consistency across the set matters more than the original setting.
Basic enhancement passes matter too, but subtlety is the goal. Bumping sharpness slightly can help a slightly soft photo hold up better under motion, while gentle noise reduction helps low-light shots avoid a grainy, shimmering look once animated. Avoid heavy-handed filters or beauty smoothing that erase fine detail. Models rely on texture, skin pores, fabric weave, fine hair, to anchor realistic movement, and over-smoothing removes exactly the information that makes motion convincing.
Straightening horizons and correcting perspective before upload also pays off, particularly for landscape or architectural photos where the model is trying to infer depth planes. A tilted horizon or a heavily distorted wide-angle shot gives the model conflicting signals about what's actually foreground versus background.
If you're preparing a photo set rather than a single image, run the same preprocessing pass across every photo in the set, not just the one that needs it most. A perfectly cleaned-up hero shot next to three untouched originals creates the same kind of visual inconsistency that causes jarring transitions in the final slideshow.
Choosing the Right Expression and Pose for Portrait Animation
Not every great photo of a person makes a great source for animation. Expression and pose decide whether the AI model has something believable to work with or something it has to guess at.
Neutral to softly expressive faces animate best. A calm, natural expression, a slight smile, relaxed eyes, gives the model room to add subtle movement like a blink or a small head tilt without the result looking exaggerated. A photo caught mid-laugh or mid-shout is harder to animate convincingly because there's less room to add motion before it starts looking unnatural or overdone.
Front-facing or slightly angled poses outperform profile shots. A model needs enough visible facial structure, both eyes, the full mouth, to track motion accurately. A strict side profile removes half the information it needs, which raises the odds of distortion around the visible eye or cheek.
Relaxed shoulders and a stable pose beat mid-action shots. A photo of someone caught mid-stride or mid-turn gives the model a harder starting point, since it has to interpret motion that was already partway through when the shutter clicked. A still, grounded pose gives it a clean baseline to animate from.
Eyes open and visible matter more than people expect. A photo with eyes closed or heavily shadowed by hair or glasses glare removes one of the model's strongest anchor points for realistic micro-movement.
If you're choosing between two similar photos of the same person, pick the one with the calmer expression, the more front-facing angle, and the clearer eyes every time.
Author perspective: the one habit that actually moves the needle
The single biggest quality jump doesn't come from prompt wizardry. It comes from curating a visually consistent photo set before you generate anything, matching light, matching angle, matching mood, rather than grabbing whatever's in the camera roll. Most disappointing results trace back to one of two errors: mixing inconsistent photos into a slideshow, or asking for more motion than a photo's resolution and lighting can actually support. Fix those two habits and the rest of the workflow gets a lot more forgiving.
— Jeremiha
Turn tonight's photos into a 10-second cinematic memory
Wonderlens takes everything covered in this guide, resolution, lighting, depth, clean backgrounds, and turns it into a finished character animation without you touching a single prompt setting yourself. Upload a photo of your living room or yard, choose a character (Santa, a unicorn, a dragon, a fairy, and more), and Wonderlens handles the lighting integration and shadow work automatically to make the scene look like it actually happened in your space.
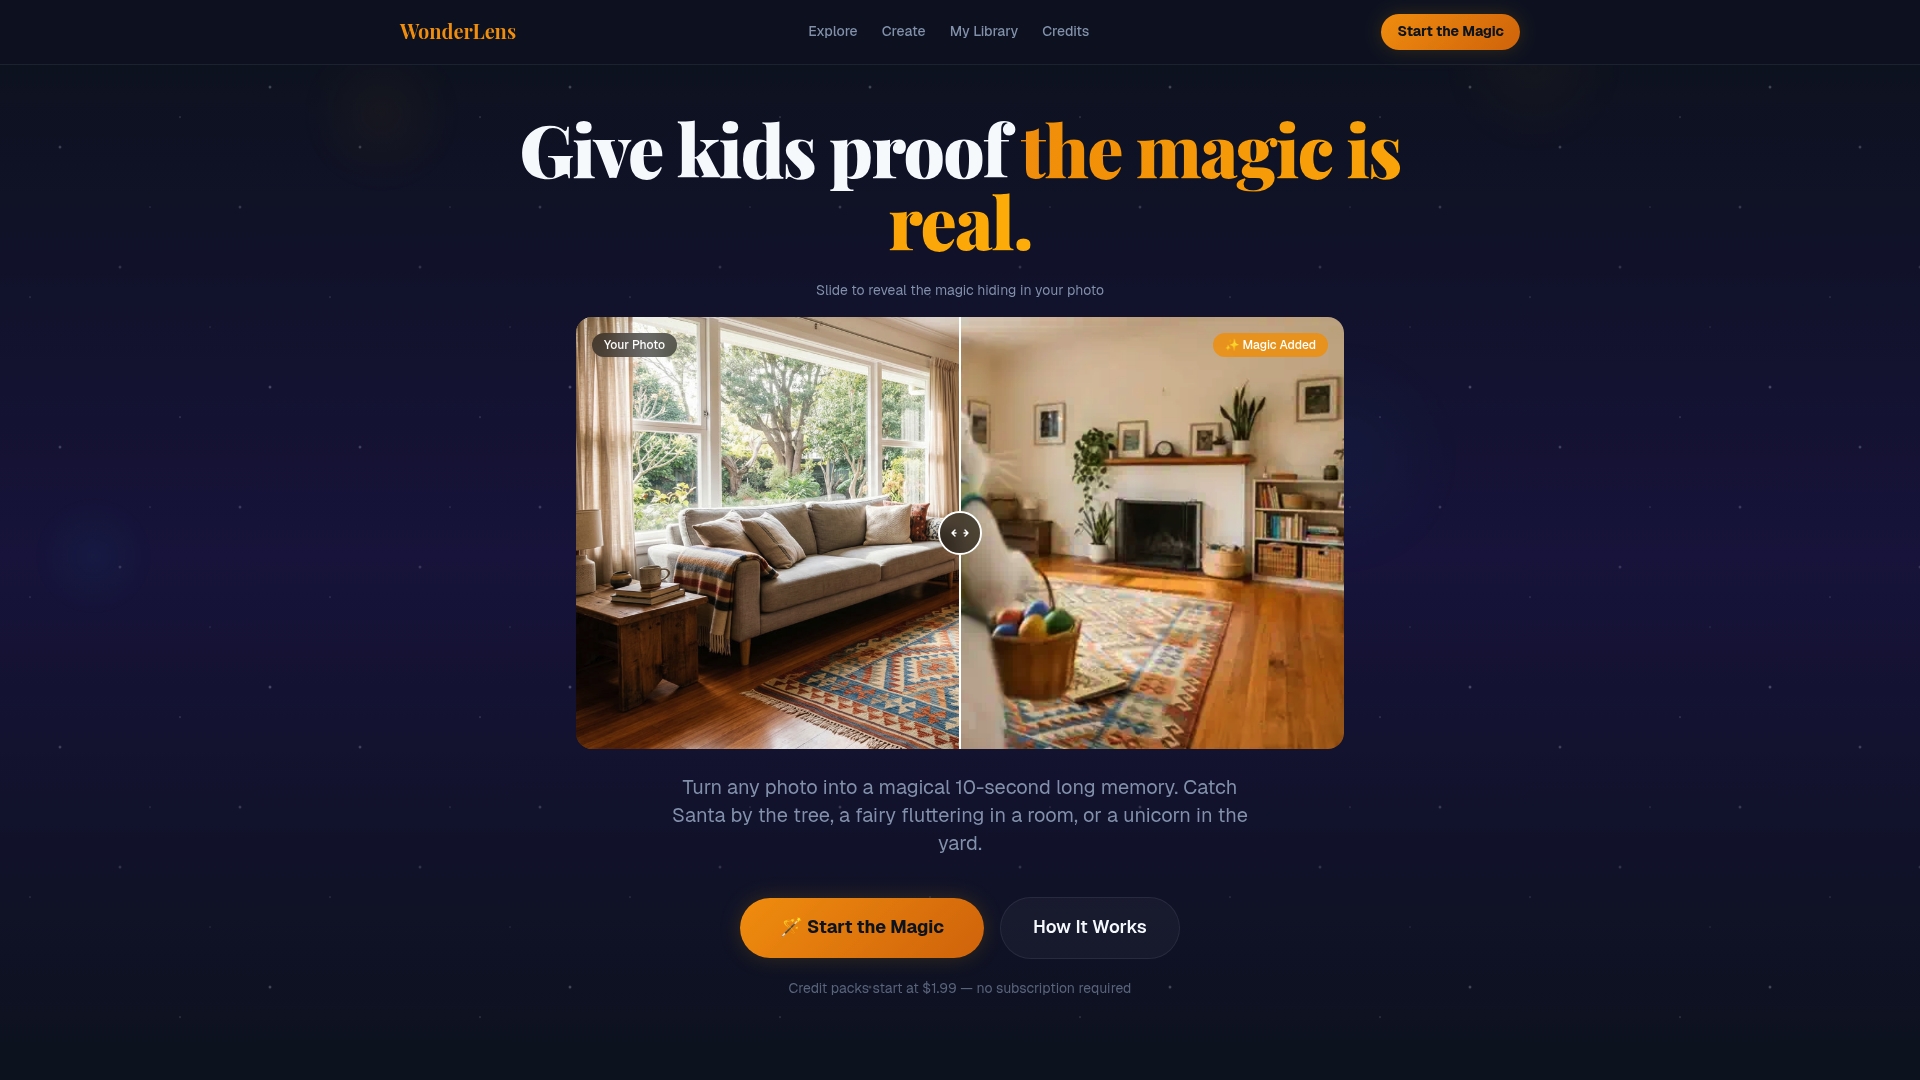
Your first video is free, so you can test a photo before spending anything. After that, credits start at $1.99, no subscription required. It works especially well for holiday surprises, birthday keepsakes, or a quick, shareable clip for social. Head to the Wonderlens landing page to upload your first photo and see the result in minutes.
Sources
The ModelPix image-to-video guide covers format and subject-clarity basics. PicLumen's Seedance 2.0 breakdown details framing for human photos. Revid.ai's slideshow guide explains timing and export settings. For family-specific examples, see Wonderlens's photo-to-video guide for families.
- Modelpix
- AI Picture Video Maker — Turn Photos Into Videos | gVideo AI
- Turn Real Human Photos Into AI Videos With Seedance 2.0 on PicLumen
- How to Make a Video With Photos and Music (Step-by-Step)
Recommended
- AI Christmas Videos: Create Magical Holiday Memories Fast — WonderLens | WonderLens
- Photo to Video Transformation Guide for Families. WonderLens | WonderLens
- How to create magical videos kids will truly love — WonderLens | WonderLens
- Types of AI Photo Effects: 2026 Creative Guide. WonderLens | WonderLens