Yes, You Can Turn a Photo Into a Live AI Video
August 22, 2026
You can absolutely turn a still photo into a short animated video, and with one extra step, package it as an iOS Live Photo. AI models study a face or scene and generate a few seconds of believable motion: a smile spreading, hair drifting in the wind, a soft camera drift. The fastest way to try it without wrestling settings is WonderLens, which builds 10-second cinematic clips and hands you your first video free.
Here's what you'll typically walk away with:
- A short MP4 or MOV clip, usually 6 to 10 seconds, ready to share on social platforms
- A Live Photo pair (still + MOV) if you convert the output for iOS lock screens
- Realistic lighting and shadow work if your source photo and settings are dialed in
Key Takeaways
Turning a still photo into a short AI video or Live Photo takes one clean source image, a motion-intensity setting matched to the subject, and the right export format for where the clip will live.
| Point | Details |
|---|---|
| Answer is yes | You can animate any still photo into a short clip, and repackage it as an iOS Live Photo with an extra step. |
| Motion intensity controls quality | Lower intensity fixes most portrait morphing and warping issues. |
| Source photo quality matters most | High-resolution, well-lit photos with plain backgrounds produce the cleanest results. |
| Live Photo needs re-bundling | A standard MP4/MOV must be paired with a cover frame to work as an Apple Live Photo. |
| WonderLens for family clips | WonderLens offers browser-based, character-driven 10-second videos with a free first generation and credits from $1.99. |
Table of Contents
- How to Convert a Live Photo Into an AI Video
- What Should You Expect From the Finished Clip?
- How to Get Cleaner, More Realistic Photo Animations
- Live Photo vs. AI Video: What's the Real Difference?
- Why Families Choose WonderLens for Animated Photos
- Comparing Your Options for Turning Photos Into Video
- Handling Copyright and Privacy When You Animate a Photo
- Fixing Unnatural Movement and Glitches
- Get Your First Animated Video From WonderLens
- Sources
How to Convert a Live Photo Into an AI Video
Turning a still into motion follows a workflow that barely changes from tool to tool, whether you're using a dedicated app or a feature buried in your phone's photo library.
- Pick your source image. Choose a sharp, well-lit, high-resolution photo. Crop it to match where the clip is headed. Vertical for Reels or TikTok, horizontal for everything else.
- Select a motion template or write a prompt. Some tools give you preset styles (gentle pan, snow falling, character walk-in). Others let you type a short description like "slow pan, gentle smile, soft piano." Google Photos recently added this kind of text-prompt support so you can describe motion instead of hoping the model guesses right.
- Set the motion intensity. For portraits, lean toward "subtle." Cranking intensity too high on a face is the fastest route to warped features.
- Generate and preview. If something looks off, tweak the prompt or dial back intensity and run it again. Most platforms let you regenerate at no extra cost or for a small fee.
- Export. Save as MP4 or MOV for sharing. If you want a true iOS Live Photo, you'll need to re-bundle the clip with a cover frame, which the formats section below walks through.
Pro Tip: Run a test clip on "subtle" motion before committing your good photo credit to a full-intensity version. It's the cheapest way to see how a specific photo behaves in the model before you spend more credits chasing a fix.
Google's own documentation for its photo-to-video feature notes that generated clips can include audio and that landscape photos may get cropped for portrait output, so check your framing before you finalize anything.
What Should You Expect From the Finished Clip?
Most AI-animated photos last a few seconds, typically long enough for a Story, a Reel, or a Live Photo pair, short enough that quality holds up throughout.
The realism depends heavily on your source image and your settings. Expect these common issues:
- Mild warping around the mouth or eyes if the photo is low-resolution or the background is busy
- Limited or no camera movement in some models, since not every tool supports panning or zoom
- Stronger artifacts when motion intensity is pushed high on a close-up face
Open-source projects working on this exact problem note that lowering motion intensity is usually the first and fastest fix for glitchy portrait animation. Think of it as a dial between "barely alive" and "uncanny." Most family photos look best closer to the barely-alive end. A crisp, evenly lit photo with a clean background will almost always outperform a filtered, busy one, regardless of which model processes it.
How to Get Cleaner, More Realistic Photo Animations
The single biggest factor in how good your animation looks isn't the tool. It's the photo you feed it.
- Use a high-resolution, well-lit image with a clear line between subject and background
- Skip heavy filters, extreme stylization, and any existing motion blur, since these confuse depth estimation
- Frame vertically for TikTok and Reels, horizontally for YouTube or a TV screen, and leave enough headroom that motion has room to breathe
- Favor real photographs over illustrations or heavily edited images; most models are trained on photographic data and handle stylized art less predictably
Pro Tip: Shoot (or pick) the photo with the final format already in mind. A tightly cropped square photo gives an AI model almost no room to add camera drift, so the clip ends up static no matter how you set the intensity.
Neutral backgrounds matter more than people expect. A model has to infer depth from a flat image, and a cluttered background gives it conflicting signals about what should move and what should stay still.
Live Photo vs. AI Video: What's the Real Difference?
Most AI animation tools output a plain video file, MP4 or MOV, not an Apple Live Photo. An Apple Live Photo is technically a still image paired with a short MOV clip, bundled together in Apple's specific format so your phone recognizes it as a lock-screen-ready asset. A generic AI-generated video and a genuine Live Photo are not interchangeable out of the box.
| Output type | What it is | Best use |
|---|---|---|
| MP4/MOV video | Standalone animated clip | Social sharing, Reels, Stories, messaging |
| Apple Live Photo | Still + short MOV bundled with Apple metadata | iOS lock screen, Photos app animations |
| Re-bundled AI clip | AI video repackaged into Live Photo container | Turning a favorite animation into a lock-screen wallpaper |
To convert, most people either use a small re-bundling web tool or an app built specifically to write Apple's Live Photo metadata into a video plus cover frame. If your goal is just posting on Instagram or sending to family in a group chat, skip the conversion entirely and export straight to MP4. Save the re-bundling step for when you specifically want that clip living on your iPhone's lock screen.
Why Families Choose WonderLens for Animated Photos
WonderLens builds 10-second cinematic-quality clips designed around one very specific job: turning a family photo into a moment of holiday magic. Instead of generic motion templates, the platform layers in realistic lighting, shadow casting, and character animation, so a Santa or an Easter Bunny you drop into your own living room actually casts a shadow and catches the light the way the rest of the room does.
A shortcut through basic sticker overlays or AR filters, aimed at the specific moment when a parent wants their child to see something they'll never forget.
Here's what makes it approachable for a first-time user:
- Fully browser-based, so there's no app to install before you can try it
- Credit pricing starts at $1.99, and your first generated video is free
- Character options include Santa, the Easter Bunny, unicorns, dragons, fairies, and superheroes
Get permission before you animate a photo that includes someone else's kids, and keep any video featuring a child private unless you're sharing it with family who already know and love that face.
Comparing Your Options for Turning Photos Into Video
Consumer image-to-video tools generally split into three camps: built-in phone features, general-purpose AI video generators, and character-focused platforms built for a specific occasion.
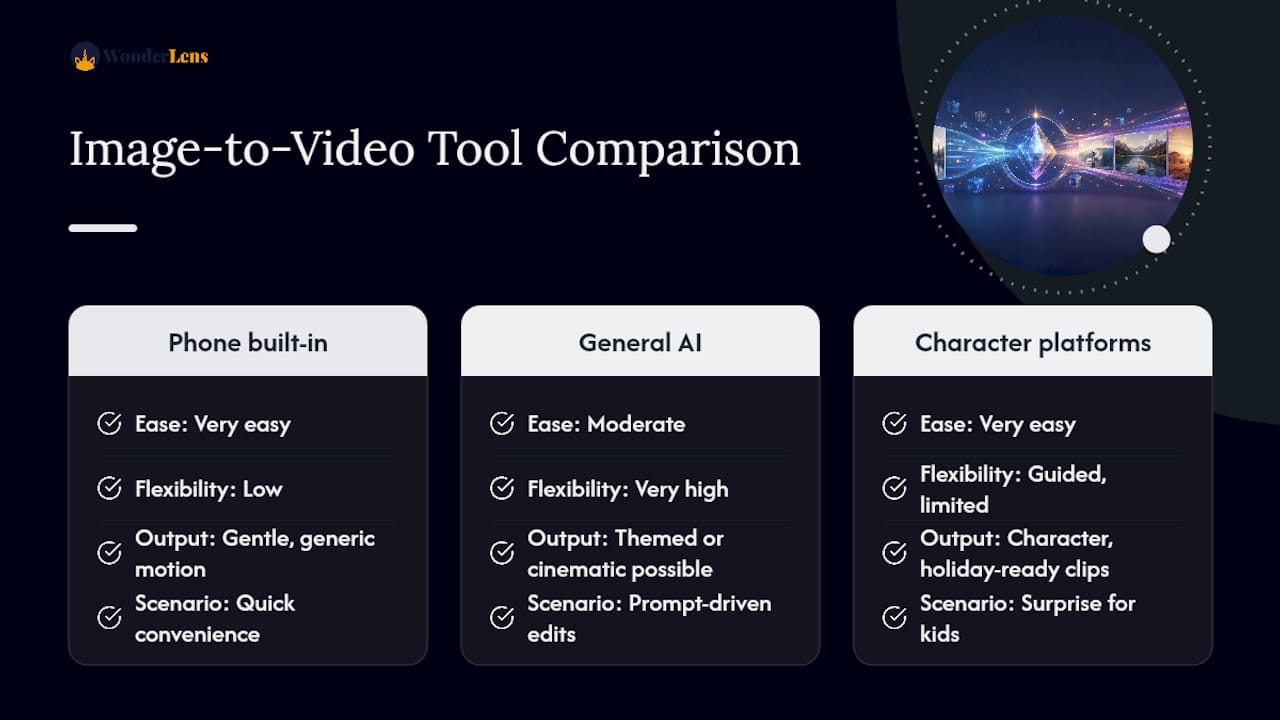
Built-in tools like the photo-to-video feature inside your phone's photo library are convenient because they're already installed, and the newer text-prompt versions give you some control over motion. The tradeoff is a limited style range. You typically get gentle, generic movement rather than anything themed or cinematic.
General-purpose AI video generators, the kind built around a prompt-first workflow, give you the widest creative range. You can describe almost any motion you want. That flexibility comes with a learning curve. Getting a clean result often means several regenerations and prompt rewrites before you land on something usable.
Character-and-occasion platforms, where WonderLens sits, trade some of that open-ended flexibility for a guided, low-effort path to a specific outcome: a magical, holiday-ready clip without prompt engineering. You pick a character, not a paragraph of instructions, and the platform handles lighting and shadow integration behind the scenes. For a parent trying to surprise a five-year-old on Christmas morning, that guided path usually beats a blank prompt box.
Handling Copyright and Privacy When You Animate a Photo
The photo you upload matters legally, not just visually. If you didn't take the photo and don't own the rights to it, animating it without permission raises the same copyright questions as editing or republishing any image you don't own.
Privacy is the bigger everyday concern for most families. A photo of your own child in your own living room is yours to animate. A photo that includes a neighbor's kid, a friend's face lifted from social media, or anyone who hasn't agreed to appear in an AI-generated clip is a different situation entirely.
A few habits keep this simple:
- Only animate photos you have the rights to use, and only feature people who've agreed to appear in the result
- Avoid uploading photos of children other than your own without a parent's explicit okay
- Keep finished videos private or shared only with people who already know the person in them, rather than posting publicly by default
Reputable platforms build safeguards around this, including WonderLens's stated positioning as a family-safe service, but the responsibility for who's in the photo starts with the person uploading it.
Fixing Unnatural Movement and Glitches
Almost every strange result traces back to one of three causes: motion intensity set too high, a low-resolution source image, or a background too busy for the model to read depth correctly.
If a face is warping or features are drifting, the fastest fix is dropping the motion intensity setting and regenerating. This single change resolves most portrait glitches. If the whole clip looks stiff or barely moves, the opposite may be true: intensity is set too low, or the model you're using doesn't support camera movement at all, a known limitation in some image-to-video systems.
Background artifacts, warping walls, flickering textures, usually mean the original photo had too much visual clutter for the model to separate subject from scene. Recropping tighter around your subject, or choosing a photo with a plainer background, often clears this up without touching any other setting. When none of that works, the honest answer is that the specific model doesn't suit that photo, and trying a different platform or a different source image will get you further than repeated regenerations of the same combination.
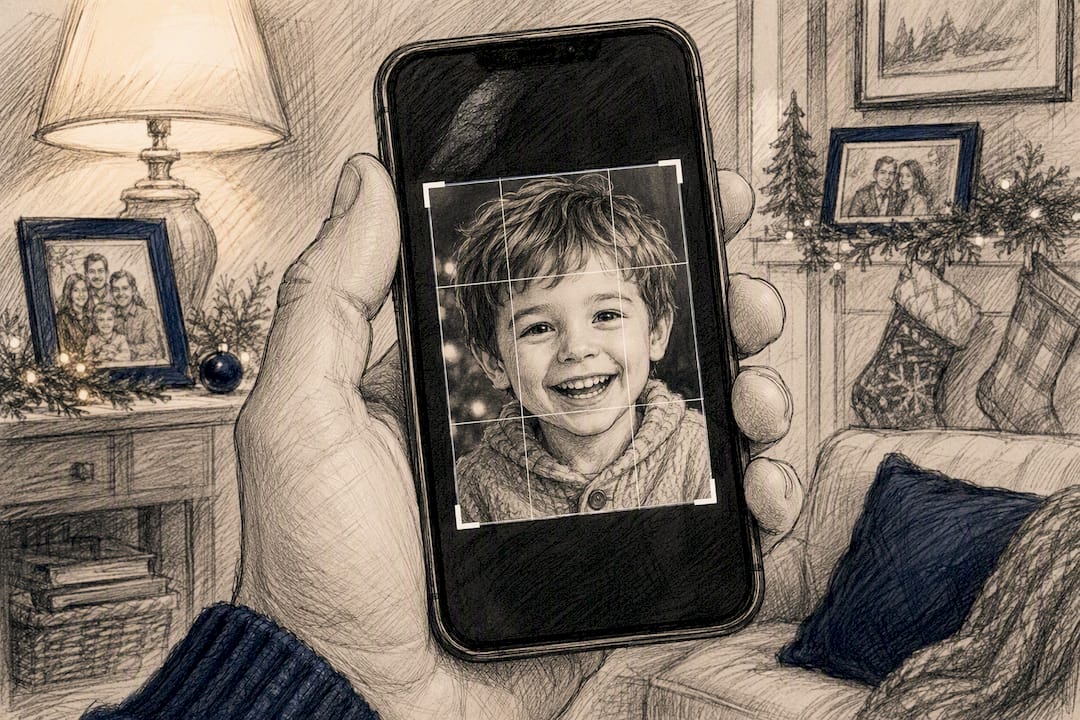
A Parent's-Eye View of Photo Animation
The clips that land hardest with kids aren't the flashiest ones. It's Santa peeking around their own bookshelf, or the Easter Bunny hopping across their actual backyard, that get replayed a dozen times. One quick reminder before you get started: only animate photos of people who've said yes to appearing in them, especially other people's children.
— Jeremiha
Get Your First Animated Video From WonderLens
WonderLens turns the whole process into three taps instead of a prompt-writing exercise: upload your photo, pick a character like Santa or a unicorn, and download your finished clip in under a minute. There's no subscription and no long-term commitment, just credits you buy when you want another video.
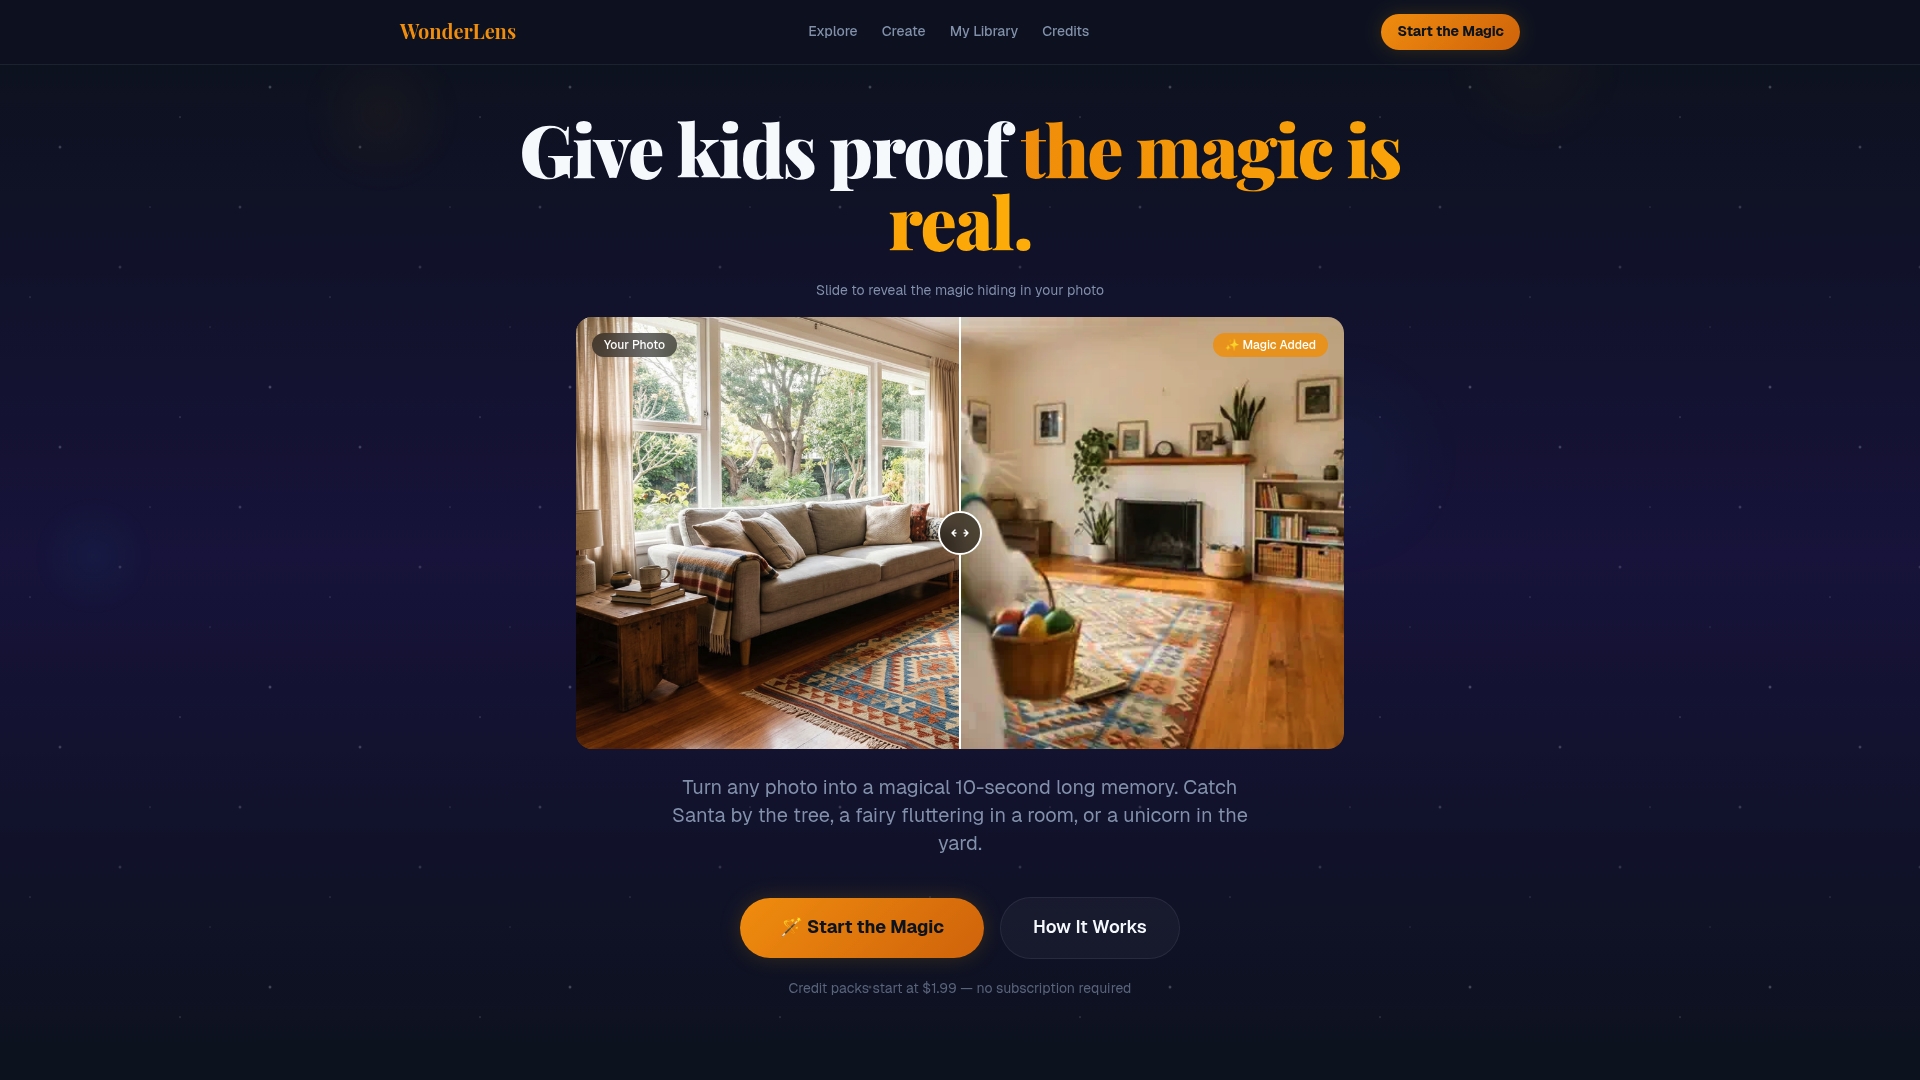
Your first video is completely free, so you can see the lighting and shadow work for yourself before spending anything. After that, credits start at $1.99 each, and the entire flow runs in your browser with nothing to install. If you've got a holiday coming up, or just want to see your kid's face light up over something magical happening in their own living room, head to WonderLens and try your first clip today.
Sources
- Google Photos now lets you describe how to transform images into video | The Verge
- Google Photos support — Photo to video
- XavierCHEN34/LivePhoto — GitHub
- Livephoto