Your Animated Memories Workflow for Holiday Magic
July 21, 2026

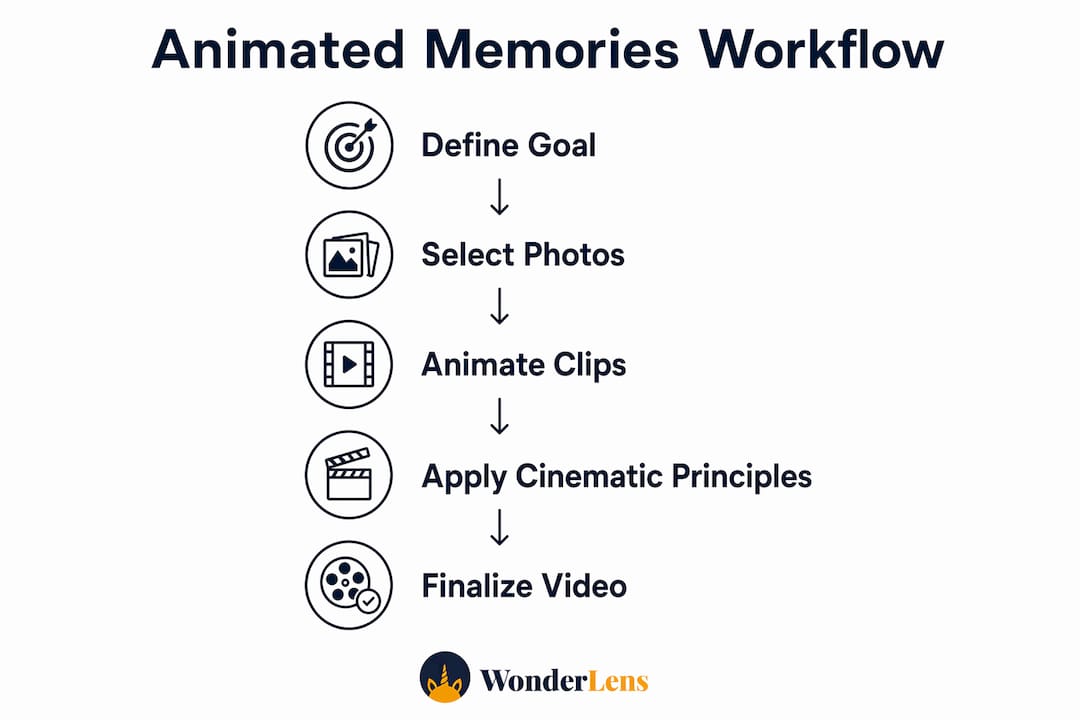
The best animated memories workflow starts with one clear emotional goal, not a tool. When you know the feeling you want your child to experience — wide-eyed wonder on Christmas morning, pure delight at an Easter fairy visit — every technical decision that follows becomes easier. A strong workflow moves through five stages: defining your emotional goal, selecting and preparing photos, choosing the right animation approach, applying cinematic principles, and reviewing in careful iterations. Skipping any stage is where most families run into trouble.
Here is what a complete, family-ready workflow looks like:
- Define the emotional goal before opening any app or tool
- Select and prepare photos with resolution and clarity in mind
- Choose your animation type — basic slideshow, AI motion generation, or full character integration
- Apply cinematic principles like timing, framing, and pacing to deepen emotional impact
- Review incrementally, changing one variable at a time to keep visuals consistent
- Export and share in formats suited for family viewing and social media
How to define your emotional goal and plan your holiday video
The discovery phase is widely considered the most crucial part of a project's success, and that holds just as true for a family holiday video as it does for a studio production. Before you think about Santa's coat color or which fairy wings look most realistic, ask yourself one question: what do you want your child to feel in the first three seconds?
Once you have that answer, build your story around it.
- Write a simple narrative arc. A hook (Santa appears in your living room), a middle (he looks around, spots the cookies), and a resolution (he waves at the camera) gives even a 10-second clip a satisfying shape.
- Plan your fantasy character. Decide whether Santa, a unicorn, a dragon, or a fairy fits the holiday and your child's current obsession. The character should feel like a natural visitor to your specific home, not a generic overlay.
- Sketch a basic storyboard. Even stick figures on a notepad work. A storyboard-first approach fixes pacing and scene flow before you invest time in rendering, saving hours of rework later.
- Set realistic scope. A 10-second clip done beautifully beats a 60-second clip that loses its magic halfway through.
- Gather early input. If you are making this for a partner or grandparent to share, confirm the child's favorite characters and the room you want to use before you start.
A good children's storytelling framework, like the one outlined in this storytelling guide for parents, reinforces the same principle: story structure comes before production every time.
How to prepare and select photos for animation
Not all photos animate equally well. AI motion generation, the kind that adds subtle blinking, breathing, and gentle movement to a still image, requires high-resolution inputs to avoid visual artifacts. A blurry phone snapshot from three years ago will produce muddy, unconvincing results.
- Prioritize clarity and focus. Choose photos where faces are sharp, well-lit, and unobstructed. Natural window light beats a harsh flash every time.
- Match the setting to the story. A photo of your living room at Christmas, with the tree visible and warm lighting, gives the AI a realistic environment to place your fantasy character into.
- Isolate character assets when possible. Separating character parts — a hat, a body, expressive limbs — before rigging produces smoother movement and avoids glitches caused by masking during motion.
- Remove background distractions. Cluttered backgrounds compete with your fantasy character. A clean, recognizable room lets the magic land harder.
- Use consistent resolution across your photo set. Mixing a high-resolution image with a low-quality one in the same project creates jarring visual inconsistency.
Pro Tip: Change one animation variable at a time. Adjusting smile strength, motion softness, and lighting simultaneously causes "memory drifting" — a visual inconsistency where the animated character stops resembling the original photo. Preview after each single adjustment before moving to the next.
How to apply cinematic principles to your animation
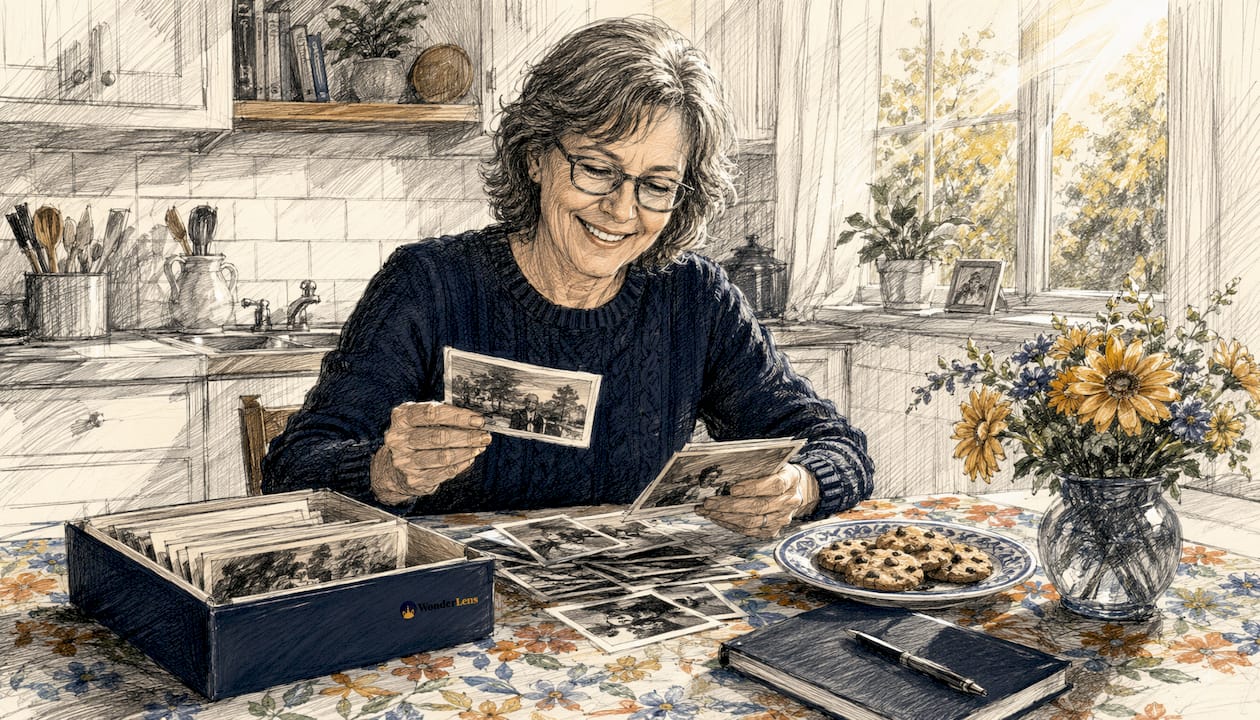
Technical effects alone do not create magic. Disney Animation Studios has long held that audiences connect more deeply through timing, staging, and framing than through any amount of visual complexity. Over-animating a scene — too much movement, too many effects — actually pulls viewers out of the emotional moment.
Keep these principles close when you build your holiday animation:
- Control pacing deliberately. A slow reveal of Santa stepping into frame creates more wonder than a fast entrance. Give the character room to breathe.
- Use framing to guide attention. Center the fantasy character in the frame when you want maximum impact. Off-center placement works for a more candid, "caught on camera" feel.
- Layer your audio in passes. Record voice-overs first. A multi-pass audio workflow that starts with voice recording lets you sync animation naturally to dialogue, preventing unnatural pacing. Sound effects come second, music last.
- Review with time-coded notes. Watch your draft and note the exact second where something feels off. Vague feedback like "the movement looks weird" wastes time; "at 0:04, the shadow shifts too fast" fixes it in one pass.
- Export for your platform. A square crop works for Instagram. A 16:9 ratio suits a TV or laptop screen. Prepare both if you plan to share widely.
- Prioritize cultural sensitivity. Choose characters, colors, and holiday references that feel inclusive and appropriate for every family member who will watch the video.
For a deeper look at how cinematic techniques translate into family memories, the principles above apply whether you are working with a full production studio or a consumer AI platform.
How Wonderlens brings this workflow to life
Wonderlens is built around exactly this animated storytelling process, compressed into a format any parent can use in minutes. The platform takes a photo of your home and uses AI-driven rendering to place a fantasy character — Santa, a unicorn, a dragon, a fairy — directly into your living space with realistic lighting, accurate shadow casting, and natural movement. The result is a 10-second cinematic clip that looks like the character was genuinely there.
What sets Wonderlens apart from basic sticker overlays or AR filters is the realism layer. The character catches the same warm glow as your Christmas tree. Its shadow falls correctly on your floor. That physical believability is what makes a child's jaw drop.
- Photo preparation is minimal. Upload a clear, well-lit photo of your room. Wonderlens handles the character placement, lighting matching, and motion generation.
- Customization is built in. Choose the character, the holiday theme, and the mood. A gentle fairy for Easter feels entirely different from a striding Santa on Christmas Eve.
- Pricing starts at $1.99 per clip, making it accessible for families who want one perfect video rather than a subscription they will forget to cancel.
- Output formats suit sharing. Download your clip and send it directly to grandparents, post it to a family group chat, or play it on the living room TV Christmas morning.
- The platform is family-safe and easy to use. No technical knowledge required. The workflow from photo upload to finished video takes only a few minutes.
For creative ideas on how to weave these clips into broader holiday traditions, the creative ways to use animated memories guide offers practical inspiration.
Wonderlens makes your holiday magic real
Families who follow a solid animated memories workflow and want the cinematic result without the production overhead have one clear path: Wonderlens. You bring the photo of your home. Wonderlens brings the magic, placing a fully rendered fantasy character into your actual space with lighting and shadows that make it look completely real.
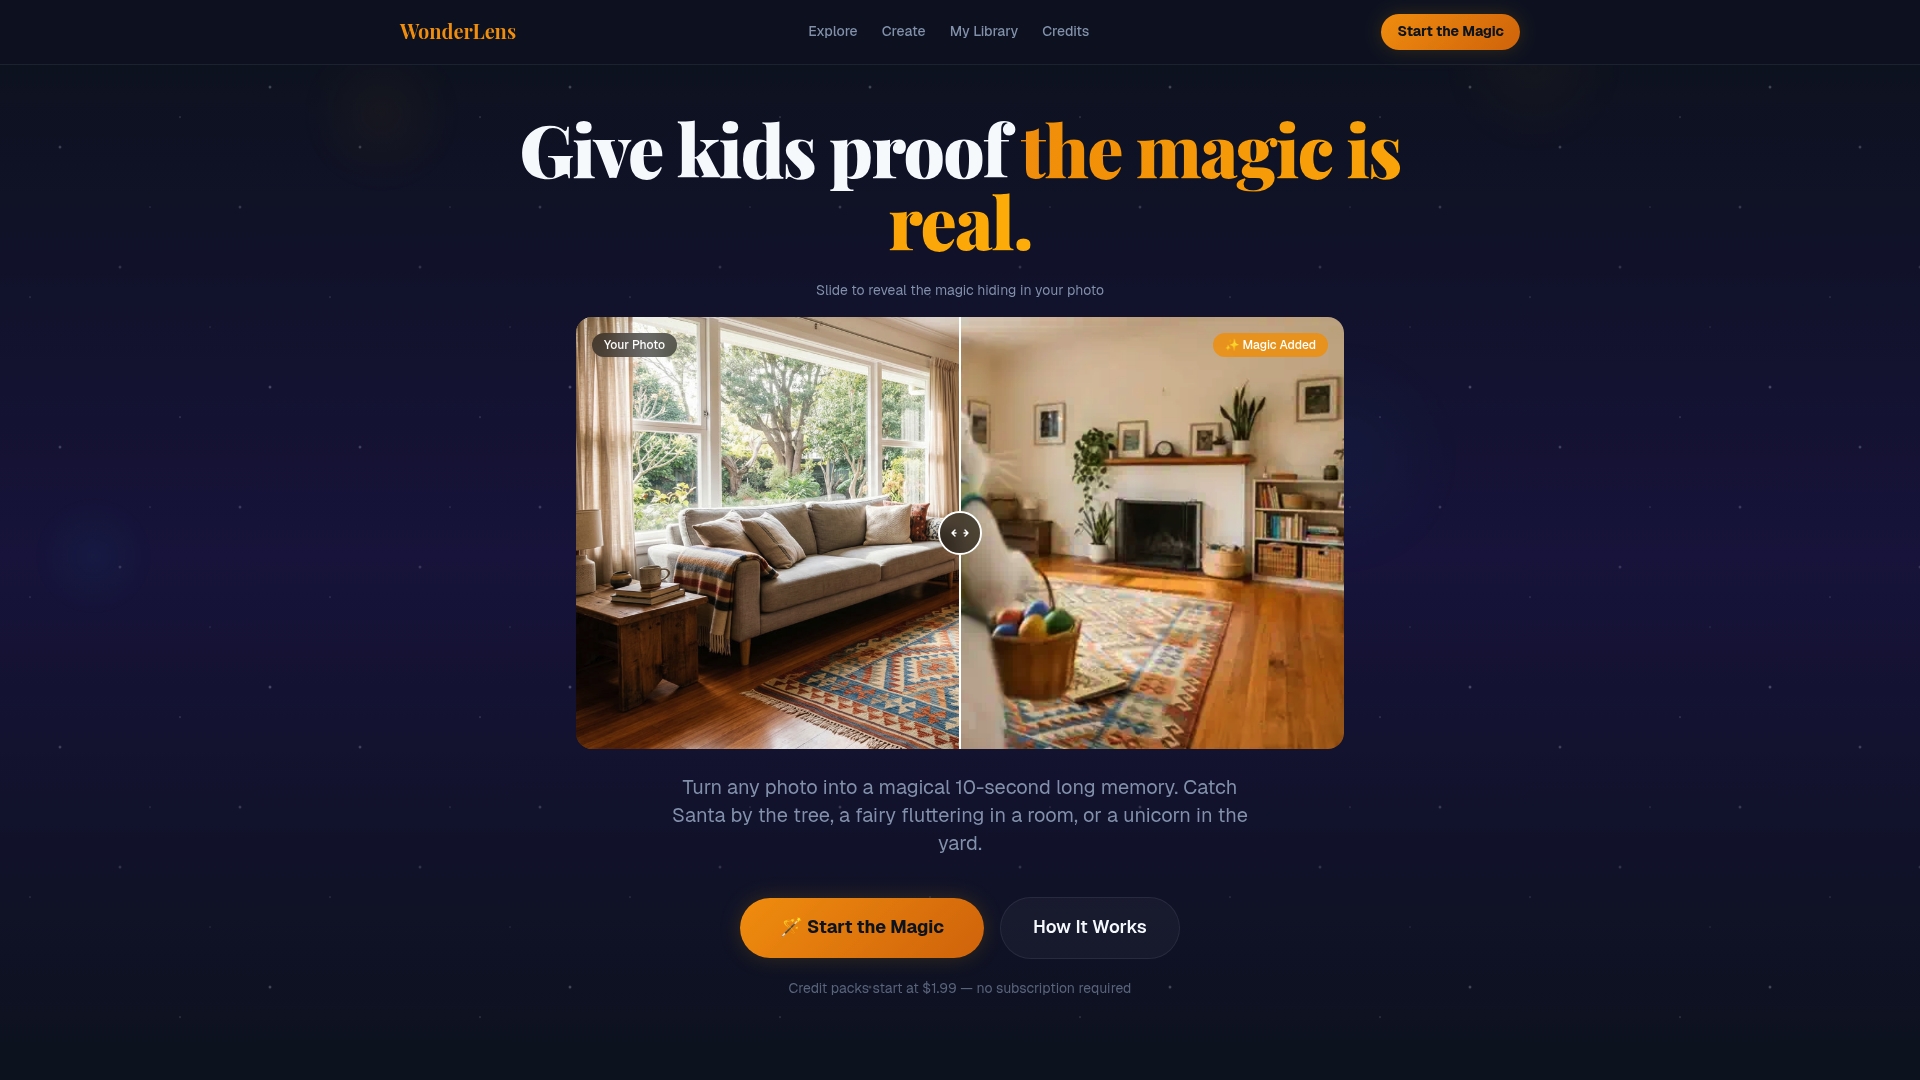
Starting at $1.99 per video, it costs less than a holiday card and creates a memory your child will ask to watch again and again. No editing software, no storyboard skills, no technical setup. Just a photo, a character, and a moment of pure wonder. Create your first animated memory at Wonderlens today.
Key Takeaways
A strong animated memories workflow begins with a clear emotional goal and succeeds through incremental, carefully reviewed steps that keep your fantasy character looking realistic and consistent throughout.
| Point | Details |
|---|---|
| Start with the emotional goal | Define the feeling you want to create before choosing any tool or character. |
| Photo quality drives results | High-resolution, well-lit images produce artifact-free AI motion generation. |
| Change one variable at a time | Adjusting multiple settings simultaneously causes memory drifting and visual inconsistency. |
| Cinematic principles over effects | Timing, framing, and pacing create deeper emotional connection than complex animation. |
| Wonderlens for families | Starting at $1.99, Wonderlens places realistic fantasy characters into your home photos with accurate lighting and shadows. |
Recommended
- Creative photo animation steps for magical family memories — WonderLens | WonderLens
- Why animated photos make holiday memories more magical — WonderLens | WonderLens
- Examples of Animated Holiday Keepsakes for Families — WonderLens | WonderLens
- Creating Realistic Holiday Animations for Families. WonderLens | WonderLens