Your Guide to Cinematic Animated Memories for Families
June 23, 2026

A cinematic animated memory is a short, emotionally driven film created by bringing still family photos to life through animation, AI rendering, and storytelling techniques. This guide to cinematic animated memories walks you through every stage of the process, from picking the right tools and planning your story, to applying real cinematography principles and assembling a finished keepsake your family will treasure. Platforms like Wonderlens, along with video editors and AI animation tools, have made this kind of personalized animated memory creation accessible to any parent, with no filmmaking background required.
What tools do you need for cinematic animated memories?
The right tools make the difference between a flat slideshow and a memory that genuinely moves people. You need three categories of software: an AI animation platform, a video editor, and an audio tool for music or voiceover.
AI animation platforms handle the heavy lifting of bringing photos to life. Wonderlens specializes in placing fantasy and holiday characters, like Santa or a unicorn, directly into your home environment with realistic lighting and shadow. Consumer AI tools animate a single photo in under 10 seconds, while professional 4K cinematic sequences can take 60–120 seconds to render. That speed gap matters when you are working with a dozen photos on a school night.
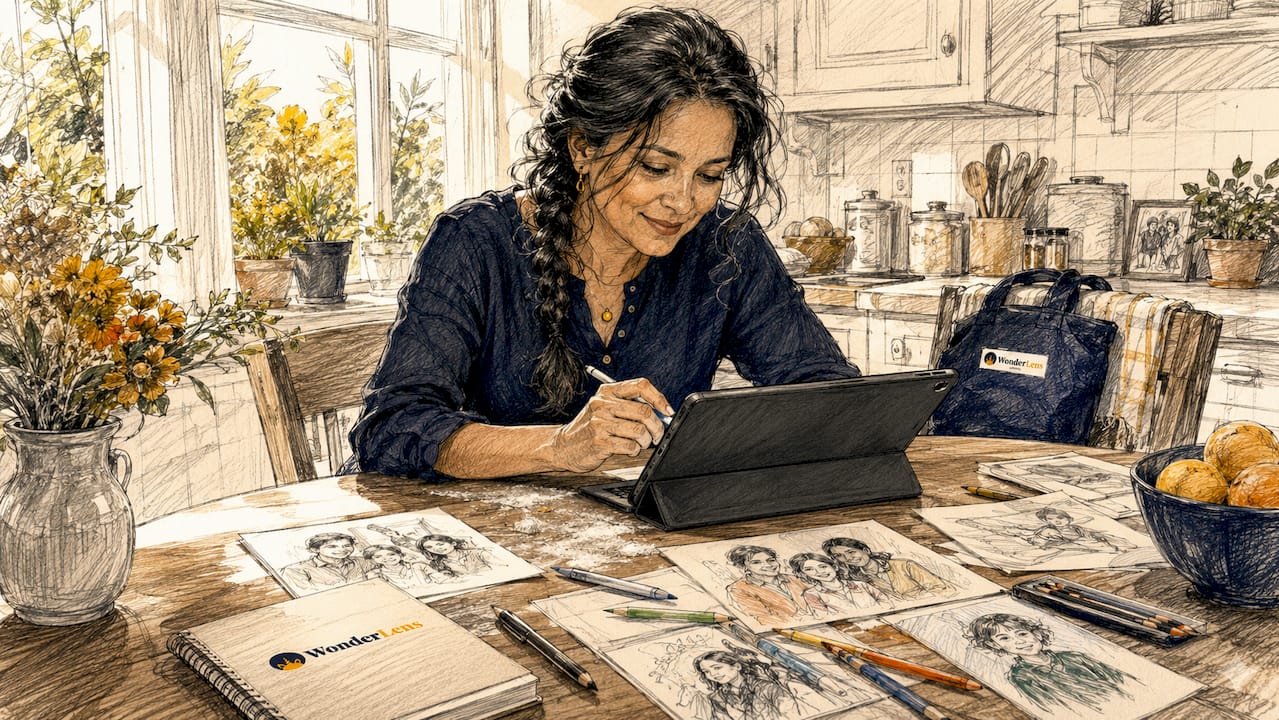
Video editors let you sequence your animated clips, add transitions, and layer music. Options range from free tools like DaVinci Resolve and CapCut to paid suites like Adobe Premiere Pro. For most families, a free or low-cost editor is more than enough.
Audio tools complete the emotional picture. A simple voice memo app on your phone works for narration. For music, royalty-free libraries like Pixabay Music or YouTube Audio Library give you legal, high-quality tracks at no cost.
Here is a quick reference for your setup:
| Category | Accessible option | Best for |
|---|---|---|
| AI animation | Wonderlens | Holiday and fantasy characters |
| Video editing | DaVinci Resolve | Full sequence assembly |
| Music | Pixabay Music | Royalty-free mood tracks |
| Voiceover | Phone voice memo | Personal narration |
Pro Tip: Aim for at least 8GB of RAM on your editing device. Rendering animated clips inside a video editor is more demanding than playing back regular video.
How do you plan and storyboard your animated memory?
Planning is the step most families skip, and it is the reason so many memory videos feel random rather than moving. A short storyboard, even a few sketches on paper, forces you to think about emotional flow before you touch any software.
Follow these steps before you open a single app:
- Choose 6–10 photos. A 60-second video with 6–10 distinct memory entries, each running 6–10 seconds, maintains viewer engagement and emotional impact. More photos dilute the feeling; fewer can feel rushed.
- Decide on an emotional direction. A birthday celebration calls for a bright, joyful tone. A tribute to a grandparent calls for something quieter and more reverent. Choosing the right emotional direction ensures the video feels like a precious keepsake rather than a digital novelty.
- Write a one-sentence caption for each photo. This becomes your script. It guides the animation style, the music mood, and the pacing of each clip.
- Sketch your storyboard. Draw a rough box for each photo. Note the camera movement (slow zoom in, gentle pan left), the emotional beat (joyful, tender, surprising), and any character or effect you want to add. Using a storyboard to plan camera moves, ellipses, and emotional beats produces a polished narrative flow in the final reel.
- Apply ellipsis. Ellipsis is a cinematography term for skipping the boring parts. Great cinematic memories use pacing and ellipsis to heighten narrative impact, jumping straight to the moments that matter.
Pro Tip: Lay your storyboard sketches out on a table and read your captions aloud. If you feel nothing, the sequence needs work. If you feel something, you are ready to animate.
Your photo selection matters as much as your technique. Candid shots with natural expressions animate more convincingly than stiff posed portraits. Look for photos where the lighting already feels warm and the subject's face is clear.
What animation techniques create that cinematic feel?
Cinematography is more than visuals. It shapes emotional connection through lighting, framing, camera movement, and pacing. The same principles apply when you animate family photos.
The single most important rule is restraint. Gentle motion such as soft smiles and slow movements preserves emotional resonance. Aggressive animation, like rapid zooms or exaggerated expressions, breaks the emotional connection and can push your video into uncanny valley territory, where the faces look almost real but feel deeply wrong.
Apply these techniques for a cinematic result:
- Slow camera movements. A gentle zoom toward a child's face over 6 seconds feels intimate. A fast zoom feels like a commercial.
- Motivated lighting shifts. Every element in a cinematic story should feel motivated by the scene's emotional intent. A warm golden glow suits a Christmas morning memory. Cool, soft light suits a quiet bedtime story.
- 3D parallax layering. Separate your photo into foreground and background layers in your editor. Moving them at slightly different speeds creates depth and makes the image feel alive without distorting faces.
- Consistent color grading. Pick one color tone for the whole video and apply it to every clip. Consistency signals craft and keeps the viewer emotionally anchored.
"Applying restrained, gentle motion helps maintain emotional resonance and avoids the uncanny valley effect in animated photos." — Vofy Memory Motion Guide
Pro Tip: When using Wonderlens or any AI animation platform, choose the lowest motion intensity setting first. You can always add more movement, but you cannot undo an overproduced clip that no longer looks like your child.
Lighting deserves special attention. A creator's guide to lighting in home animations shows how matching the animated character's light source to the room's actual light makes the whole scene feel real. If your photo was taken near a window, the animated element should catch light from that same direction.
How do you assemble, edit, and finalize your animated memory?
Assembly is where your planning pays off. Follow these steps to build a finished video from your animated clips:
- Import all clips into your video editor. Arrange them in the emotional order you planned in your storyboard, not necessarily chronological order.
- Trim each clip to 6–10 seconds. Cut the beginning and end of each clip where the animation is settling in or winding down. The middle seconds are always the strongest.
- Add transitions sparingly. A simple cross-dissolve between clips works better than flashy wipes or spins. Transitions should be invisible, not decorative.
- Layer your music track first. Drop your chosen music onto the timeline before you add narration. Music sets the emotional tempo. Narration then sits on top of it.
- Record your voiceover. Voiceovers recorded live over playback sound more authentic than AI-generated audio. Play your video on screen and record yourself speaking your captions naturally. This "screen-record-over" technique adds a personal warmth that no AI voice can replicate.
- Export at the highest quality your platform supports. For sharing on phones and social media, 1080p at 30fps is the standard. For a keepsake you plan to display on a TV, aim for 4K if your tools allow.
Here is a final export reference:
| Destination | Resolution | Frame rate |
|---|---|---|
| Phone or social media | 1080p | 30fps |
| TV or large screen | 4K | 24fps or 30fps |
| Email or messaging app | 720p | 30fps |
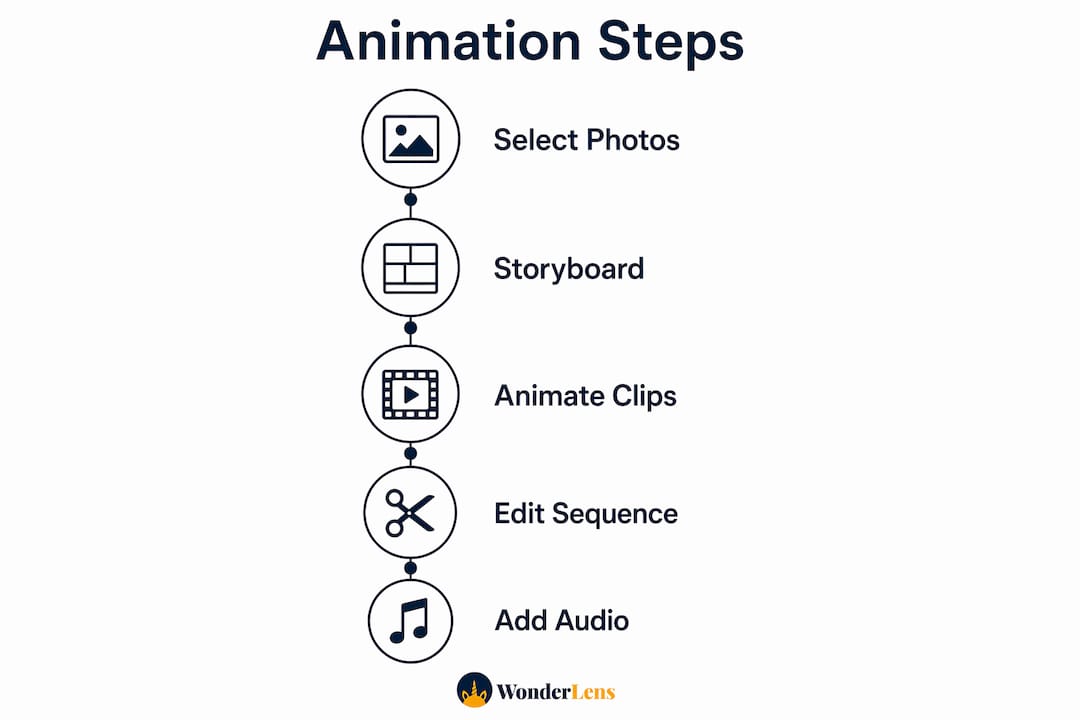
Animated photo steps for families cover the full pipeline from raw photo to shareable video, including format tips for different devices.
What common challenges come up, and how do you fix them?
Every family hits a few snags on their first animated memory project. These are the most common ones and how to handle them:
- Long rendering times. Families can expect turnaround times ranging from a few minutes with automated tools to several hours for complex AI-rendered cinematic videos. Start your render before bed and let it finish overnight.
- Uncanny valley faces. If an animated face looks wrong, reduce the motion intensity. The fix is almost always less movement, not more.
- Mismatched emotional tone. If a clip feels too playful for a tribute video, re-examine your music choice and color grade. Tone is set by audio and color more than by animation style.
- Overwhelming motion. If the video feels busy, remove one animated element per clip. Simplicity reads as confidence on screen.
- Audio sync issues. If your voiceover drifts out of sync, re-record it using the screen-record-over method. Live recording naturally stays in sync because you are reacting to what you see.
Key takeaways
Cinematic animated memories work best when gentle motion, motivated lighting, and a clear emotional direction combine to preserve the original feeling of each photo.
| Point | Details |
|---|---|
| Plan before you animate | Storyboard your sequence and write captions before opening any software. |
| Keep clips short | Aim for 6–10 seconds per clip and a total runtime of around 60 seconds. |
| Use restraint in motion | Gentle movement preserves emotional honesty; aggressive animation breaks it. |
| Record your own voiceover | Live narration over playback sounds more personal than any AI-generated voice. |
| Match lighting to the scene | Animated elements should catch light from the same direction as the original photo. |
Why subtlety is the secret ingredient nobody talks about
by Jeremiha
Every parent I have spoken with about animated memories starts with the same instinct: add more. More sparkle, more movement, more characters. I understand the impulse. You want the video to feel magical. But the families who end up with something they actually cry over are the ones who pulled back.
The most powerful animated memory I have seen was a single photo of a grandmother and a grandchild at a kitchen table. The only animation was a slow, gentle zoom and a soft warm light that shifted like afternoon sun. That was it. No characters, no effects. Just the feeling of being in that kitchen again. The restraint made it feel real.
The tools available now, including Wonderlens and AI animation platforms, are genuinely capable of producing that kind of quality. The technology is not the barrier. The barrier is trusting that less is more. A digital birthday memory board or a holiday keepsake does not need to dazzle. It needs to feel true.
My honest advice: finish your first animated memory, watch it once, then remove one effect. Watch it again. It will almost always be better. The goal is not to impress. The goal is to make someone feel something they thought they had forgotten.
— Jeremiha
Wonderlens makes your animated memories come to life
Wonderlens is built for exactly this kind of magic. The platform takes a photo of your living room and places a fully animated character, Santa, a unicorn, a fairy, directly into your space with realistic shadows and lighting that match your actual room.
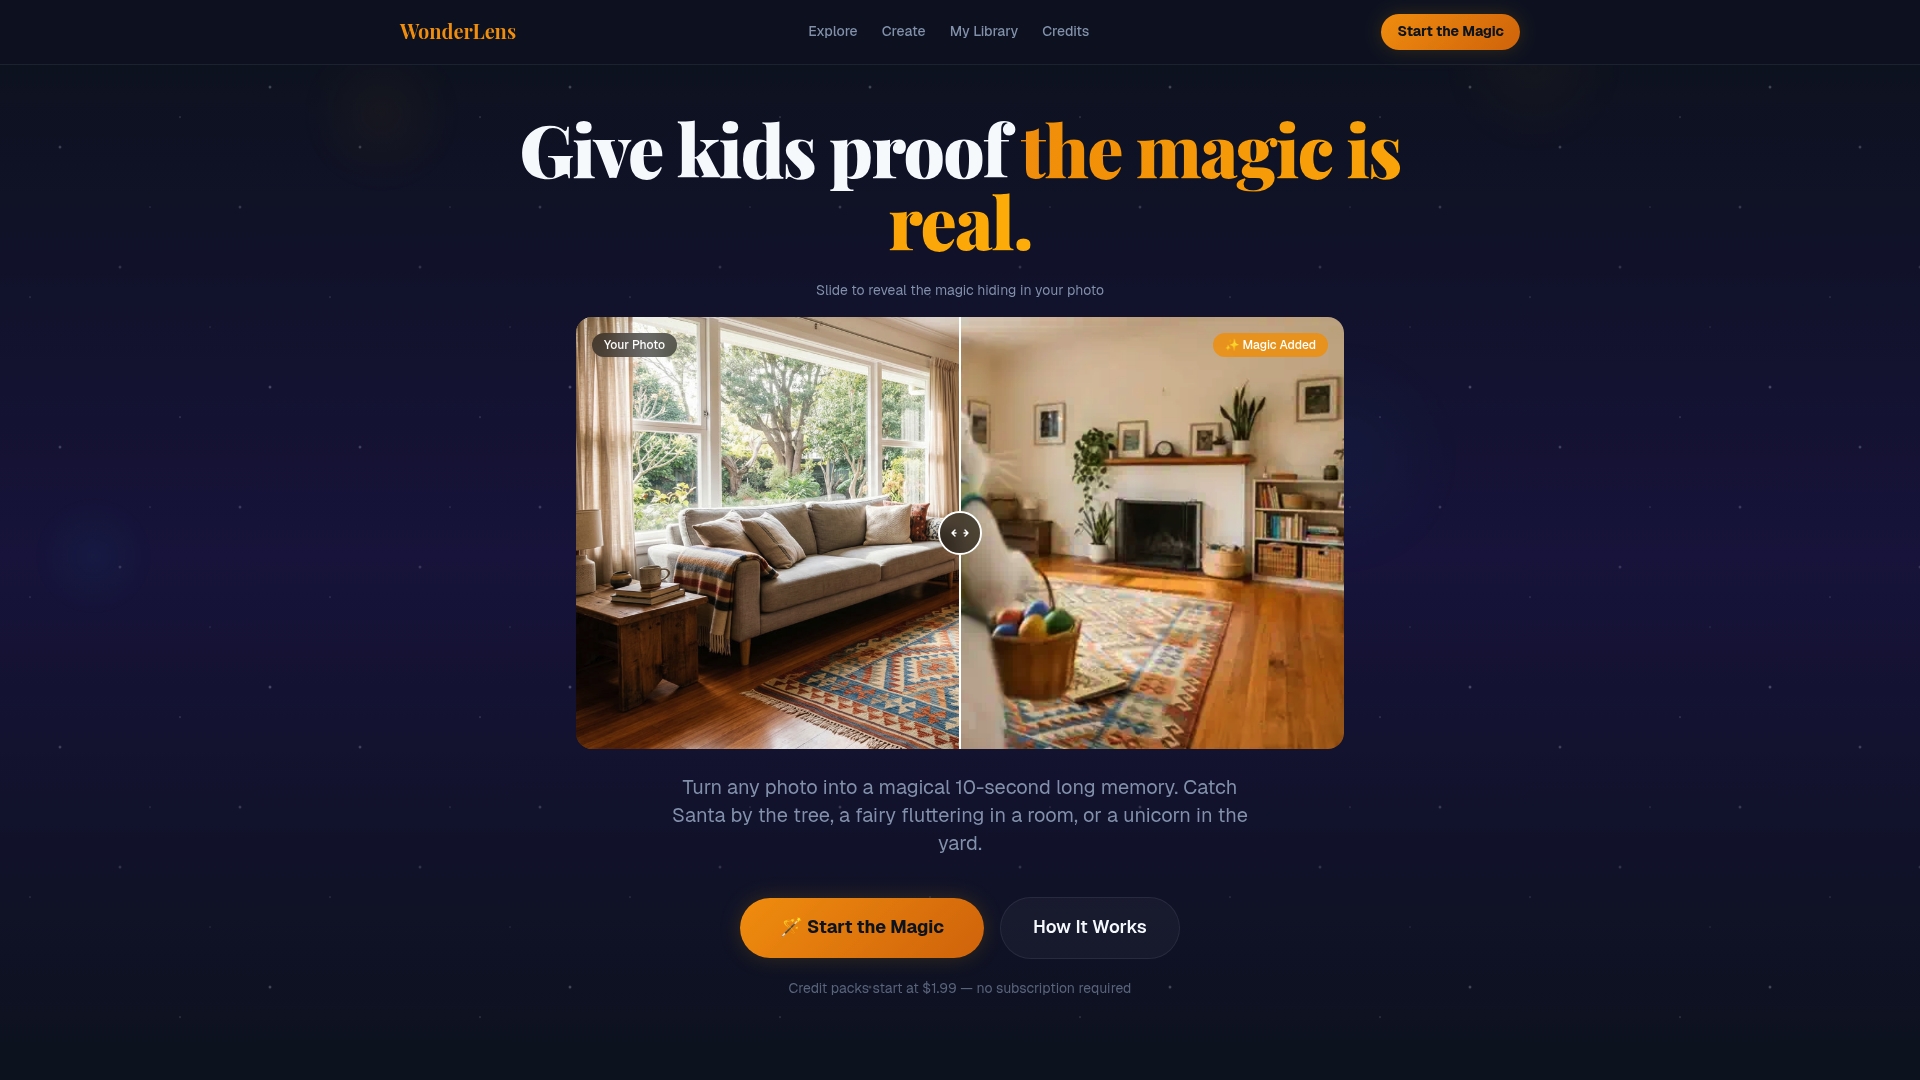
Credits start at $1.99 per video, and the whole process takes under a minute. You upload your photo, choose your character, and Wonderlens handles the AI rendering. The result is a 10-second shareable video that looks like the character was genuinely there. For holiday mornings, birthday surprises, or any moment you want to make feel extraordinary, create your first animated memory with Wonderlens and see your family's faces light up.
FAQ
What is a cinematic animated memory?
A cinematic animated memory is a short video created by animating a still family photo using AI and storytelling techniques like pacing, lighting, and camera movement to produce an emotionally resonant keepsake.
How long should a family animated memory video be?
A 60-second video with 6–10 memory clips, each running 6–10 seconds, maintains the strongest viewer engagement and emotional impact.
How do I avoid the uncanny valley effect in animated photos?
Use the lowest motion intensity setting available and focus on gentle movements like slow zooms and soft lighting shifts. Aggressive or exaggerated animation is the primary cause of uncanny valley effects.
What is the best way to add a voiceover to an animated memory?
Play your video on screen and record your narration live over the playback. Live voiceovers sound more authentic and personal than AI-generated audio.
How much does Wonderlens cost to use?
Wonderlens offers credits starting at $1.99 per video. The platform is web-based and requires no special software or editing experience to produce a cinematic animated result.
Recommended
- Create Cinematic Digital Memories for Kids: A Parent's Guide — WonderLens | WonderLens
- 7 creative ways to use animated memories with your kids — WonderLens | WonderLens
- Why Parents Embrace Animated Keepsakes for Kids. WonderLens | WonderLens
- Holiday Animation for Parents: a Creative Family Guide — WonderLens | WonderLens