Creative photo animation steps for magical family memories
May 10, 2026
Every parent has been there: you snap what feels like the perfect holiday photo, but when you look back at it, the magic just isn't there. Your child's excited face is captured, sure, but the wonder, the sparkle, the sense that something extraordinary is happening? That gets lost in a flat, still image. Animated holiday memories change all of that. By turning your favorite family photos into short, moving clips, you give your kids something they will want to watch again and again. This guide walks you through every creative step to make it happen.
Table of Contents
- What you need to create animated holiday memories
- Step-by-step guide: Animating photos with AI tools
- Personalized animation: Frame and timeline editing for full control
- Hybrid workflows: Combining generative and manual animation
- Why the best holiday animations blend convenience and creativity
- Make your holiday photos magical with WonderLens
- Frequently asked questions
Key Takeaways
| Point | Details |
|---|---|
| Choose your method wisely | AI tools are quick but manual editing gives you creative control and more realistic results. |
| Prep photos for best motion | Separate moving elements into layers before animating to avoid awkward effects. |
| Combine tools for unique magic | Using both generative AI and manual timeline editing can create seamless, personalized holiday memories. |
| Share safely and easily | Export holiday animations as MP4 to share with family, but check privacy settings first. |
What you need to create animated holiday memories
Now that you know how animated photos can enhance your family holidays, let's get started with what you need.
The first thing to understand is that AI-powered photo animation comes in two main forms. There are two main approaches that produce photo animation: AI image-to-video, where you feed a single image into an AI tool along with a motion prompt and it generates movement automatically, and frame or timeline animation, where you manually assemble images or layers into a sequence to create motion step by step. Both methods can produce stunning results, and the best choice depends on your time, skill level, and what kind of magic you want to create for your family.
Here is a quick look at how some popular tools compare:
| Tool | Approach | Best for | Difficulty |
|---|---|---|---|
| WonderLens | AI image-to-video | Holiday characters in your home | Beginner |
| Adobe Photoshop | Frame timeline | Full creative control | Intermediate |
| Adobe Firefly | AI generative | Enhancing composites | Intermediate |
| Runway | AI image-to-video | Quick motion clips | Beginner to intermediate |
| Masko | Layer and rig | Custom character animation | Advanced |
For most parents, the right starting point is a tool that removes the technical barrier and delivers cinematic results fast. That said, even AI tools work best when you start with the right photo. Here is what makes a photo work well for animation:
- Clear, well-lit subjects with minimal blur or noise
- Simple backgrounds that allow characters or effects to stand out
- Natural poses where family members look relaxed and present
- Indoor holiday settings like living rooms with Christmas trees or decorated mantels
- Consistent lighting so that any added animated elements blend realistically
Pro Tip: Take your holiday photo during golden hour or near warm indoor lighting. When an animated character like Santa appears in your video, it catches that same golden glow and looks far more believable than under harsh overhead lights.
The animated photo transformation process starts long before you open any app. The more thought you put into the original photo setup, the more magical the final animation will look.
Step-by-step guide: Animating photos with AI tools
Once you have the right tools and photos, here's how to animate them easily with AI methods.
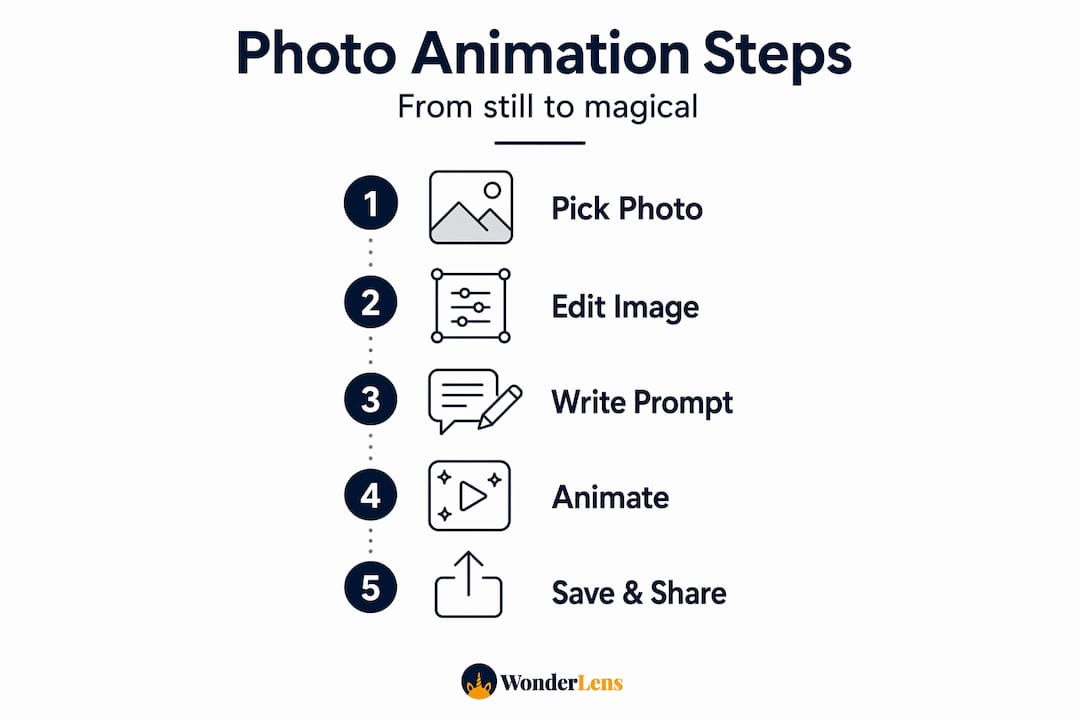
AI image-to-video tools make the process feel almost effortless. Runway-style image-to-video workflows generally mean choosing an image input and a motion prompt, then generating short clips for quick iteration and export. The clips are typically 4 to 10 seconds, which is the perfect length to share with kids or post to family group chats. Here is a step-by-step breakdown of the full process:
-
Choose your photo. Select a high-resolution image that fits the criteria above. The cleaner the image, the better the AI can interpret what should move and what should stay still.
-
Upload to your AI tool of choice. Most platforms have a simple drag-and-drop interface. For WonderLens, you simply upload your photo to the website and select your scene.
-
Select a motion prompt or holiday theme. This is where the magic starts. You might type something like "snowflakes falling softly" or choose from preset holiday themes. WonderLens offers characters like Santa, fairies, and unicorns that integrate directly into your scene.
-
Preview and adjust. Many AI tools let you preview the generated clip before finalizing. Watch for unnatural movement in areas like hair, furniture edges, or faces. Adjust your prompt if anything looks off.
-
Export as MP4. Once you are happy with the result, export the file. MP4 is the most universally compatible format for sharing across devices, social platforms, and messaging apps.
-
Share with your family. Send it directly to relatives, post it in a private family group, or save it to a memory album. Some families even play it on a TV during holiday gatherings.
Here is a quick reference for what each step typically involves in terms of time:
| Step | Average time |
|---|---|
| Choosing and prepping a photo | 5 to 10 minutes |
| Uploading and setting prompts | 2 to 5 minutes |
| AI generation | 1 to 3 minutes |
| Preview and adjustment | 5 minutes |
| Export and sharing | 2 to 5 minutes |
The total process can easily take under 30 minutes, even for a first-timer. That is a small investment for a video your child will talk about for years. When you add animated characters to photos, you are not just creating a fun video, you are building a holiday tradition.
Statistic callout: AI-generated animation clips are typically 4 to 10 seconds long, but studies on children's media engagement show that short, surprising video moments have a significantly stronger emotional impact than long-form content for kids under 8.
Pro Tip: When writing a motion prompt for a holiday animation, be specific about what you want to move. Instead of typing "make it magical," try "add gentle snowfall in front of the Christmas tree while the fairy wings shimmer." Specific prompts give AI tools clearer direction and produce far more realistic results.
There are so many creative ways to use animated memories beyond just a one-time surprise. Think holiday screensavers, personalized digital cards, or a short video played on Christmas morning before the gifts are opened.
Personalized animation: Frame and timeline editing for full control
For those wanting more creative power, personalized timeline editing is the next step.
In Photoshop, frame-based animation uses a sequence of frames where you can create, open, or import images, set delays, control disposal and looping, and tween frames to create smooth intermediate motion. Tweening means automatically generating the in-between frames so that movement flows smoothly rather than jumping from one position to another. This technique gives you surgical precision over exactly what moves, how fast, and in what direction.
If you want more control than a single image into automatic motion, layer or rig style methods are a core expert workflow for personalized motion. Here is how to approach it step by step:
- Open your photo in Photoshop and duplicate the background layer to preserve the original.
- Separate moving elements into individual layers. For a Christmas photo, this might mean isolating the tinsel, a child's hair, or a flickering candle flame.
- Create a frame animation sequence in the Timeline panel by duplicating frames and adjusting each layer's position or opacity slightly between frames.
- Set the frame delay for each frame, typically 0.1 to 0.2 seconds for smooth motion.
- Apply tweening between key frames to automatically generate smooth transitions.
- Set your looping option to "Forever" for a seamless repeating animation.
- Export as a GIF or video file using "Export As" or "Render Video" in Photoshop.
Here are the most important elements to separate into layers for realistic holiday animation:
- Falling snow or snowflakes added as a separate overlay layer
- Twinkling lights or glowing star effects
- Ribbon or tinsel movement on a Christmas tree
- Hair or fabric for subtle natural movement
- Animated character overlays like elves, fairies, or Santa himself
"The key to making holiday animation feel real is restraint. Move only what would actually move in that scene. A gift box stays still. A fairy's wings flutter. Candle light flickers. When everything moves, nothing feels magical."
These AI Christmas videos become truly special when parents take a few extra minutes to personalize the details. Kids notice those small touches. They notice when the snowflake lands right next to their face, or when Santa's coat matches the color of the family couch.
Knowing how to create magical videos kids will truly love comes down to one thing: putting your child at the center of every creative decision. Which character would make them gasp? Which room would feel most surprising? These choices shape everything.
Hybrid workflows: Combining generative and manual animation
Now, let's see how blending both approaches can take your holiday animations to the next level.
A hybrid workflow means you use AI for speed and manual editing for precision, combining the best of both worlds. Adobe describes a pipeline that composites and enhances in Photoshop, then uses Adobe Firefly's image-to-video or video generation modules, and then brings results back into Photoshop for final assembly. This kind of pipeline lets you produce something that feels genuinely cinematic rather than like a quick filter.
Here is how a hybrid workflow typically comes together for a holiday animation project:
- Start with a strong composite. Before generating any video, build out your scene in Photoshop. Add your holiday character, adjust lighting and shadows so everything feels consistent, and clean up any edges that might look unnatural in motion.
- Run the composite through an AI video generator. Tools like Firefly can take your finished composite image and generate a short clip where elements move naturally based on the scene's context.
- Bring the generated clip back into your editor. Layer it with additional effects, like a subtle sparkle overlay or a light flicker animation, using Photoshop's timeline.
- Export a final looping video that feels cohesive, warm, and genuinely magical.
Pro Tip: Always save your composite image before sending it to an AI video generator. If the AI output has an artifact or odd movement in one section, you can quickly tweak the source composite and regenerate just that portion rather than starting from scratch.
There are many alternatives to simpler animation platforms that offer more control, and it is worth exploring your options to find the right fit for your family's needs. Some platforms position themselves as alternatives to festive-themed tools with expanded character options and more realistic rendering. Understanding what realism in digital media means for holiday magic is genuinely important. Realistic shadow casting, matched lighting temperatures, and believable movement are what separate a video that makes kids gasp from one they shrug off after two seconds.
Why the best holiday animations blend convenience and creativity
After learning the steps, it is worth stepping back and asking a more meaningful question: what kind of memory do you actually want to create?
Here is something most guides will not tell you. The fastest animation is not always the most memorable one. AI tools are extraordinary. They save time, lower the barrier to entry, and produce impressive results in minutes. But they optimize for speed and broad appeal, not for your specific child, your specific living room, or the specific expression on your kid's face when they see their favorite character standing next to the family Christmas tree.
Frame-based animation in Photoshop represents a fundamentally different philosophy: service-based workflows optimize for speed and remove the need for prompts, but they reduce direct control. Editor-based workflows take more effort but allow for more precise direction. That tradeoff is real, and only you can decide where it makes sense for your family.
What we have seen, time and again, is that the most treasured holiday videos are the ones where a parent made a specific creative choice for a specific child. They picked the character their daughter has been obsessed with all year. They used the photo from the morning their son woke up to his first real snow. They added falling snowflakes that swirl right past his face. That intentionality is what transforms a cool video into a keepsake.
The good news is you do not have to choose between speed and creativity. Start with an AI tool to get your first result quickly. Then, if you want to refine it, layer in manual edits that make it feel personal. There are so many bonus ways to use animated memories with your kids once you have a video you are proud of, from projecting it during holiday dinner to using it as a personalized advent countdown.
The magic of holiday animation is not just in the technology. It is in the decision to take an ordinary moment and make it extraordinary for someone you love.
Make your holiday photos magical with WonderLens
Ready to make your child's holiday memories come alive? Here is how WonderLens can help.
WonderLens makes it easy for any parent to create a stunning, cinematic holiday video without any design experience. You simply upload a photo of your home, choose a character like Santa, a fairy, or a unicorn, and WonderLens places that character directly into your space with realistic lighting, shadows, and natural movement. The result is a 10-second shareable video that looks like it actually happened in your living room.
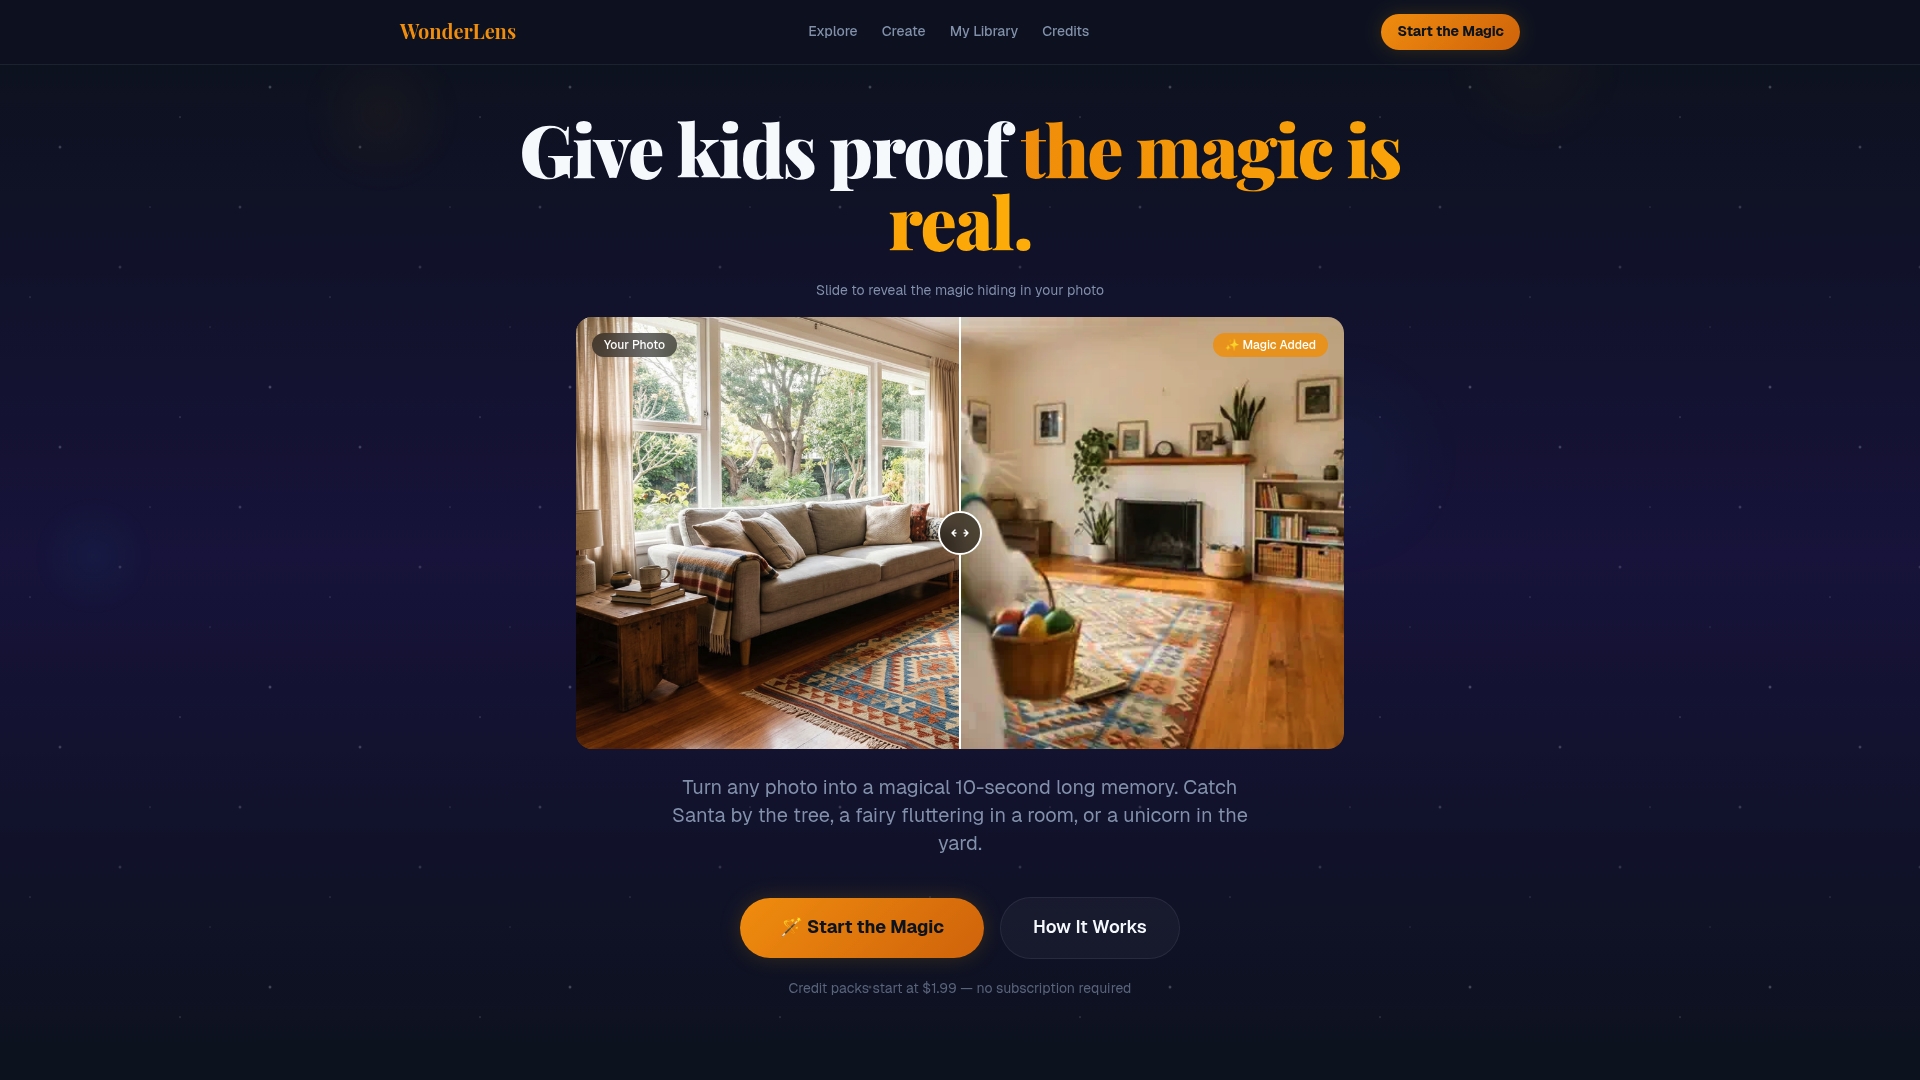
Visit WonderLens to explore all the characters and holiday scenes available. If you want to give your child the ultimate Christmas surprise, check out the Santa Claus video experience and see how real it looks in a real family home. Credits start at just $1.99, making it one of the most affordable ways to create a truly magical memory this holiday season.
Frequently asked questions
What's the difference between AI animation and manual editing?
AI animation uses prompts for fast, automatic results with minimal skill required, while manual timeline editing gives you precise control over every layer, movement, and frame in your animation.
How long does it take to animate a family photo?
With AI image-to-video tools, you can have a finished clip ready in under 10 minutes. Timeline-based editing in Photoshop can take anywhere from 30 minutes to a few hours depending on complexity.
How do I avoid awkward or unnatural animation?
The best approach is to separate moving elements into layers and only animate what would naturally move in the real world. Keeping movement subtle and purposeful prevents the uncanny, jittery effects that make animations look fake.
Can animated holiday photos be shared online safely?
Exporting your animation as an MP4 file makes it easy to share across most platforms and messaging apps. Before posting publicly, always review your privacy settings so that family moments stay with the people you intend to share them with.
Which animation method is best for beginners?
AI image-to-video tools are the fastest and simplest starting point for parents with no animation background. They handle the technical work automatically, so you can focus entirely on the fun part: choosing the magic you want to add.