Holiday Surprise Checklist for a Cinematic 10-Second Video
August 15, 2026

The fastest way to give a child a holiday memory they'll replay for years is a tightly staged 10-second clip built on three things: a clean source photo, three specific personal details, and simple cinematic lighting that makes the character look like it's really standing in your living room. Skip any one of those, and even the best AI rendering looks like a sticker pasted onto a photo.
- Pick one clean, well-lit photo of the room or the child.
- Choose a character (Santa, a fairy, a dragon) and write three personal details.
- Set your lighting direction so the character matches the room, using key and rim light as a guide.
- Keep the pacing calm and the audio warm, not rushed.
- Generate the clip on a platform like WonderLens, which handles the technical rendering for you.
- Preview it once before finalizing.
- Deliver it on a screen and at a moment where your child can actually see it clearly.
Pro Tip: Run through this whole list once before you touch "generate." A five-minute dry run saves you a wasted credit and a disappointed kid.
Key Takeaways
A cinematic 10-second holiday surprise succeeds when a clean source photo, three specific personal details, and matched key-and-rim lighting all work together in the final render.
| Point | Details |
|---|---|
| Photo quality decides everything | A backlit or blurry photo produces uncanny results no rendering setting can fully fix. |
| Three details beat any script | Name, a specific good deed, and an upcoming excitement point make the moment feel real. |
| Lighting must match the room | Rim light and color temperature need to align with your actual photo for believable integration. |
| Pace it slow, not rushed | Calm, deliberate movement and an unhurried voice preserve the illusion for young viewers. |
| WonderLens handles the technical build | Credits start at $1.99, the first video is free, and lighting/shadow work is done automatically. |
Table of Contents
- How to choose and prepare the best source photo
- Which character and personal details make the surprise land?
- What makes the lighting look cinematic instead of pasted on?
- How should the animation and audio be paced?
- What does the generation workflow and pricing actually look like?
- How do you stage the reveal for maximum wonder?
- What are the most common problems and quick fixes?
- Why the small details matter more than the technology
- Let WonderLens handle the technical heavy lifting
- Frequently asked questions
- Sources
How to choose and prepare the best source photo
Your photo is the raw material the AI has to work with, and it can't invent what isn't there. If the image is dark, backlit, or blurry, the finished character often looks pasted on rather than lit by the same light as the room, because uneven or backlit source images tend to reduce photorealism even on advanced rendering systems.
Frame the shot based on what you're placing. A head-and-shoulders close-up works if the character will interact directly with your child's face; a wider full-room shot works better if Santa needs somewhere to stand or a dragon needs space to land. Either way, aim for a photo taken in daylight or bright, even indoor light, with a plain background and nothing blocking the main subject.
- Reshoot with soft, front-facing light instead of a window behind your subject.
- Crop tight and remove background clutter before uploading.
- Fix obvious exposure problems in your phone's editor first.
- Use one strong, neutral-expression reference image rather than several conflicting shots, since a single hero reference reduces identity drift compared to multiple contradictory ones.
Pro Tip: Export a single still preview frame before committing to the full render. If the still already looks off, fix the photo, not the settings.
Which character and personal details make the surprise land?
Santa, a fairy, a unicorn, a dragon, or a friendly mascot all read well in a short clip because their silhouettes are instantly recognizable, even at low screen time. Cartoonish styles tend to forgive small rendering quirks better than hyper-realistic ones, which is worth remembering if your source photo isn't studio quality.
The detail that actually makes a 10-second surprise feel personal isn't the character; for insight into how AI toys influence child interaction, see AI-powered play and child interaction. It's specificity. Use three details: your child's name, one recent good deed you actually witnessed, and one activity they're genuinely excited about right now.
- "Emma, Santa saw you share your blocks with your little brother."
- "I heard you've been practicing your soccer kicks, Jonah. Keep it up!"
- Keep sentences short (3 to 4 lines) so they fit naturally into a 10-second window.
- For toddlers, simplify vocabulary and slow the delivery; for older kids, you can add a touch of playful teasing.
Read more on writing personalization lines that fit a child's age for a deeper breakdown of phrasing by age group.
What makes the lighting look cinematic instead of pasted on?
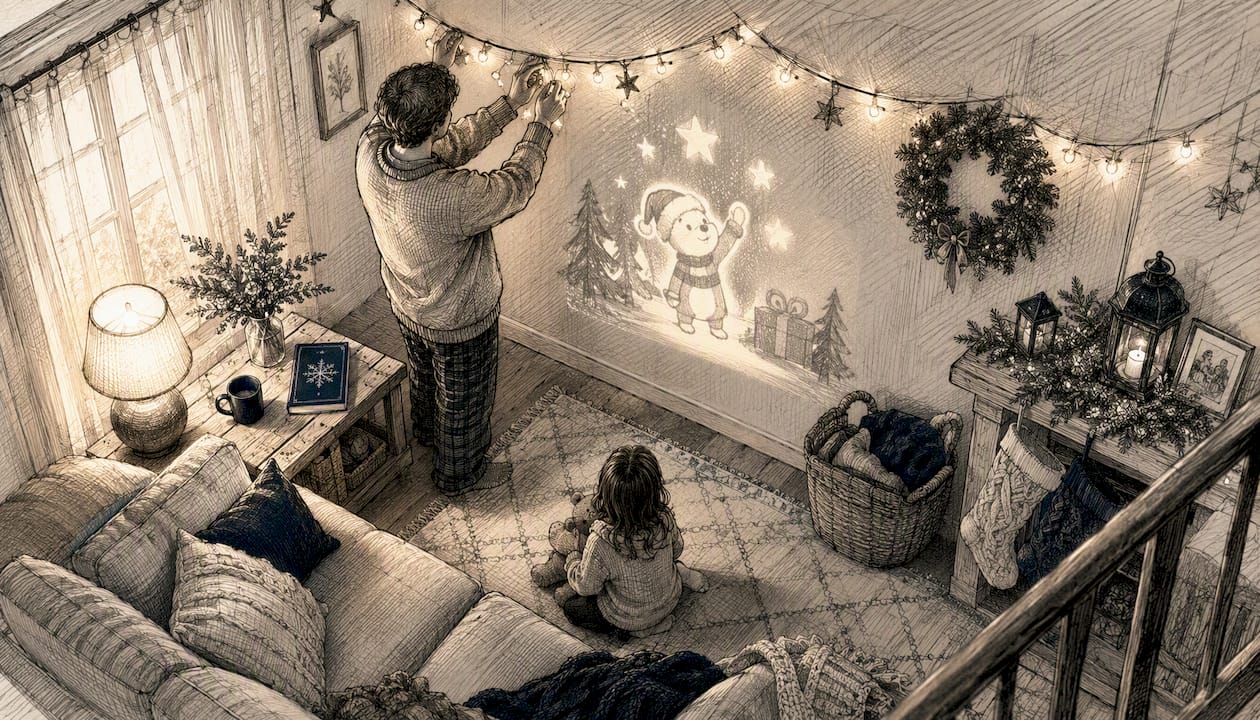
Professional shoots rely on three lights, and the same logic applies here. The key light sets the main direction and brightness on the character's face. The fill softens harsh shadows on the opposite side. The rim light, placed behind the subject, is what separates the character from the background instead of letting it visually merge into the wall behind it.
A character with no rim light and a photo shot in a dim room often blends into the background rather than standing out from it, which is exactly the flat, cutout look that breaks the illusion.
Match the character's light direction and color temperature to your actual photo. If your room glows warm from lamp light, the character's rim light should sit close to that same warm tone rather than a cold blue, since color temperature mismatches between key and rim light break visual consistency. Scale matters too: a dragon that's too large for your ceiling or a fairy floating at an impossible height instantly signals "fake."
Pro Tip: Before finalizing, check three things in your preview: does the character have a visible edge light, does its shadow anchor to a real surface, and does the color temperature match the room?
How should the animation and audio be paced?
A 10-second clip has almost no room for wasted motion, so structure matters more than length. A workable timeline looks like this:
- 0 to 2 seconds: the character enters or is revealed in the space.
- 2 to 8 seconds: the greeting plays out, delivering the three personal details.
- 8 to 10 seconds: a gentle wave or send-off closes the moment.
Keep the movement slow and deliberate. Fast, jittery animation is one of the quickest ways to break a young child's sense that this is really happening, since unhurried, measured pacing preserves the illusion far better than rapid movement does for young viewers. Choose a warm, unhurried voice, add one short musical cue rather than a full soundtrack, and keep ambient room sound low so the voice stays clear. If you're worried about clarity, a simple caption line helps, especially for younger kids still building listening skills.
Pro Tip: Read your script out loud at a slow, storytelling pace before you submit it. If it sounds rushed to you, it will sound rushed to your child.
What does the generation workflow and pricing actually look like?
Once your photo and script are ready, the process on a platform built for this is short:
- Upload your prepared photo.
- Select your character and animation style.
- Paste in your three-detail personalization script.
- Preview the rendered clip.
- Finalize and download.
For settings, standard HD resolution and a smooth frame rate are plenty for a 10-second clip meant for phones and shared links. On WonderLens, video generation starts at $1.99 per credit, with the first video offered free, and no subscription required. Turnaround for a standard render is typically quick enough for same-day surprises, though higher-quality passes may take a little longer to process.
If a render comes back looking off, check whether the problem traces back to your photo before assuming it's a settings issue. Blurry edges or bad lighting in the source almost always show up in the final clip, and re-running the render rarely fixes a weak source image.
How do you stage the reveal for maximum wonder?
The clip itself is only half the surprise. How you present it decides whether your child remembers it for a night or for years.
- Test playback on the actual device you'll use, whether that's a phone, a tablet, or a TV via casting, since format hiccups can kill the moment.
- Pick a calm moment, not right before bed when energy is low or right after a meltdown.
- Use a short reveal line like, "Someone wanted to say hi to you tonight," to build a beat of anticipation before you press play.
- Share copies with relatives through a private link rather than a public post, especially with a child's face and name involved.
- Save the final file in at least two formats, one for easy phone playback and one higher-quality backup, and keep one local copy plus one cloud copy.
What are the most common problems and quick fixes?
Most issues trace back to one of two things: the photo or the settings. A visible cutout edge, a shadow that doesn't touch the floor, or jittery facial movement almost always points to the source image. Rim light that clashes with the room's actual light temperature is a settings fix, not a photo fix.
- Uncanny facial movement: try a calmer animation preset and a more neutral-expression reference photo.
- Mismatched rim light: adjust the color temperature setting to match your room's actual light.
- Visible cutout edges: recrop the photo tighter and remove background clutter.
- Jittery motion: slow the pacing setting rather than trying to fix it after export.
Pro Tip: If a second render still looks wrong after you've fixed the photo, contact platform support with your original image and a description of the specific glitch. That's faster than guessing through a third render.
Why the small details matter more than the technology
The AI rendering is the easy part now. What actually makes a 10-second clip land is the same thing that's always made storytelling work: specificity. A generic "Ho ho ho, Merry Christmas" from an animated Santa is forgettable. A Santa who mentions the exact good deed you saw your daughter do last Tuesday is something she'll ask to watch again.
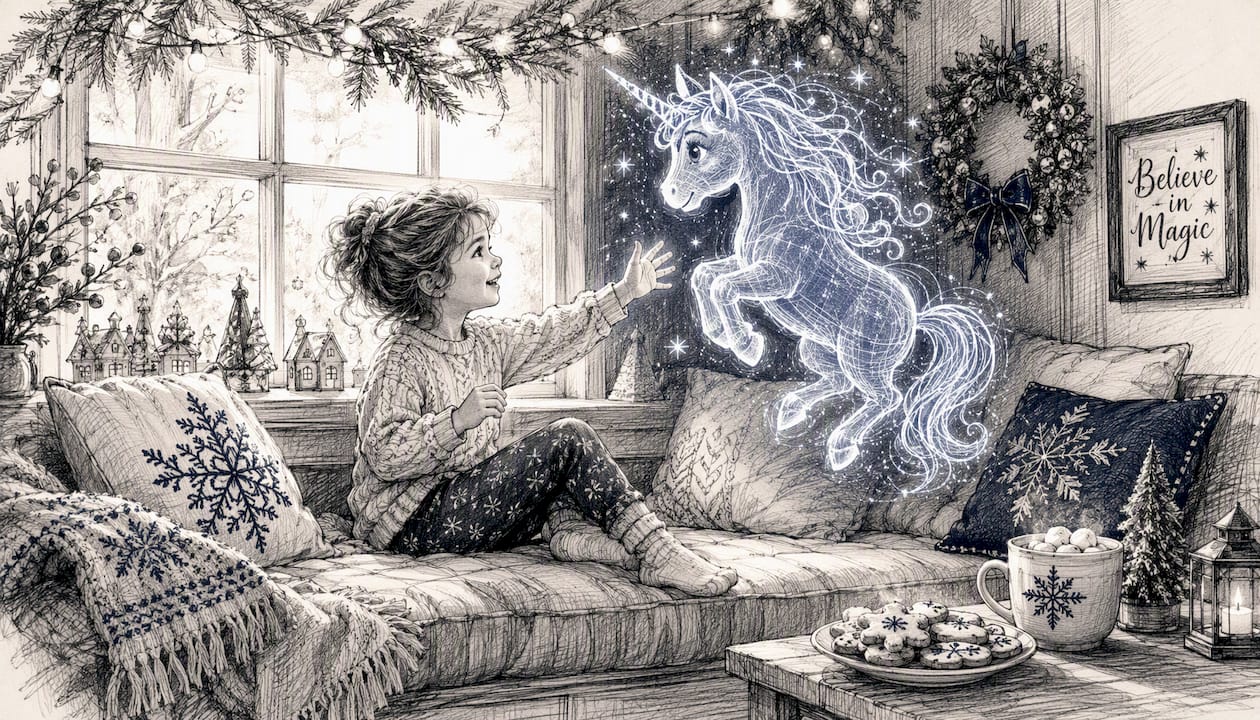
We built this checklist around that idea, because good technology should disappear behind the moment it creates, not distract from it. Get the details right, and the clip does the rest.
Let WonderLens handle the technical heavy lifting
You don't need to know clock-position lighting terms or color temperature math to pull this off. WonderLens builds the key light, fill, rim light, and shadow integration into every render automatically, so you can focus on the part that actually matters: the photo you choose and the three details you write.
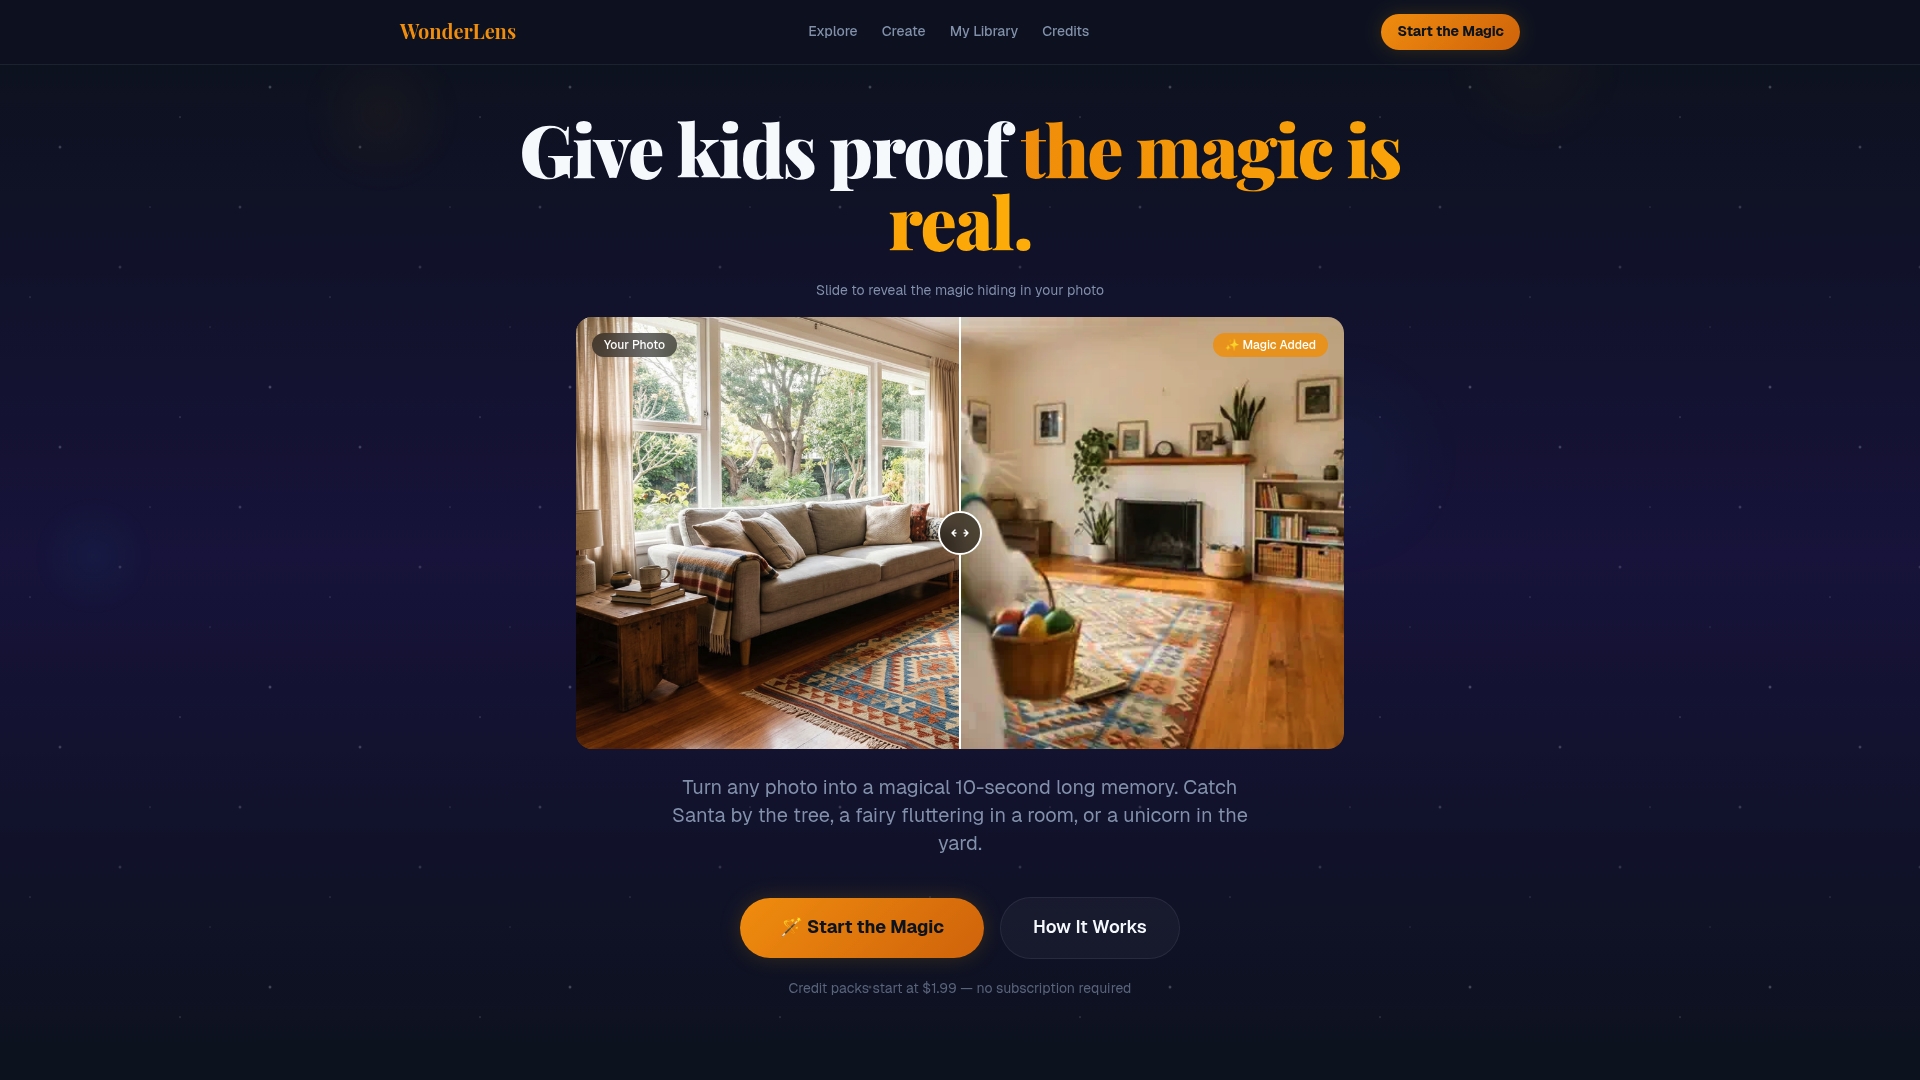
Pricing starts at $1.99 per credit, with your first video free and no subscription commitment. If you've got a photo and a good deed you want to mention, create your first video on WonderLens and see the finished clip before you decide whether to save it.
Frequently asked questions
What is the best holiday surprise checklist for a 10-second video? Pick a clean photo, choose a character, write three personal details, match your lighting, keep the pacing slow, generate the clip, preview it, then deliver it on a screen your child can see clearly.
How many personal details should I include in the script? Three works best: the child's name, a specific good deed, and something they're excited about. More than that tends to overcrowd a 10-second window.
Do I need professional lighting equipment to get a good result? No. You need even, soft daylight or front-facing indoor light and a plain background. The rendering platform builds the cinematic key and rim lighting on top of that.
What if my photo is too dark or blurry? Reshoot it. A poor source photo almost always produces an uncanny final result, no matter how the settings are adjusted afterward.
How much does a WonderLens video cost? Credits start at $1.99, the first video is free, and there's no subscription required.
Sources
- Three-Point Lighting for AI Imagery and How to Prompt It | Floniks
- Can AI Video Tools Use Your Own Images? Reference Images Explained | Knowlify
Recommended
- 12 Creative Holiday Surprise Examples Kids Will Love. WonderLens | WonderLens
- 20 Christmas Countdown Video Ideas for Families. WonderLens | WonderLens
- Creating Cinematic Home Videos: A Parent's Magic Guide. WonderLens | WonderLens
- Tips for Personalized Holiday Videos Families Will Love. WonderLens | WonderLens