Creating Cinematic Home Videos: A Parent's Magic Guide
July 25, 2026

Yes, you can create a cinematic 10-second AI-animated home surprise that looks and sounds professional. All it takes is a tiny story, 3–5 clean photos, matched lighting, and either a short edit or a single Wonderlens credit. Your child's face when a dragon curls up by the Christmas tree or a fairy dances across the living room floor? That moment is worth every minute of prep.
Here's what you need to pull it off:
- A theme and emotional beat: one clear idea (Christmas morning surprise, Easter garden visit, bedtime fairy)
- 3–5 usable photos or a short clip: landscape orientation, good light, no harsh backlight
- Matched lighting: the character's shadows need to follow the same direction as your room's light
- A short soundbed: candid laughter or a soft music track underneath
- A Wonderlens credit: your first video is free, and additional credits start at a low cost around two dollars.
Cinematic filmmaking is a chain of decisions — motion, light, composition, sound, and edit timing — and small changes like frame rate and lighting yield outsized improvements. You don't need a film crew. You need a plan.
Table of Contents
- Plan your tiny story and moodboard before you pick up the phone
- What smartphone settings make your footage look cinematic?
- How to light your room so the animated character fits naturally
- Which photos and angles give the AI the best results?
- How does Wonderlens turn your photos into an animated surprise?
- Sound, pacing, and export settings that feel cinematic
- Privacy and safety checklist for family AI videos
- How long does it take and what does it cost?
- Key Takeaways
- Why the "perfect shot" myth holds families back
- Your first cinematic family surprise is one credit away
Plan your tiny story and moodboard before you pick up the phone
A mood board helps you borrow lighting, color, and composition patterns so every shot and edit serves one emotional purpose. Before you capture a single image, spend five minutes deciding what you actually want the viewer to feel in those 10 seconds.
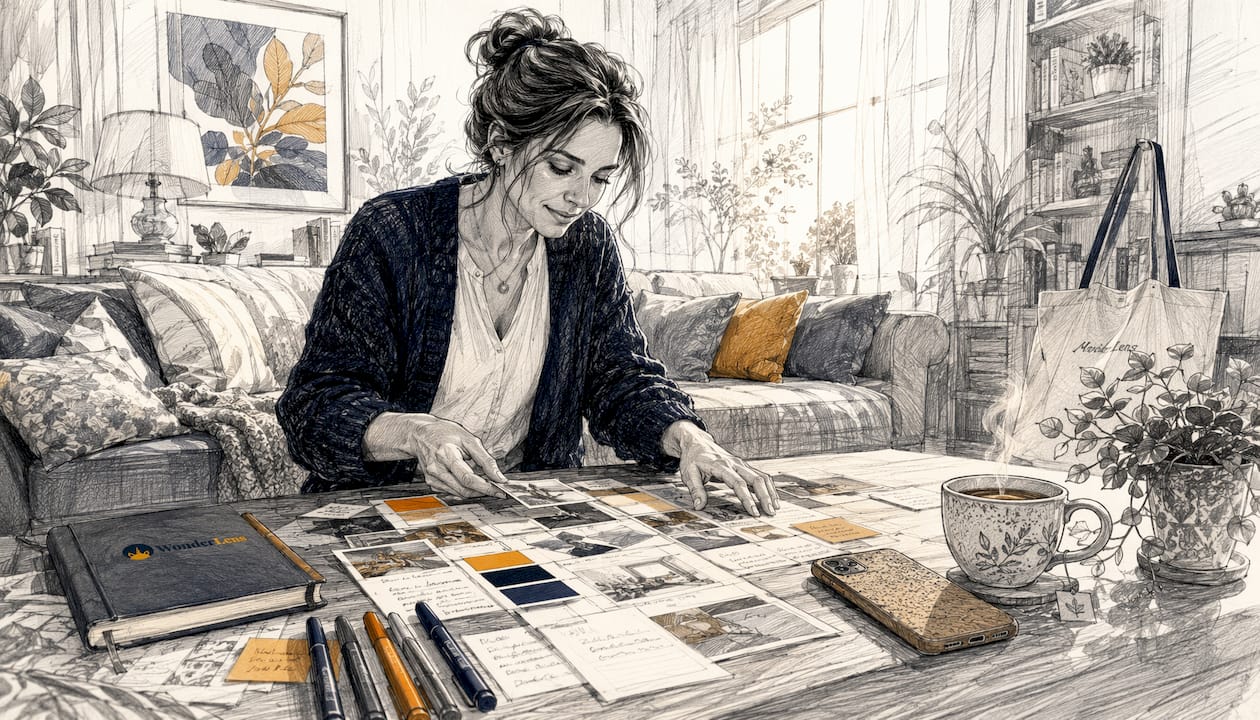
Choose your occasion and emotional beat first. A Christmas surprise feels different from an Easter morning visit or a bedtime fairy story. Pick one beat: surprise, comfort, or playful wonder. That single decision shapes everything else.
Pick a character that fits the scene. Santa belongs near a fireplace or tree. A unicorn works in a sunlit backyard. A fairy or dragon can appear anywhere with soft, directional light. Decide where in the frame the character will stand or hover, and keep that area clear of clutter.
Build a six-shot list. A simple plan keeps capture fast and focused:
- Wide room shot (establishes the space)
- Medium shot of the character placement area (empty, for reference)
- Close-up of a meaningful object (ornament, Easter basket, pillow)
- Child's reaction angle (optional but powerful)
- B-roll detail (hands, feet, a door opening)
- Final wide with warm light for the "reveal" feel
Pro Tip: Write one caption for the finished video before you shoot — "Santa checks on the kids at midnight" or "A fairy visits the garden on Easter morning." If you can say it in one line, your shots will stay focused.
You can browse animated family memory examples to spark ideas before you finalize your character and mood.
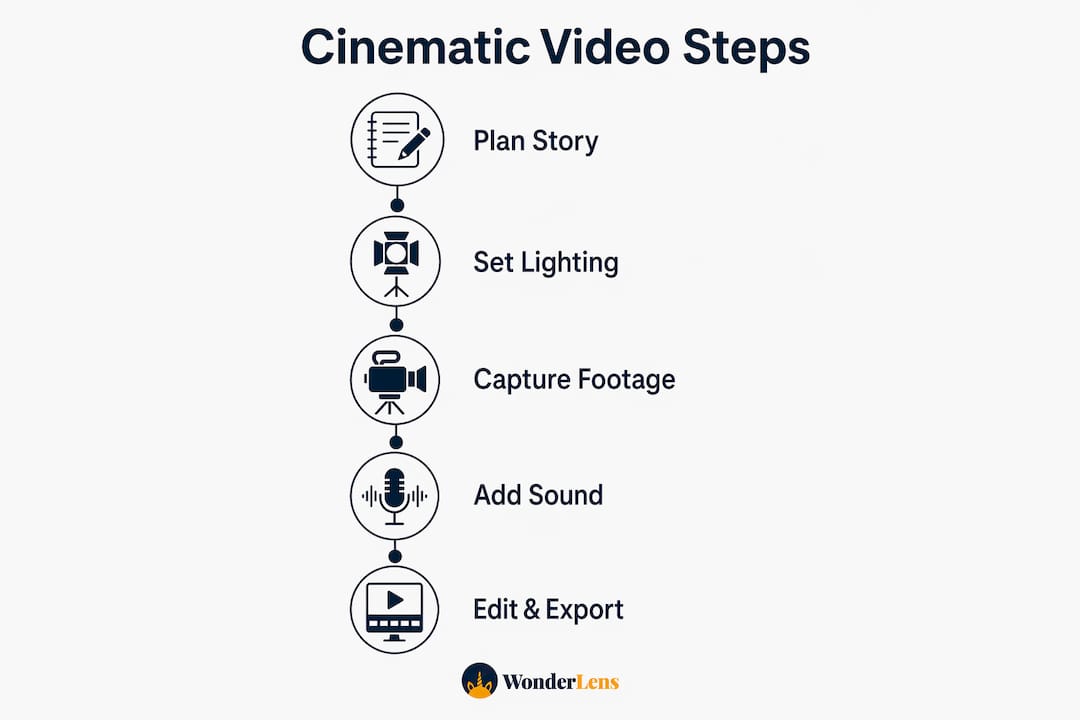
What smartphone settings make your footage look cinematic?
The biggest single upgrade you can make is switching to 24fps. Shooting at 24fps with a shutter speed of 1/48 creates the natural motion blur that separates film-like footage from the clinical, too-sharp look of standard phone video.
Here's a quick settings checklist to follow before you press record:
- Switch to Pro or Manual mode on your camera app. Lock exposure so the image doesn't pulse when you move.
- Set frame rate to 24fps and shutter speed to 1/48 (or as close as your phone allows, typically 1/50).
- Open the aperture to f/1.4–f/2.8 for a blurred background. Shallow depth of field separates your subject cleanly and reads as cinematic immediately. Portrait mode works as a fallback if manual aperture isn't available.
- Stabilize every shot. Use two hands, lean against a wall, or set the phone on a small tripod. Slow push-ins and static held shots read as intentional. Fast pans read as amateur.
- Shoot wide, medium, and close. B-roll detail shots — a child's hand reaching for a gift, a candle flickering — function as a secondary narrative track that makes the whole piece feel cohesive.
- For Wonderlens source clips, record a steady 5–10 second clip of the area where the character will appear. Frame it with visual breathing room on the side or above where the character will stand.
How to light your room so the animated character fits naturally
The single most important lighting rule: your animated character's shadows must fall in the same direction as every other shadow in your photo. Take a quick test shot and look at where the shadows land. That's your key light direction, and the AI needs to match it.
Window light is your best friend. Position your subject so the window sits at roughly 45 degrees to one side. Place a white foam board or a plain white sheet on the opposite side to bounce light back and soften harsh shadows. A small warm lamp placed behind the subject adds depth and separates them from the background.
Avoid mixing color temperatures in a single frame. A daylight window and a warm tungsten lamp in the same shot create two competing shadow colors. Pick one: cool daylight or warm tungsten. You can always warm or cool the whole image in editing, but mixed sources in-camera are hard to fix.
Before you finalize your setup, shoot a 10–15 second slow pan across the room. This reference clip shows the AI the full lighting environment, wall colors, and shadow behavior — giving it everything it needs to place a character that genuinely looks like it belongs there.
Quick scene prep checklist:
- Remove reflective objects (mirrors, glass frames) from the character placement area
- Clear foreground clutter that would obscure where the character appears
- Leave visual breathing room: at least one-third of the frame open for the character
Pro Tip: Shoot your reference pan at the same time of day you plan to capture your final photos. Morning light and afternoon light are completely different, and the AI will match whatever lighting environment you give it.
Which photos and angles give the AI the best results?
Upload-ready photos make the difference between a character that looks placed and one that looks like it truly lives in your home. Follow this checklist before you upload:
- Landscape (horizontal) orientation. Horizontal videos look better on TVs and computers and are the preferred format for family archives.
- High-resolution JPEG or PNG, minimal compression. Avoid screenshots or heavily filtered images.
- One wide shot plus 2–4 medium/close shots of the character area from slightly different angles.
- A 5–10 second reference clip of the character placement area with the intended lighting visible.
- File naming: label files clearly (e.g., livingroom_bedtime_20260101) so versions stay organized.
Common issues to avoid: harsh backlight without fill, motion blur across the main subject, multiple conflicting light sources, or clutter that hides the placement area. Trim source clips to 3–10 seconds — short, tight clips produce cleaner animation results than long continuous recordings.
How does Wonderlens turn your photos into an animated surprise?
The flow is straightforward, and your first video costs nothing.
- Upload your photo(s) to Wonderlens at wonderlens.ai.
- Choose your character (Santa, Easter Bunny, fairy, unicorn, dragon, superhero, and more) and set the placement area in the frame.
- Set timing and sound options for your 10-second animation.
- Preview the low-resolution render. Check that the character's lighting and shadows match your room. Minor adjustments to placement are typical at this stage.
- Purchase a credit (first video free; additional credits start at a low cost around two dollars) and render the high-resolution download.
- Download and share privately with family or save to your archive.
Wonderlens uses AI-driven rendering to match lighting, shadows, and movement to your specific photo environment — so a Santa in your living room catches the same warm glow from your lamp as everything else in the frame.
The platform is built with family-first privacy controls. Videos are downloaded directly to your device, not publicly indexed. You control exactly who sees the finished surprise. For a deeper look at the full workflow, the animated memories workflow guide walks through every stage.
Pro Tip: If your preview shows the character's shadow falling the wrong direction, go back and reshoot your reference clip at the same time of day with a clearer key light source. One retake saves a full re-render.
Sound, pacing, and export settings that feel cinematic
Keep the edit short and emotional. A 10-second animation with a 1–2 second lead-in and a 1-second hold at the end is the sweet spot for a surprise reveal. Anything longer risks losing the magic before the character fully appears.
Candid sounds anchor the animation in reality and increase emotional resonance more than any music track alone, highlighting the importance of capturing moments familiaux précieux with care. A child's giggle underneath the animation, or a parent whispering "look," makes the moment feel lived-in rather than produced.
Avoid flashy transitions — straight cuts and gentle crossfades are timeless. A wipe or spin transition dates the video immediately.
| Setting | Recommended value |
|---|---|
| Resolution | HD |
| Frame rate | 24fps |
| Export codec | Standard web/social or archive codecs |
| Audio | Stereo, 48kHz |
| Aspect ratio | Landscape orientation |
Pro Tip: Export one high-quality master file for your archive and a compressed web version for sharing. The master is your keepsake; the web version is for phones and social.
Privacy and safety checklist for family AI videos
Decide your sharing level before you upload anything. Private download, a password-protected link, or a family-only cloud gallery are all valid choices. The key is making the decision intentionally rather than after the fact.
Before uploading photos, scan them for sensitive details: visible street addresses, license plates, or school names in the background. A quick crop or blur takes seconds and protects your family's location.
Keep raw master files backed up offline. A portable hard drive or a private cloud folder gives you a long-term archive that doesn't depend on any platform staying active. Share compressed web versions for social; keep the originals safe.
If your child is the subject, do a parental review of the finished video before sharing it beyond immediate family. Wonderlens's download-only model means the video never appears in a public feed by default.
Pro Tip: Label your archive folder with the date, character, and occasion (e.g., "2025_Christmas_Santa_LivingRoom") so you can find it years later when your kids want to watch it again.
How long does it take and what does it cost?
Here's a realistic timeline for one surprise from start to finish:
- Capture phase: 15–60 minutes, depending on how many shots you take and how much scene prep is needed.
- Upload and preview: 10–30 minutes, including selecting your character and reviewing the low-res preview.
- Final render: 5–60 minutes depending on queue and resolution.
For context, a full DIY family documentary typically takes 4–12 hours of editing work. A 10-second Wonderlens animation is dramatically faster because the AI handles the compositing.
Pricing is simple. Your first video is free. After that, credits start at just $1.99 per video. Wonderlens occasionally offers promo credits, so it's worth checking the site before your next holiday. For personalized holiday video ideas and timing tips, the Wonderlens blog has seasonal guides updated throughout the year.
Short montages get more replays than long continuous recordings — and a 10-second animated surprise is designed to be watched over and over.
Key Takeaways
Creating a cinematic AI-animated family surprise comes down to story first, matched lighting, a clean reference clip, and keeping the final piece short and personal.
| Point | Details |
|---|---|
| Story before camera | Decide your character, occasion, and one emotional beat before you capture anything. |
| Match the lighting | Your animated character's shadows must follow the same direction as your room's key light. |
| Candid audio matters | A child's laugh or a whispered reaction makes the animation feel real, not produced. |
| Keep it short | A 10-second animation with a brief lead-in outperforms longer clips for replays and emotional impact. |
| Wonderlens pricing | First video is free; additional credits start at just $1.99 with no subscription required. |
Why the "perfect shot" myth holds families back
Most parents I talk to hesitate because they think they need better gear or more time. They don't. Emotional authenticity — a real giggle, a slightly imperfect frame, a child's genuine surprise — consistently outperforms technically flawless footage when it comes to the videos families actually rewatch.
The parents who create the most memorable surprises aren't the ones with the best cameras. They're the ones who planned a clear story, matched their lighting, and kept the moment honest. A fairy that glows with the same warm light as your living room lamp, placed in a frame your child recognizes as home, will land harder than any polished production that feels foreign.
Wonderlens is built around that philosophy. The AI rendering handles the technical compositing so you can stay focused on the story and the moment. The credit model means you're not locked into a subscription to try it once for Christmas or Easter. And the download-only sharing means the magic stays in your family's hands.
The gear question is a distraction. The story question is everything.
Your first cinematic family surprise is one credit away
Wonderlens gives you a professional-quality, 10-second animated surprise from photos you already have on your phone. No subscription, no complicated software, no film crew. Your first video is completely free, and additional credits start at just $1.99.
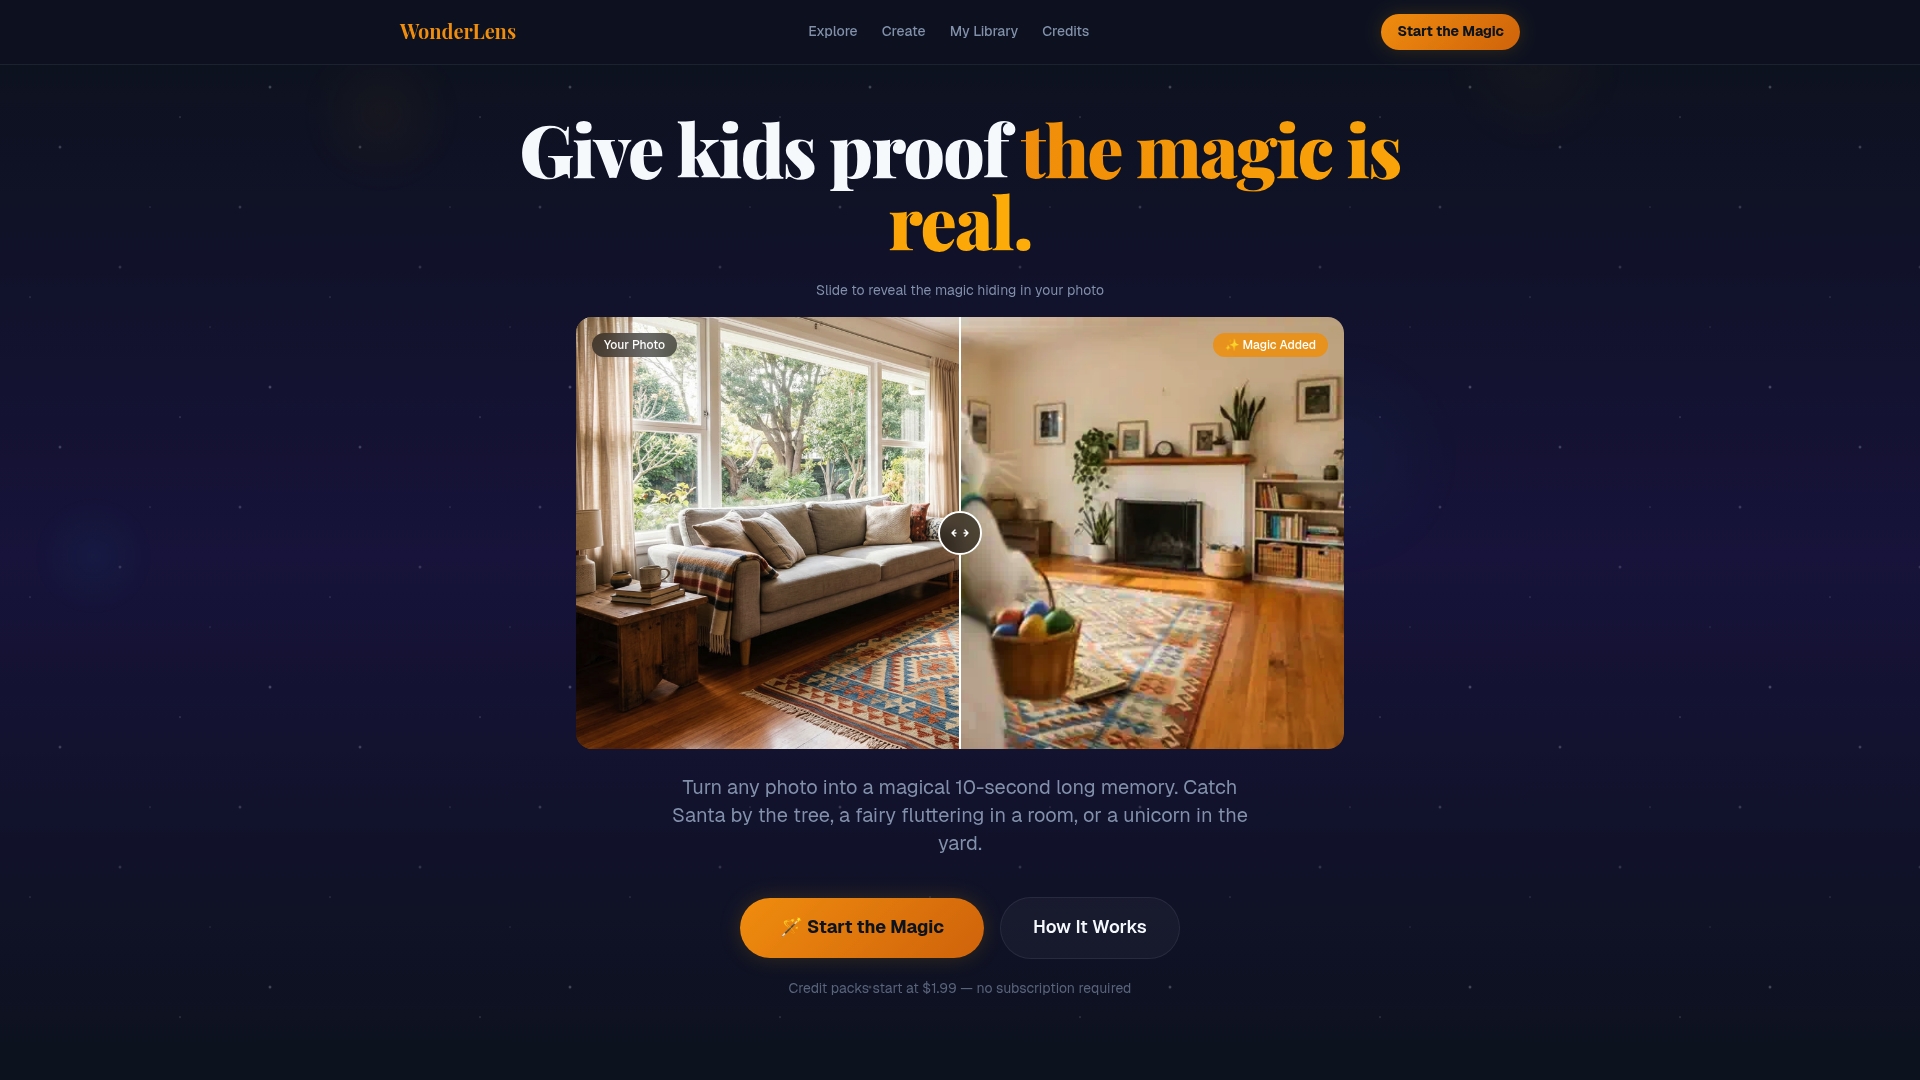
Pick your character, upload your photos, and watch a dragon settle by the fireplace or a fairy drift across the Easter morning garden. The kids will ask to watch it again before the first play even finishes.
Create your free first video at Wonderlens today and turn this holiday into a memory your family keeps forever.
Recommended
- Create Cinematic Digital Memories for Kids: A Parent's Guide — WonderLens | WonderLens
- Step by Step Magical Video Guide for Families. WonderLens | WonderLens
- Why Choose Cinematic Home Videos for Family Memories. WonderLens | WonderLens
- How to create magical videos kids will truly love — WonderLens | WonderLens