Cinematic Rendering for Families: Make Magical Home Videos
July 26, 2026

Cinematic rendering for families is an AI-driven process that uses global illumination and path-tracing calculations to place a fantasy character convincingly inside a photo of your actual home. The result is a short, roughly 10-second animated clip where Santa tucks a stocking behind your couch, a fairy hovers near your child's nightlight, or a dragon peeks around the living room doorway. What makes it feel real rather than pasted-on is the physics: the character catches your room's light, casts a soft shadow on your floor, and moves as if it genuinely belongs there.
Table of Contents
- What is cinematic rendering, and why does it look so different?
- When do families actually use cinematic rendering?
- How do you create a cinematic family video at home?
- What should parents check before creating or sharing these videos?
- What does cinematic rendering cost, and how long does it take?
- Creative script ideas you can use right now
- Key Takeaways
- Why magical family memories are worth building carefully
- Your first cinematic family video is one photo away
- Useful sources for learning more
What is cinematic rendering, and why does it look so different?
A basic sticker overlay or AR filter places a flat image on top of your photo. The character sits on the surface of the scene, lit by its own pre-baked light source, with no relationship to the room around it. Your brain notices the mismatch immediately, even if you can't name it.
Cinematic rendering works differently at a fundamental level. The technique, originally developed for medical imaging by Siemens Healthineers and later adopted by the entertainment industry, uses path-tracing algorithms to trace enormous numbers of light rays through a scene. Each ray bounces, scatters, and dims the way real photons do. The character receives the same warm lamp glow your sofa does. Its feet cast a soft shadow that matches the angle of your window light. That light interaction is what makes a viewer's brain register presence rather than a graphic.
The perceptual difference comes down to three cues: cast shadows, ambient occlusion (the subtle darkening where surfaces meet), and color bleeding (the way a red wall tints nearby objects slightly pink). Simple AR compositing skips all three. Cinematic rendering computes all three from your photo.
- Cast shadows: the character's shadow falls on your actual floor at the correct angle.
- Reflected light: a lamp in your photo brightens the character's face the way it would a real person standing there.
- Occlusion: where the character's feet meet the floor, a natural contact shadow grounds the figure.
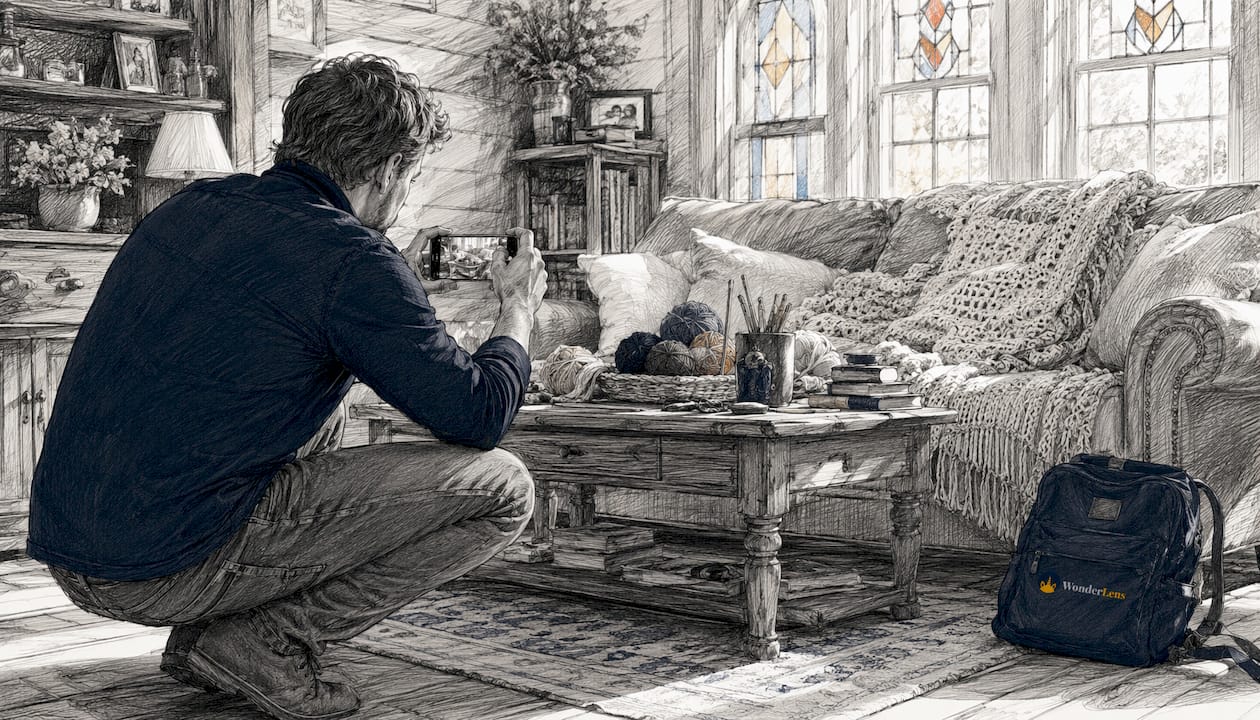
Pro Tip: Shoot your photo with the main light source visible in the frame. The renderer uses that cue to calculate where shadows should fall, and the result looks noticeably more convincing than a photo taken in flat, even light.
When do families actually use cinematic rendering?
The most popular moment is Christmas morning anticipation. A parent uploads a photo of the living room the night before, picks Santa as the character, and shares a short animated clip of him sliding a gift behind the tree. The child watches it on Christmas Eve and the magic of the season becomes something they can replay and share. For personalized holiday videos like this, the specificity of your own home is what separates the experience from any generic holiday animation.
Birthday surprises work just as well. A unicorn appearing in the birthday child's bedroom, horn catching the morning light, feels personal in a way a greeting card never could. The child sees their own bedspread, their own stuffed animals, and a magical visitor who somehow found exactly the right room.
Bedtime story moments are a quieter use case, but a powerful one. A fairy drifting past a nightlight, wings lit by the soft glow, gives a child something to look forward to at the end of the day. Parents who build these moments across holidays and seasons find that the videos become part of family tradition, a collection of animated memories the kids ask to rewatch.
The storytelling element matters as much as the visual quality. A character doing one concrete action, sneaking a gift, twitching its nose, spreading its wings, lands harder emotionally than a character simply standing in the room. Cinematic storytelling experts consistently point to a single, clear action as the key to emotional impact in a short animated clip.
How do you create a cinematic family video at home?
The workflow is browser-based and takes most parents under ten minutes from photo to finished render.
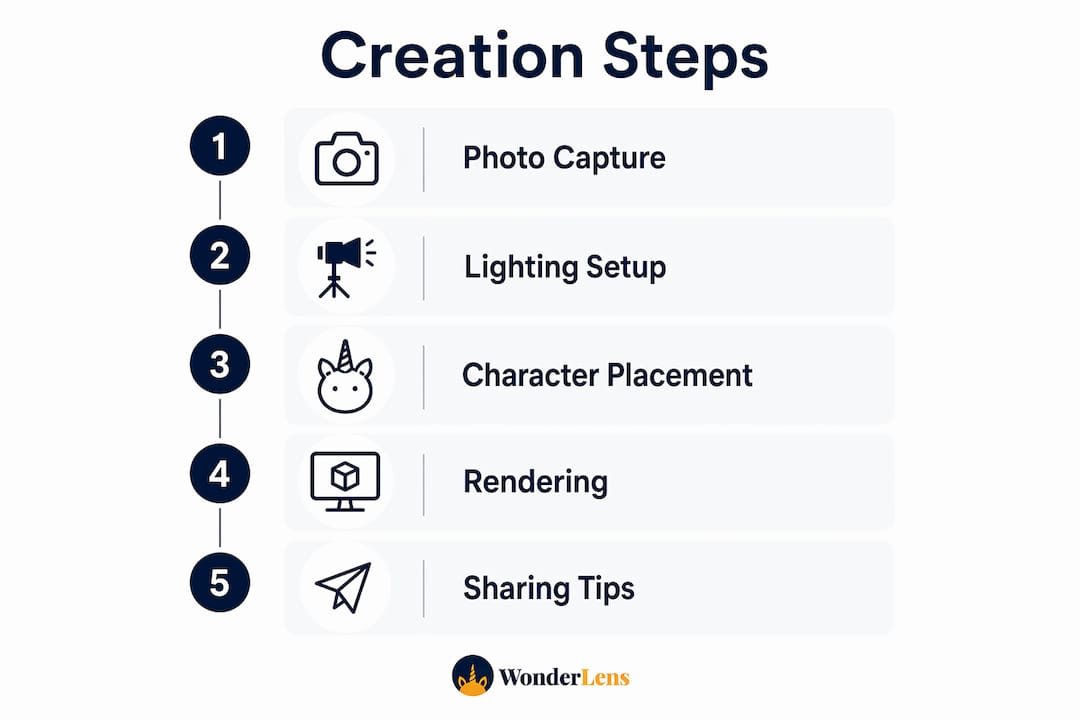
- Upload your photo. Choose a well-lit image of the room where you want the character to appear. A clear, sharp photo gives the AI more accurate lighting data to work with.
- Pick your character. Choose from options like Santa, the Easter Bunny, a fairy, a unicorn, a dragon, or a superhero. Each character is pre-animated with a short, looping action.
- Frame the scene. Position the character in the spot that makes the most sense in your room. Near a fireplace, beside a Christmas tree, or at the foot of a bed all work beautifully.
- Select your mood and timing. Some platforms let you choose a time-of-day lighting mood (warm evening glow vs. bright morning light) to match your photo.
- Render and preview. The AI computes the lighting and shadows. Review the clip and re-render if you want to adjust placement.
- Download and share. The finished file is typically an MP4 you can text, post, or play on a TV for the big reveal.
For best results, keep these photo tips in mind:
- Show the floor and at least one wall. The renderer needs visible room geometry to place shadows accurately.
- Use natural or warm artificial light. Flat, overcast lighting produces flatter shadows. A lamp or window light gives the character something to react to.
- Avoid highly reflective surfaces (mirrors, glass tabletops) in the main frame. Reflective materials can confuse path-tracing calculations and produce visual artifacts.
- Keep the space reasonably tidy. Heavy clutter makes it harder for the AI to identify floor geometry for shadow placement.
You don't need professional camera gear. Cinematic results come from deliberate choices about framing and lighting, not from expensive equipment. A well-lit smartphone photo of your living room is genuinely enough.
What should parents check before creating or sharing these videos?
Before you upload a photo of your home and children's spaces, spend two minutes reviewing the platform's privacy policy. The key questions: Are uploaded photos stored after the render completes, or deleted? Who has access to the generated video? Does the platform share data with third parties?
Look for a clear data retention statement. A family-friendly platform should state explicitly that photos are processed for rendering and not retained for training data or marketing without your consent. Check whether videos are private by default or public, and confirm you control the sharing link.
When it comes to sharing the finished video, think about what's visible in the background. A photo that shows a house number, a school name on a backpack, or a child's full name on a wall decoration carries more identifying information than you might want in a widely shared clip.
Pro Tip: Crop or reframe your photo to exclude identifying details before uploading. You get the same magical result with a tighter shot of the fireplace or the corner of a bedroom, and you share less personal information in the process.
What does cinematic rendering cost, and how long does it take?
Render time for a single short clip typically runs from a few seconds to a couple of minutes, depending on scene complexity. Heavier scenes with more light sources and detailed backgrounds take longer because the global illumination computation is genuinely doing more work. That extra processing time is the invisible labor that prevents the character from looking like a sticker.
| What you get | Details |
|---|---|
| Typical video length | around ten seconds, delivered as an MP4 |
| Starting price | Credits start at $1.99 per video on Wonderlens |
A few limitations are worth knowing before you start:
- Photo quality dependency: blurry or poorly lit photos reduce shadow accuracy and believability.
- Short clip length: outputs are designed as ~10-second moments, not full scenes.
- Reflective surfaces: glass, mirrors, and very dark rooms can produce rendering artifacts.
- Single-character focus: placing multiple characters in one scene may reduce occlusion accuracy at the edges.
Creative script ideas you can use right now
A 10-second clip works best when the character has one clear thing to do. Here are four prompts you can use as-is or adapt:
Santa hiding a stocking: Santa tiptoes to the fireplace, glances over his shoulder with a grin, and tucks a stocking behind the mantel. The warm firelight catches his red coat as he disappears.
A fairy leaving a tiny gift: A small fairy hovers near a windowsill, wings catching the morning light, and sets a glowing acorn on the ledge before darting out of frame.
A dragon peeking around the corner: A friendly dragon eases its head around the living room doorway, one golden eye blinking curiously at the camera, then pulls back with a soft rumble.
The Easter Bunny spreading spring magic: The Easter Bunny hops across the kitchen floor, nose twitching, and nudges a basket into place before bounding away through a patch of morning sunlight.
For a seasonal tradition, try sequencing these across the year. A fairy in spring, a dragon in summer, Santa in December. Pair each video with a small physical surprise (a wrapped gift, a note, a treat) and the reveal becomes a full sensory moment. You can find more sequencing ideas in this guide to creative ways to use animated memories with your kids. For the storytelling side, the role of storytelling in online gifts explains why a single narrative action amplifies the emotional payoff far beyond a static image.
Key Takeaways
Cinematic rendering for families works because AI-computed light and shadow make fantasy characters feel genuinely present in your home, not pasted on top of it.
| Point | Details |
|---|---|
| What it is | AI-driven light and shadow simulation that places animated characters convincingly in your home photo. |
| Why it looks real | Path-tracing computes cast shadows, reflected light, and occlusion from your actual room geometry. |
| Best photo tips | Use a well-lit image that shows floor and wall; avoid mirrors and heavy clutter for accurate shadows. |
| Cost and output | Credits start at $1.99; typical output is a short MP4 clip lasting about ten seconds. |
| Wonderlens | A browser-based platform for creating cinematic family videos with characters like Santa, fairies, and dragons. |
Why magical family memories are worth building carefully
The thing most people underestimate about cinematic rendering for families isn't the technology. It's the storytelling gap. Parents spend time picking the right character and uploading a good photo, then choose a static pose and wonder why the video feels flat. The render is technically correct. The magic is missing because nothing happens.
The clips that genuinely stop kids in their tracks are the ones where the character does something specific and purposeful: Santa glancing back before he disappears, a fairy pausing to look directly at the camera. That single beat of intention is what makes a child ask to watch it again. The photorealism earns the initial gasp. The story earns the rewatch.
The other thing worth saying: these videos age well. A child who was four when they first saw a dragon peek around their living room doorway will remember that clip differently at eight, and again at twelve. The home in the background becomes a time capsule. That's a different kind of value than any physical decoration offers, and it costs less than a holiday card.
Your first cinematic family video is one photo away
Wonderlens gives you a free first video so you can see exactly what cinematic rendering looks like in your own home before spending anything. After that, credits start at $1.99, and each one produces a finished, shareable 10-second MP4 with a character of your choice lit by your room's actual light.
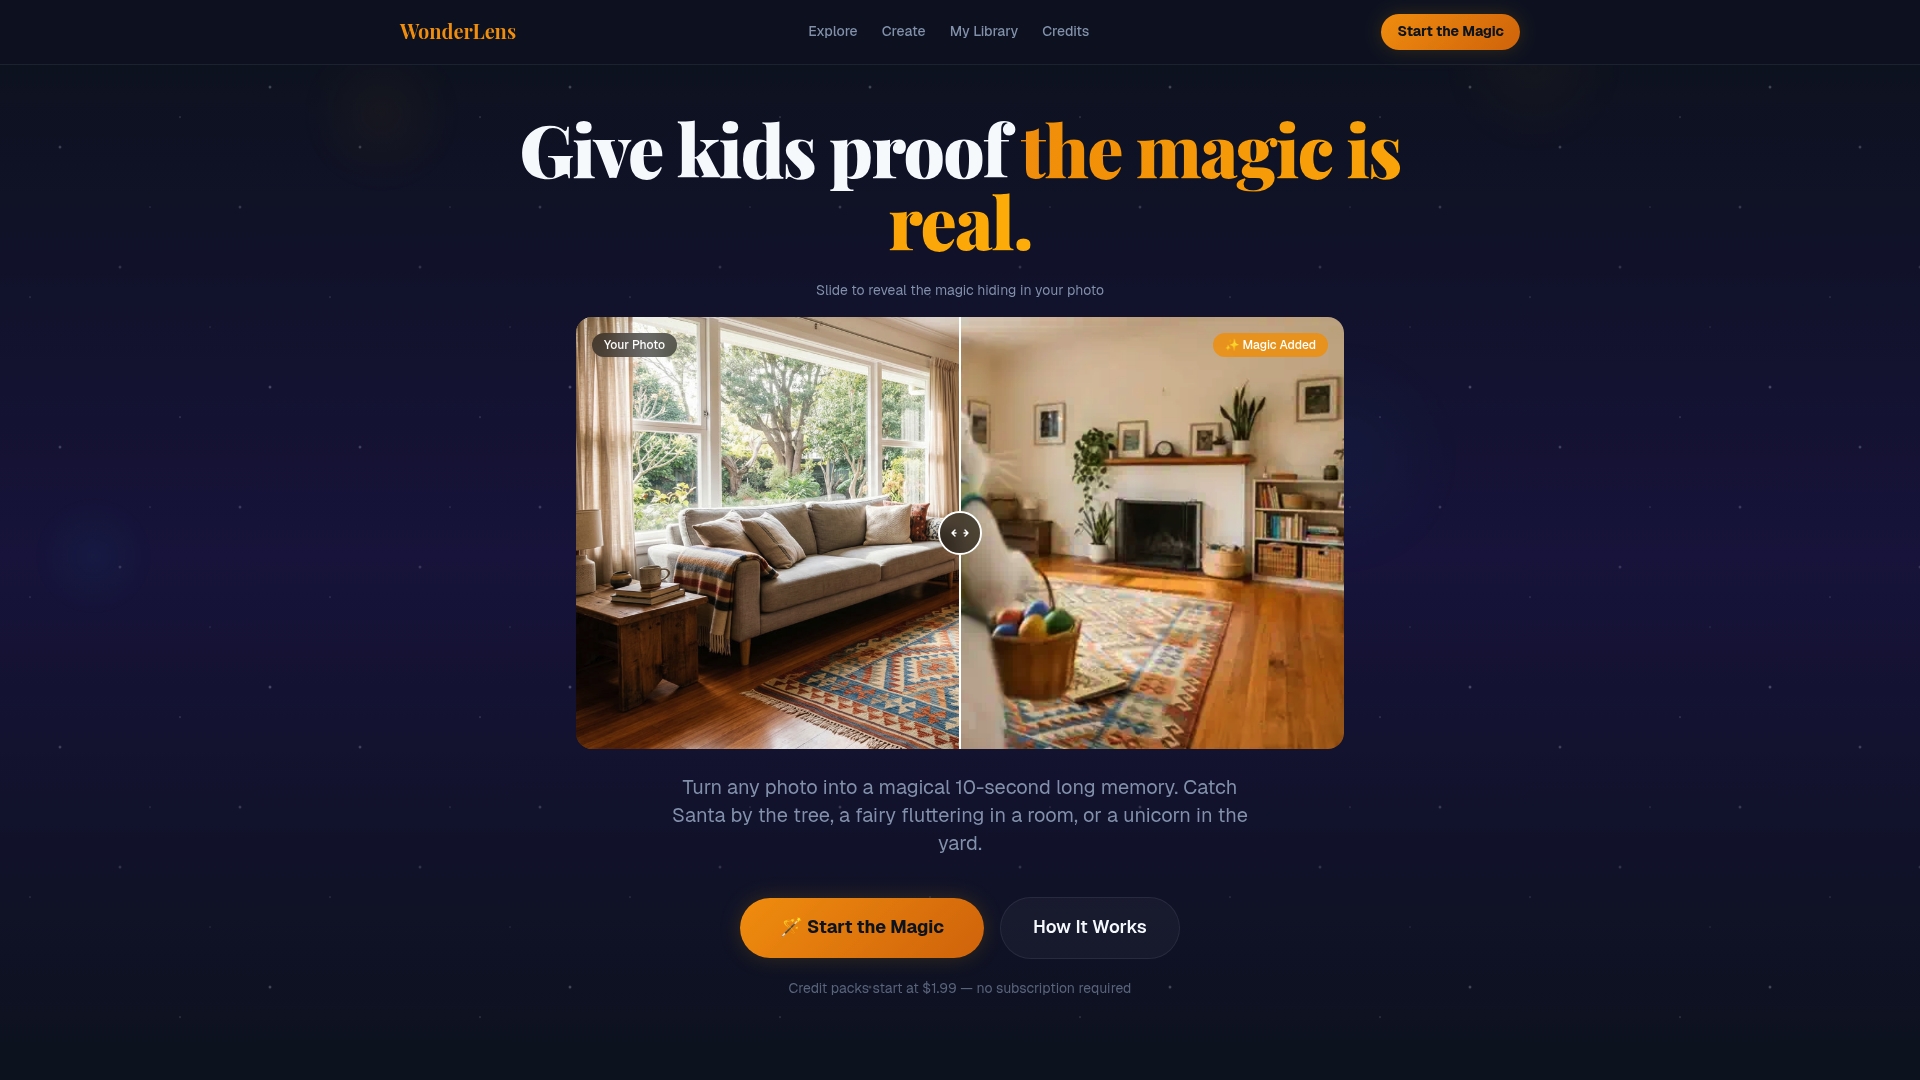
Upload a photo, pick a character, and your render is ready in minutes. Start your first magical video on Wonderlens today and give your child something they'll ask to watch again and again.
Useful sources for learning more
- Cinematic rendering — Wikipedia: A concise technical overview of global illumination and path-tracing as used in cinematic rendering; good starting point for the underlying science.
- Cinematic rendering — Siemens Healthineers: The original clinical application of the technique, showing the photorealistic lighting standard the technology was built to achieve.
- What Is Cinematic Video? — LunaBloom: A creator-focused guide on framing, pacing, and storytelling for short cinematic clips; practical for parents planning their first video.
- What Is Video Rendering — Project Aeon: Plain-language explanation of why rendering takes compute time and what that work produces; helpful for setting turnaround expectations.
- Wonderlens blog: Step-by-step guides and creative ideas for families creating AI-animated memories at home.
Recommended
- Why Choose Cinematic Home Videos for Family Memories. WonderLens | WonderLens
- Create Cinematic Digital Memories for Kids: A Parent's Guide — WonderLens | WonderLens
- Step by Step Magical Video Guide for Families. WonderLens | WonderLens
- Magical home animation types to enchant your holidays — WonderLens | WonderLens